All Quests Checklist Overview
The checklist is located below this introductory text.
This checklist lists every Quest in Elden Ring.
All quests in Elden Ring are unmarked and require serious dedication to complete. They have a reputation of being too cryptic and difficult, which is why this checklist also lists every step necessary for their completion.
The majority of quests in Elden Ring are in the base-game, but a group of quests is also available in the Shadow of the Erdtree DLC.
Elden Ring Quests: Key Information
Almost every NPC in Elden Ring has its own questline, with the most common exception being the various Merchants around the world.
Completing NPC quests is not easy: To understand what the NPCs want from you or what progresses the questline, you must carefully listen to their dialogue and don't make wrong choices. While some questlines are simple and quick, there are several that require 10+ steps to complete. The NPCs move around the map on their own.
Every single Quest can also break and fail. The most common reasons are:
- killing the quest-related NPC
- progressing too far into the game without completing necessary steps in that questline
- progressing in a questline that affects another related or intertwined questline in a negative way (e.g. NPC 1 tells you to kill NPC 2 with its own questline)
Quests: Best Strategy
It is not possible to fully complete every questline in one run as they are in conflict. A good example are Sellen's questline and Witch-Hunter Jerren's questline: at the end of both, they both require to kill the other and you can only fulfil one.
Another example is Preceptor Seluvis's questline, who wants you to kill Nepheli Loux and then also Ranni, although both of these instances have a workaround.
As a rule of thumb: DO NOT KILL ANY NPC unless specifically instructed by the Questline Guide in this checklist. If you aim for any specific questline, we also list Related Questline in that row. We strongly recommend reading through the related questlines as well to see potential conflicts that may ruin your plans.
Some steps in our Questline Guide are optional or can be completed in a different order. We list the order of steps we recommend to minimize potential failures and damages to other questlines, but it is possible you might complete the quests even with skipping some of the steps.
Quests: Missable Drops
Several quests have a decision in them designed in a way that all options lead to missable items. As you can only choose one outcome, you can only get one batch of missable items and the other batch have to wait for New Game Plus. A good example of this is Milicent's questline.
What is a Quest
We only list more complex, meaningful questlines and avoid one-stop interactions. Examples of interactions we don't list are Miriel, Old Albus, Merchant Kalé, Vyke...
Skip to Section
Base-game Shortcuts: Limgrave, Stormhill, Weeping Peninsula, Stormveil Castle, Roundtable Hold, Liurnia, Caelid, Dragonbarrow, Altus Plateau, Leyndell, Mountaintops, Mohgwyn Palace
DLC Shortcuts: Gravesite Plain, Scadu Altus, Jagged Peak
Related Checklists
Open the Elden Ring 100% Completion Hub for every checklist. See also All Sites of Grace and All Bosses.
Quests in Limgrave
There are 9 questlines in Limgrave.
| ✓ | Quest | Questline Guide | |
|---|---|---|---|
|
Step 1: Talk to Varré at Step 2: Obtain any Great Rune and unlock the Two Fingers in the Step 3: Talk to Varré at the Rose Church, which is on an island west of the
Step 4: Go back to Varré at the Rose Church. He will give you the Lord of Blood's Favor. Step 5: You must soak the item in maiden's blood, so you need to find a maiden. Maiden options are as follows:
Step 6: Return to Varré and exhaust his dialogue to receive the Pureblood Knight's Medal, which can teleport you to Mohgwyn Palace. Step 7: Find Varré's invasion sign past the 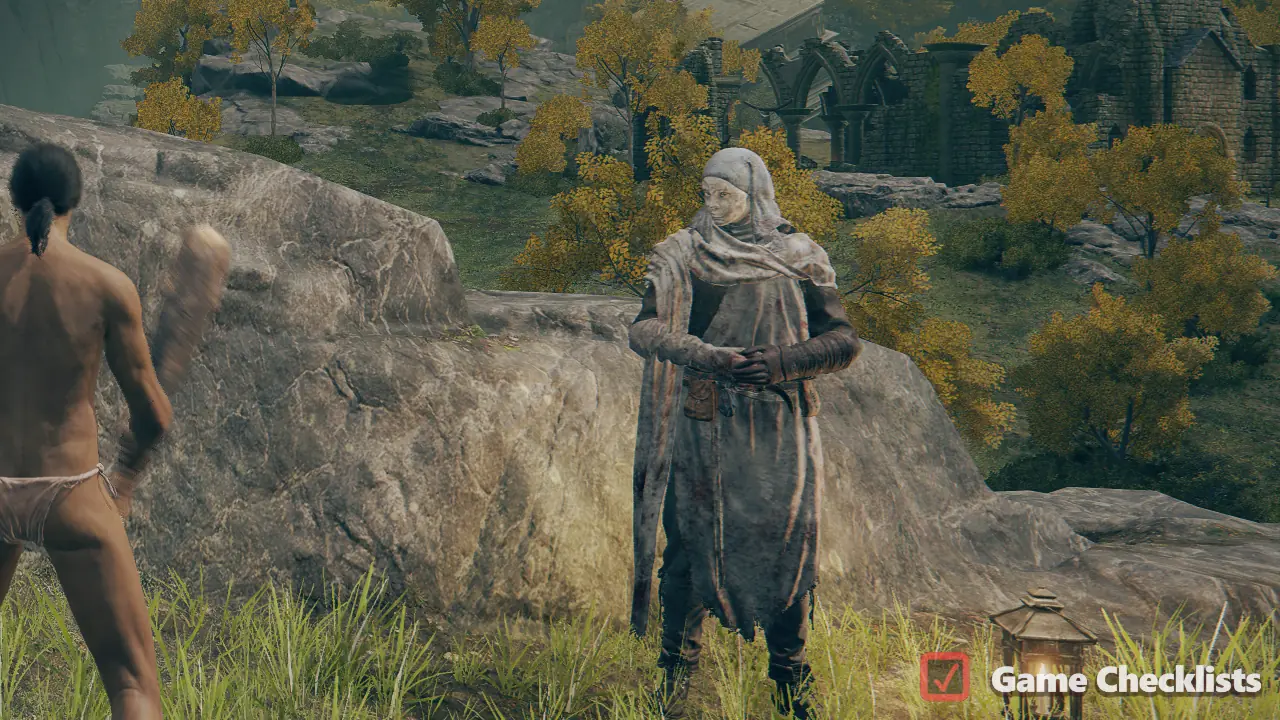 Related questlines: |
|||
|
Step 1: Progress until Step 2: Go to the Troubleshooting: If Renna doesn't appear, make sure you TELEPORT to Step 3: Reach 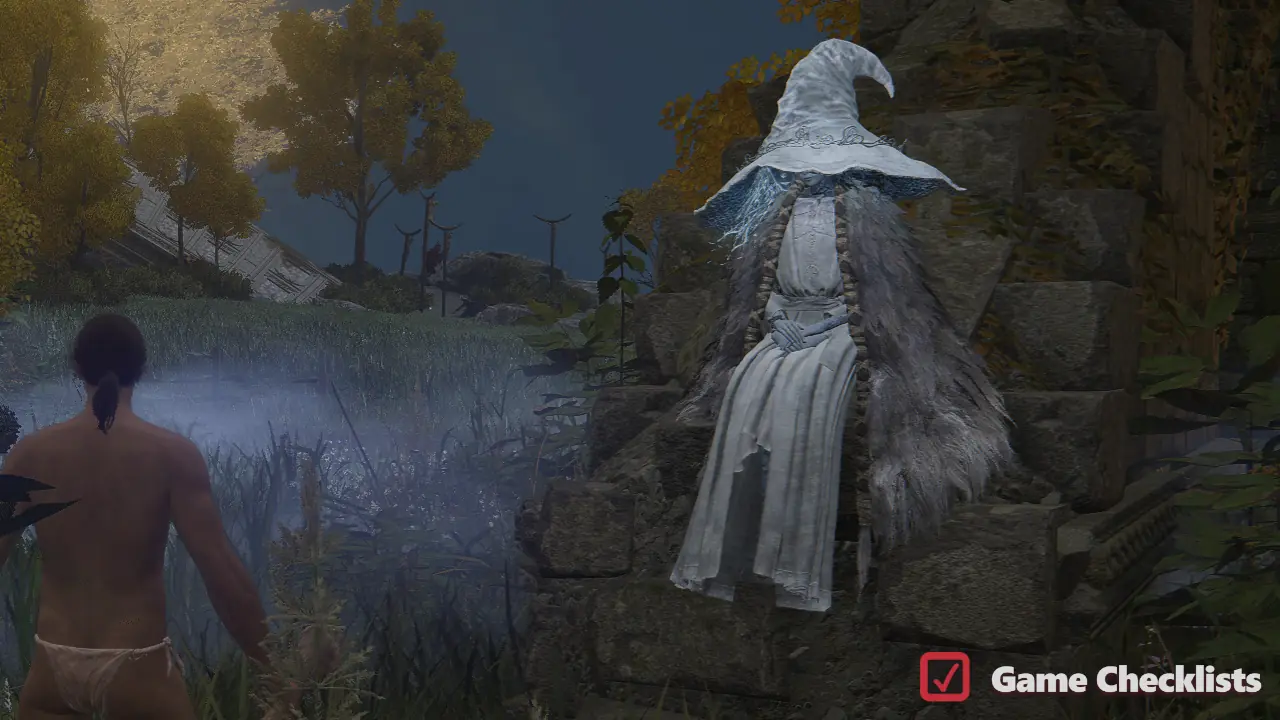 Related questlines: |
|||
|
Melina's journey is less of a questline and more of a guiding hand throughout the whole game. There are multiple outcomes, so we list it. Step 1: Rest at a Site of Grace in Limgrave after activating enough Sites of Grace. Most commonly done in Step 2 (optional): Listen to Melina's site of grace dialogue at various instances, e.g.: Step 3: She will eventually offer to take you to Step 4: Reach the Step 5: Melina can be summoned for the Morgott, the Omen King boss fight. Step 6: Defeat Morgott, rest at the Warning: Now you can go to Step 7: Speak to Melina at the  Related questlines: |
|||
|
Step 1: Find Boc disguised as a small tree in Limgrave, east of the telescope south of Step 2: Go to Step 3: Defeat the Demi-Human Chief Duo boss in Step 4 (optional): Boc can be encountered at After Step 4, Boc moves to GOOD ENDING Step 5: Go to Step 6: Go to Step 7: Go to Hermit Village northeast of Step 8: Speak to Boc at the Step 9: He will stay alive at BAD ENDING - BOC DIES Ignore steps 5-7, instead go to BAD ENDING - BOC DISAPPEARS Ignore steps 5-7 and simply give him nothing. He will disappear from the map.  |
|||
|
Step 1: EASILY MISSABLE! Find Yura under the ruin arch northeast of Step 2: Go to Step 3 (optional): Go a bit north from Step 4: Reach Step 5: After you defeat the assassin, talk to Yura near the bridge for Smithing Stone [5] and Ash of War: Raptor of the Mists. Step 6: Go to the Second Church of Marika (reached by going across the bridge from the Step 7: Go to 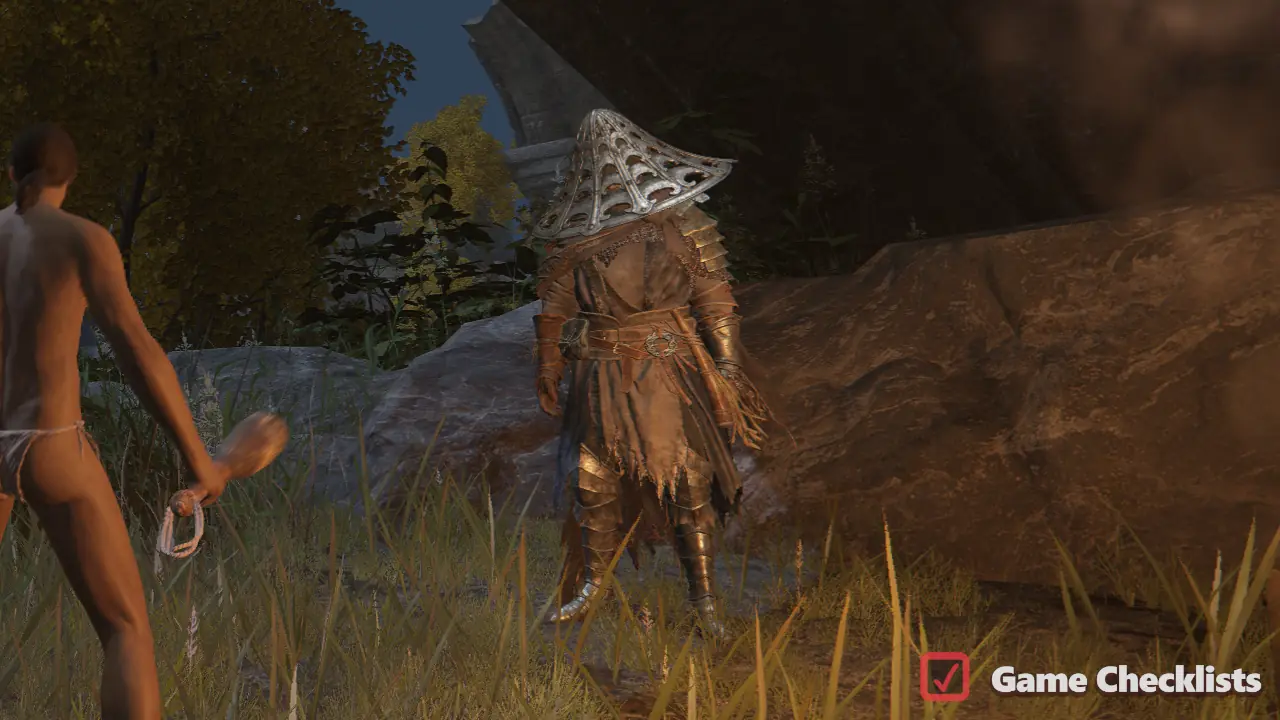 Related questlines: |
|||
|
Step 1: Go to Step 2: Reload the area. Patches will now open his shop. Step 3 (optional): Patches now has a new chest, open it and it will teleport you to Mistwood. Returning to Patches here gives the Calm Down Gesture. Step 4: Travel to Step 5: Travel to Step 6: Join Step 7: Complete one of Tanith's assassination requests, then talk to Patches to receive the Letter to Patches. Step 8: Complete Patches' assassination request by invading and defeating Great Horned Tragoth. Return to Patches, reload the area, and talk to him again to receive the Magma Whip Candlestick. This weapon is missable - you should pursue Patches' assassination request as soon as possible, before defeating Rykard! Step 9: Defeat Step 10: Find Patches at the Shaded Castle, on the bridge before Elemer of the Briar. Talk to him to receive the Dancer's Castanets. Step 11: Return to Step 12: Reload the area once more. Patches will reopen his shop in 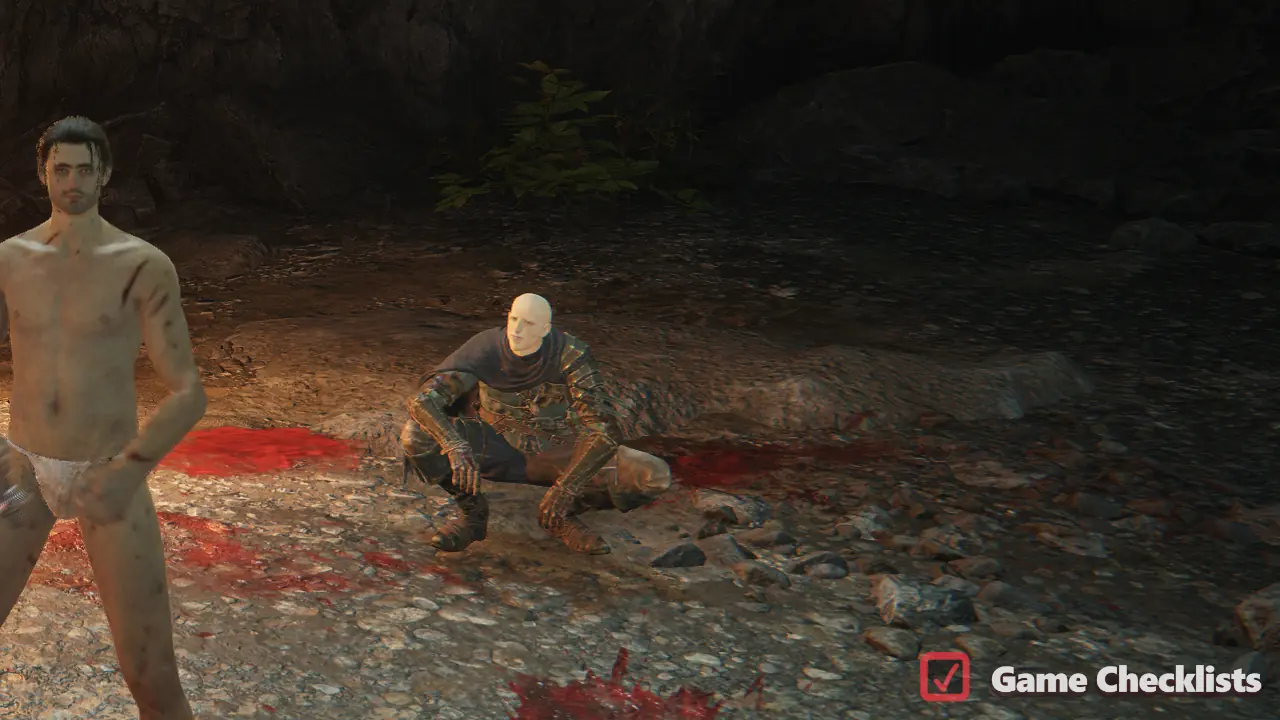 |
|||
|
Step 1: Go to Waypoint Ruins in Limgrave, defeat the Mad Pumpkin Head, and talk to Sorceress Sellen. Accept her offer to study sorcery. Step 2: Travel to Mt. Gelmir and find Step 3: Return to Sellen. She will give you the Sellian Sealbreaker Key and ask you to find Master Lusat. Step 4: Go to Step 5: Return to Sellen, she gives you a Starlight Shard. Steps 4 & 5 can be done even after Step 6. Step 6: Defeat Step 7: Go to Witchbane Ruins and speak to Sellen to receive Sellen's Primal Glintstone. Step 8: Radahn is already defeated, now go to Redmane Castle, speak to Step 9: Return back to Sellen at Witchbane Ruins to find that she is dead and Step 10: Go to the Three Sisters area near Step 11: Fast travel to the
 Related questlines: |
|||
|
Step 1: Find Kenneth Haight on the ruined bridge between Step 2: Go to Fort Haight and defeat the Godrick Knight who drops the Ash of War: Bloody Slash. Step 3: Return to Kenneth to receive the Erdsteel Dagger and pledge into his service. Step 4: After resting at site of grace, Kenneth will move to the battlements of Fort Haight. Step 5: Talk to Kenneth at Fort Haight. He'll explain that he's searching for a worthy ruler for Limgrave. Fort Haight is overrun again, this time with Demi-Humans. Clear the fort and speak to Kenneth. Step 6: Get the Stormhawk King item by using a teleporter from Step 7: Give Step 8: Defeat Morgott, the Omen King. Step 9: Rest at the Step 10 (optional): Feel free to kill Kenneth Haight anytime to get Golden Seed #3. 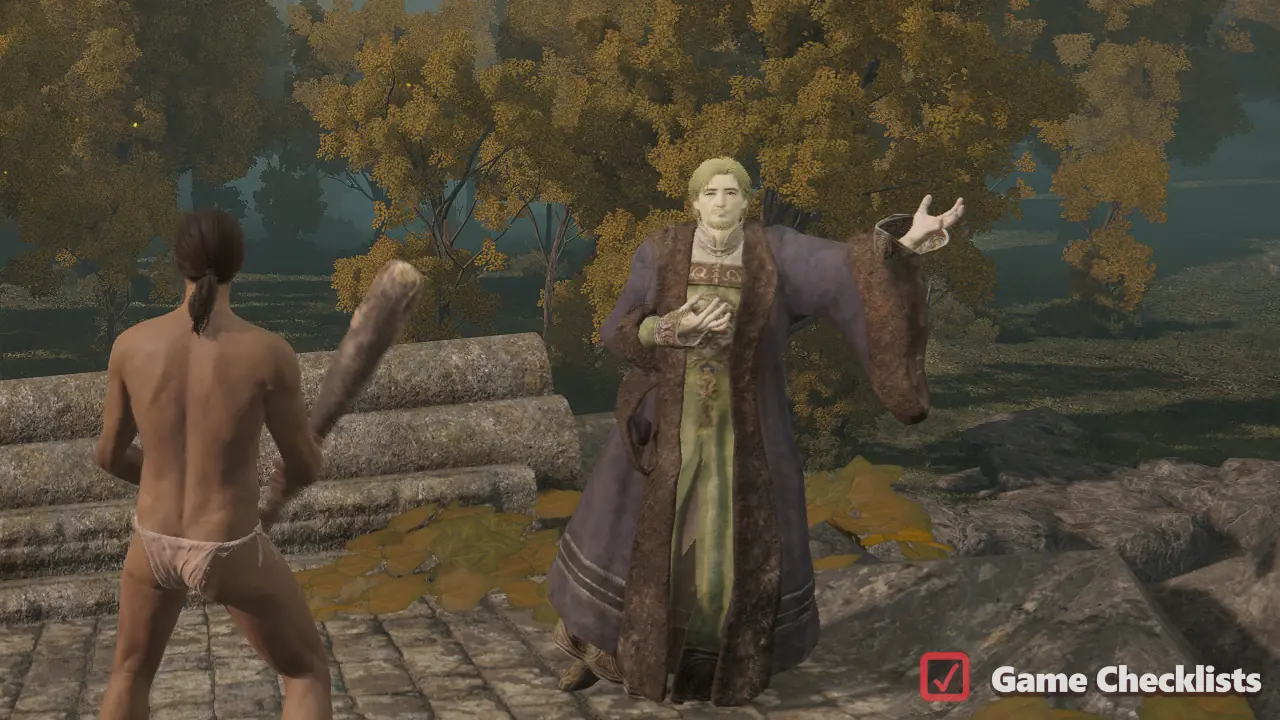 Related questlines: |
|||
|
Step 1 (optional): Go to Mistwood Ruins in the center of Mistwood so you can hear him howling. Then talk to Merchant Kale at the Step 2 (optional): Return to Mistwood Ruins and use Finger Snap below Blaidd. Talk to him until he mentions Bloodhound Knight Darriwil. Step 3 (optional): Go to Forlorn Hound Evergaol and defeat Bloodhound Knight Darriwil. Blaidd can be summoned for the fight. Even if the boss is already dead, Blaidd moves here with new dialogue. This later unlocks the Carian Filigreed Crest in Iji's shop. Step 4: Start Ranni's questline at Step 5: Meet Blaidd in Siofra River, east of the Step 6: Quick stop at Step 7: Talk to Step 8: Activate Radahn Festival and meet Blaidd at Redmane Castle, then summon him during the Step 9: After defeating Radahn, talk to Blaidd near the Step 10 (optional): After leaving the Radahn arena, Blaidd will be trapped inside the Forlorn Hound Evergaol. You can free him, but this is optional and does not affect Ranni's questline. This is the evergaol which used to house Bloodhound Knight Darriwil from Step 3. Step 11: Continue Ranni's questline until after defeating Step 12: Return to Step 13 (optional): To complete Blaidd's Armor Set with the Black Wolf Mask, jump on a wall behind Seluvis's Rise. 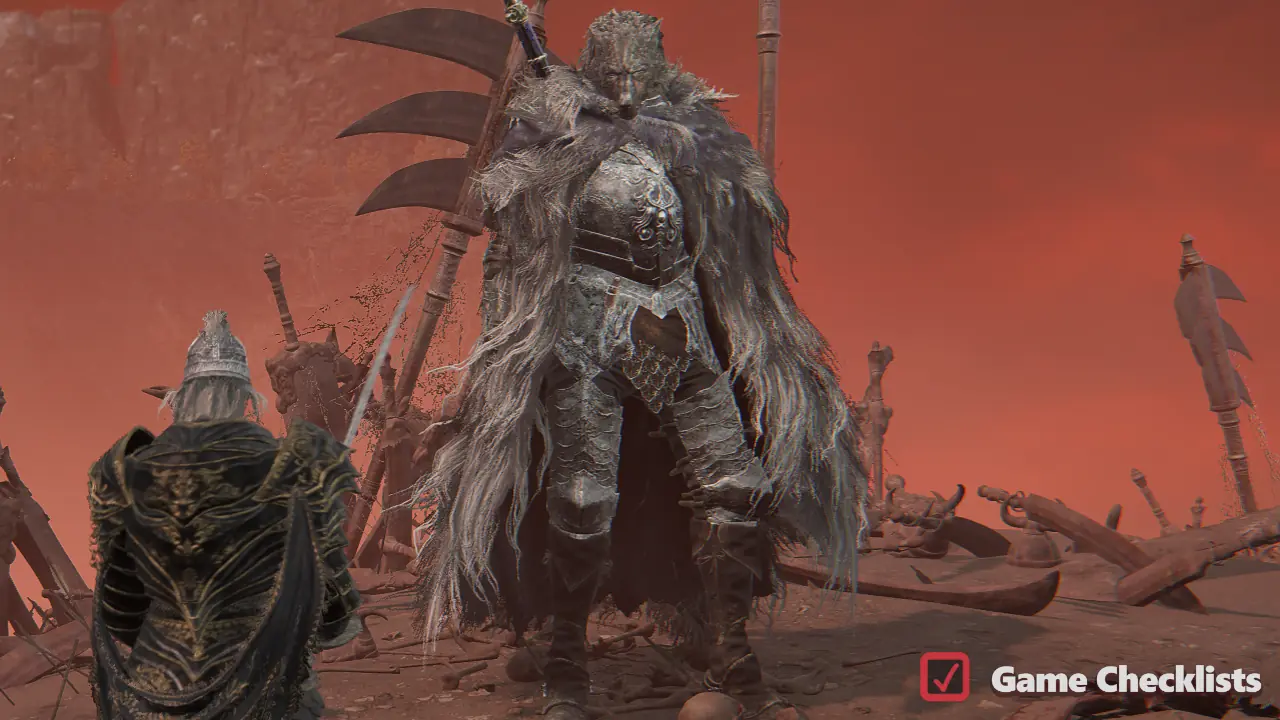 Related questlines: |
Quests in Stormhill
There are 5 questlines in Stormhill.
| ✓ | Quest | Questline Guide | |
|---|---|---|---|
|
Step 1: Go to Step 2: Go into Step 3: Return to Roderika at Step 4: Go to Step 5: Now talk to Smithing Master Hewg, Ask about Roderika. Then talk with Roderika and again with Hewg. Leave the area and return - she will transform into a Spirit Tuner and will upgrade your Spirit Ashes. If this step didn't happen correctly, make sure to repeatedly exhaust Roderika's and Hewg's dialogue. Step 6: Upgrade any Spirit Ash to at least +4 for the Curtsy Gesture and additional additional dialogue. Step 7: Pick up the Crimson Hood in the same room where you've found the Chrysalids' Memento. Step 8: After burning the Erdtree, Roderika will ask you to convince Hewg to leave 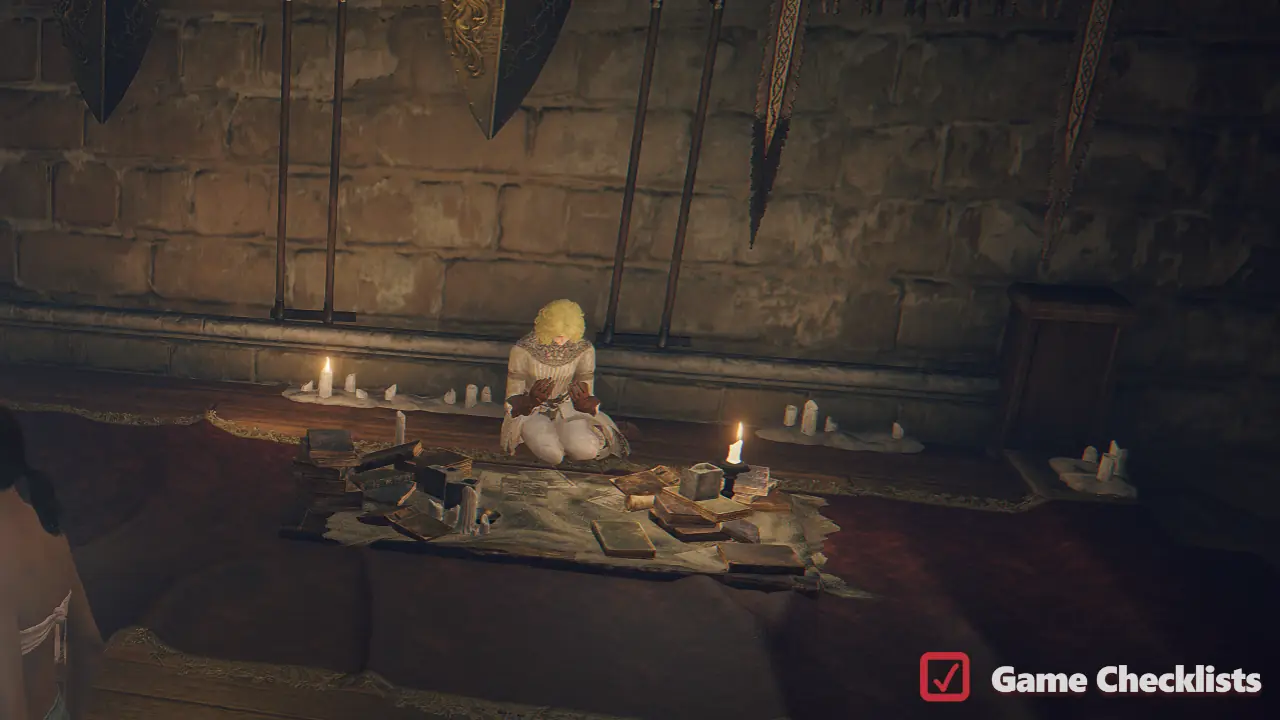 |
|||
|
Step 1: Go to Step 2: Visit the Stargazers' Ruins and summon the Spirit Jellyfish next to another floating jellyfish to fulfill the old promise. This is west, across 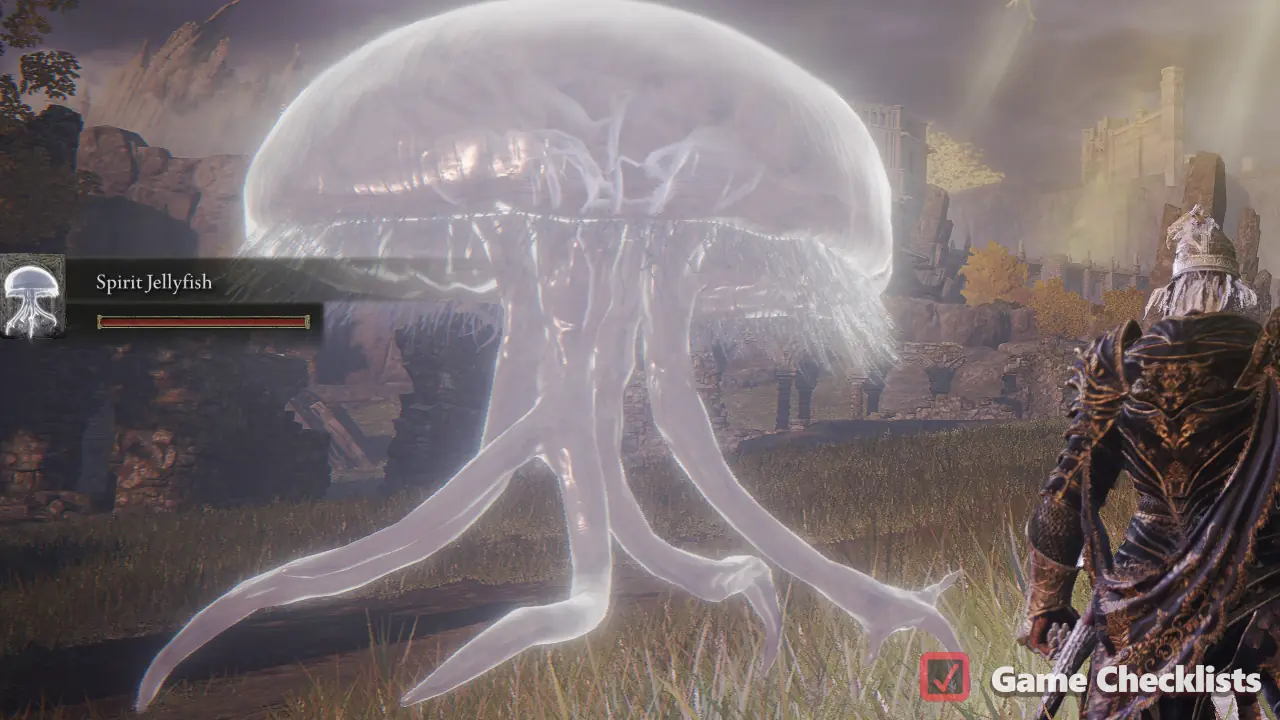 |
|||
|
Step 1 (optional): Meet Knight Bernahl at the Step 2: Join Step 3: Complete the first two Step 4: Talk to Bernahl to receive the Letter to Bernahl, beginning his assassination request. Step 5: Use Bernahl's red summon sign in Leyndell, Royal Capital to help him defeat Vargram the Raging Wolf and Errant Sorcerer Wilhelm. Step 6: Return to Step 7 (optional): Progress to Crumbling Farum Azula. Bernahl can be summoned for the Godskin Duo fight. Step 8: From the  |
|||
|
Step 1: Find Alexander stuck in the ground on a cliff just south of the western edge of Step 2 (optional): Find Alexander in Step 3: Activate the Radahn Festival and go to Redmane Castle and talk to Alexander before the Step 4: After defeating Radahn, talk to Alexander at the battlefield near the Step 5 (optional): Go south of the Step 6: Find Alexander in the lava lake near Step 7 (optional): Summon Alexander during the Step 8: Find Alexander in Crumbling Farum Azula, beyond the Step 9: Accept Alexander's duel and defeat him. He rewards you with: Shard of Alexander and Alexander's Innards. 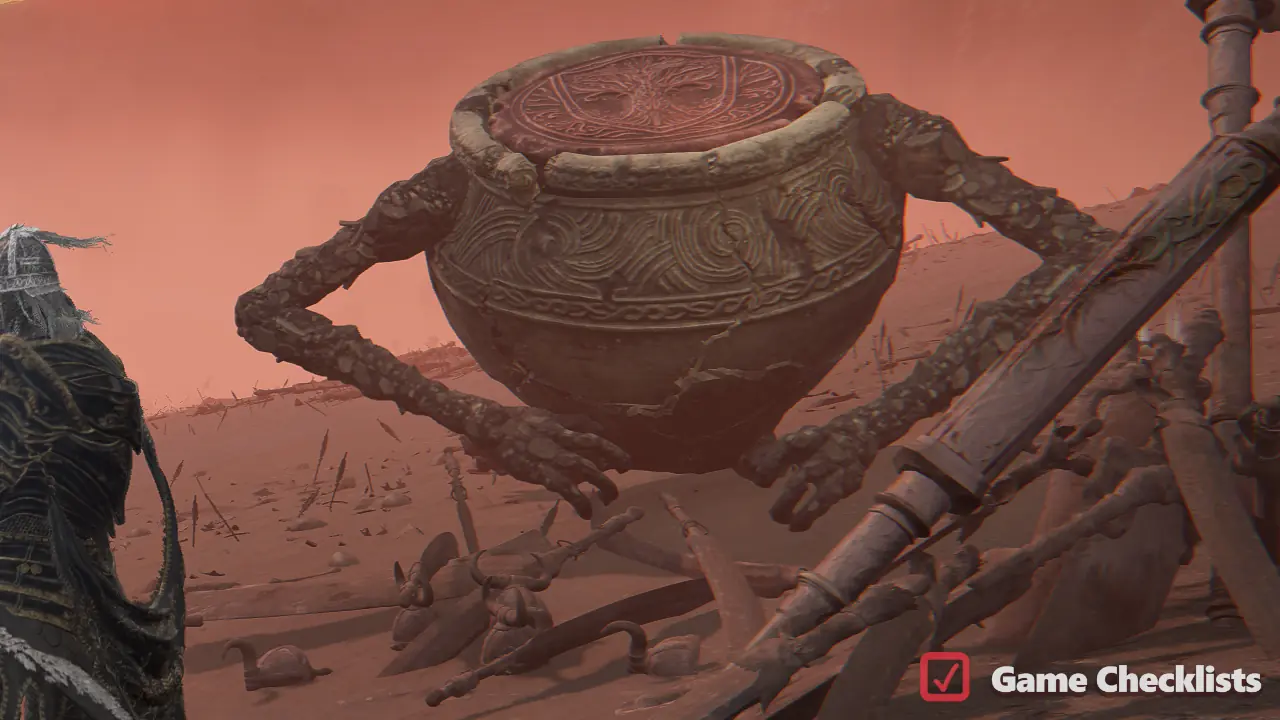 Related questlines: |
|||
|
Step 1: Find D near the Step 2: Go to Summonwater Village and defeat the Tibia Mariner ( Step 3: Talk to D again. Find him either at the entrance to Summonwater Village, or later at Step 4: Use the marked portal and talk to Step 5: Talk to D back at Step 6: Progress Fia's questline to Step 3 until she gives you the Weathered Dagger. For Step 7: Give the Weathered Dagger to D still at Step 8: Reload the area. D has been killed and his body gives the Twinned Armor Set and D's Bell Bearing. Step 9: In Nokron, before fighting the Valiant Gargoyle Duo boss ( Step 11: Defeat the Valiant Gargoyles. Step 12: Continue Fia’s questline until the end of her quest (defeating Lichdragon Fortissax boss at Step 13: Talk to D's brother at 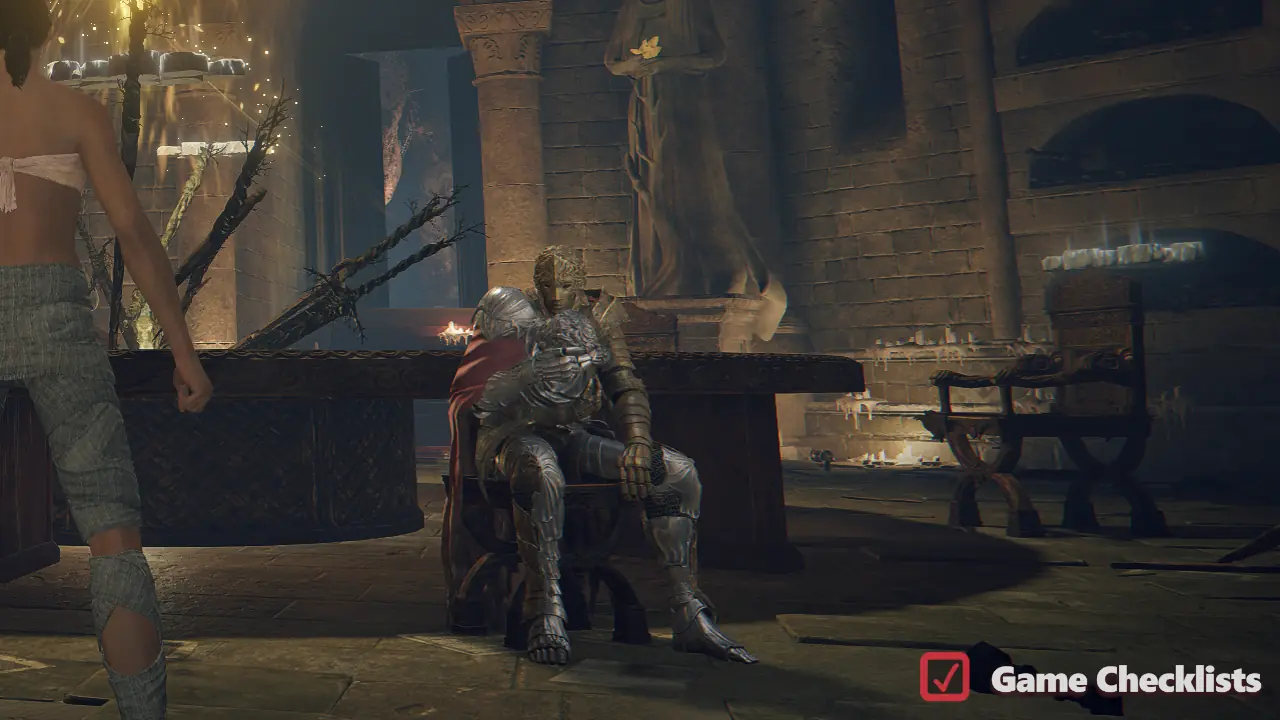 Related questlines: |
Quests in Weeping Peninsula
There is 1 questline in Weeping Peninsula.
| ✓ | Quest | Questline Guide | |
|---|---|---|---|
|
Step 1: Talk to Irina near the Step 2: Deliver the letter to Edgar at Castle Morne. Step 3: Defeat the Leonine Misbegotten boss at the end of Castle Morne. Step 4: Return to Edgar and exhaust his dialogue. Step 5: Return to Irina's location (She's Dead - OK) and speak to Edgar beside her body. Step 6: Travel to the 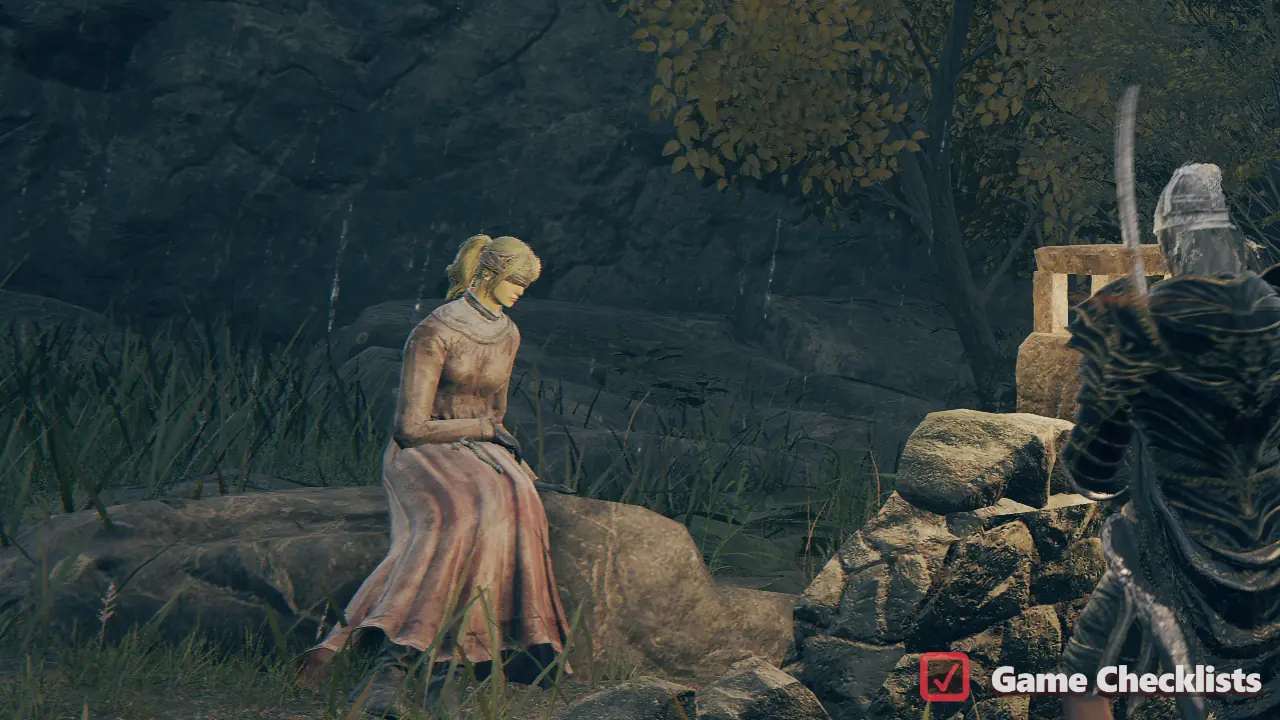 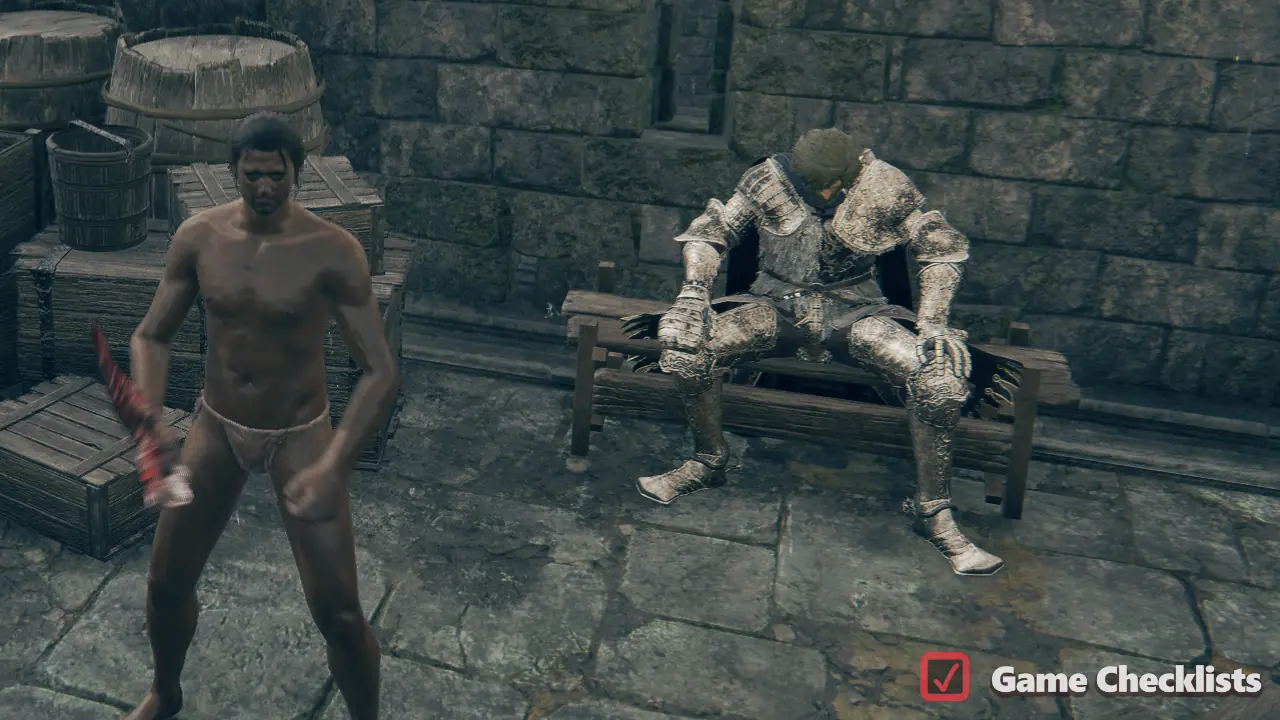 Related questlines: |
Quests in Stormveil Castle
There are 3 questlines in Stormveil Castle.
| ✓ | Quest | Questline Guide | |
|---|---|---|---|
|
Step 1: Talk to Gatekeeper Gostoc at the entrance to Step 2 (optional): If you decide to progress through the side path, you will need to obtain the Rusty Key from the room with a Banished Knight. Gostoc will lock you in the room. Step 3: Defeat Step 4: Complete Nepheli Loux's and Kenneth Haight's questlines and defeat Morgott. Step 5: Rest at 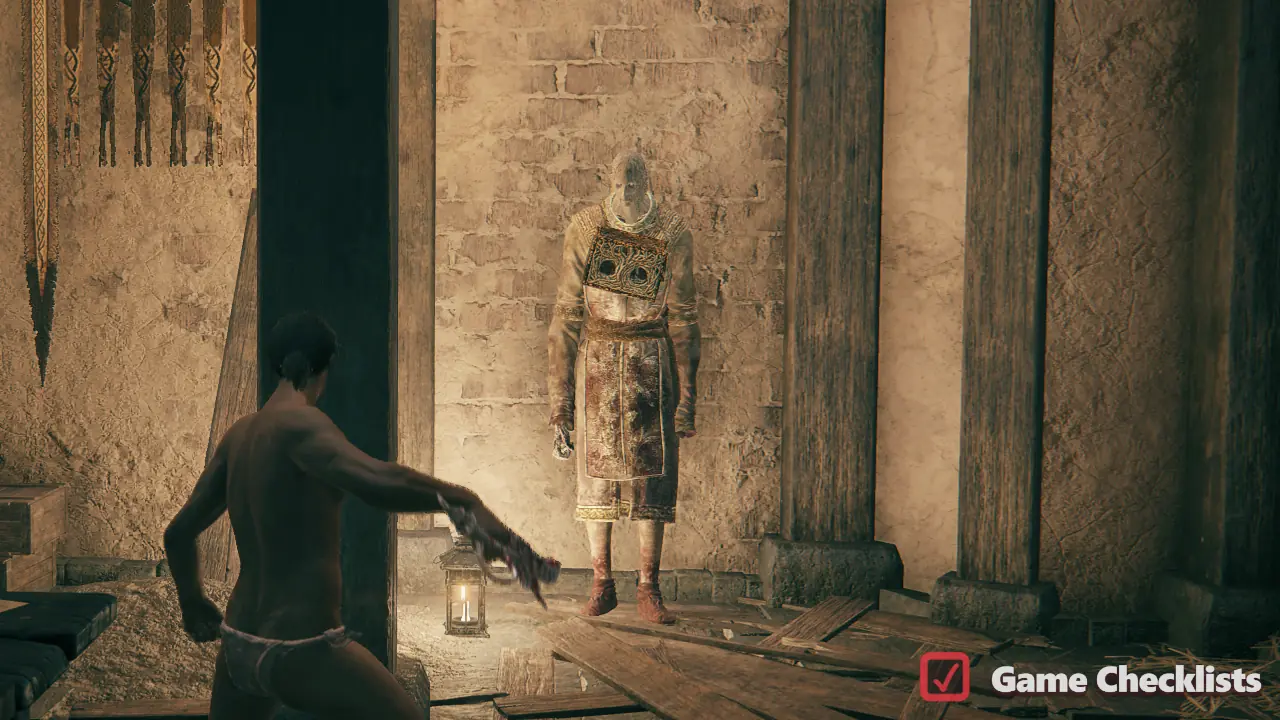 Related questlines: |
|||
|
Step 1: Find Sorcerer Rogier in Step 2: Defeat Step 3: Talk to Rogier at the Step 4: Return to the Step 5: Return to Rogier and ask him about what happened. Step 6: Talk to Step 7: Travel to the Step 8: Bring the Black Knifeprint to Rogier. Step 9: Start Ranni's quest at Step 10: Rogier will die soon and drop Rogier's Bell Bearing, Spellblade Armor Set and Rogier's Letter. The letter mentions the location of D's brother, but this is only a hint and he appears even if you don't finish this questline. 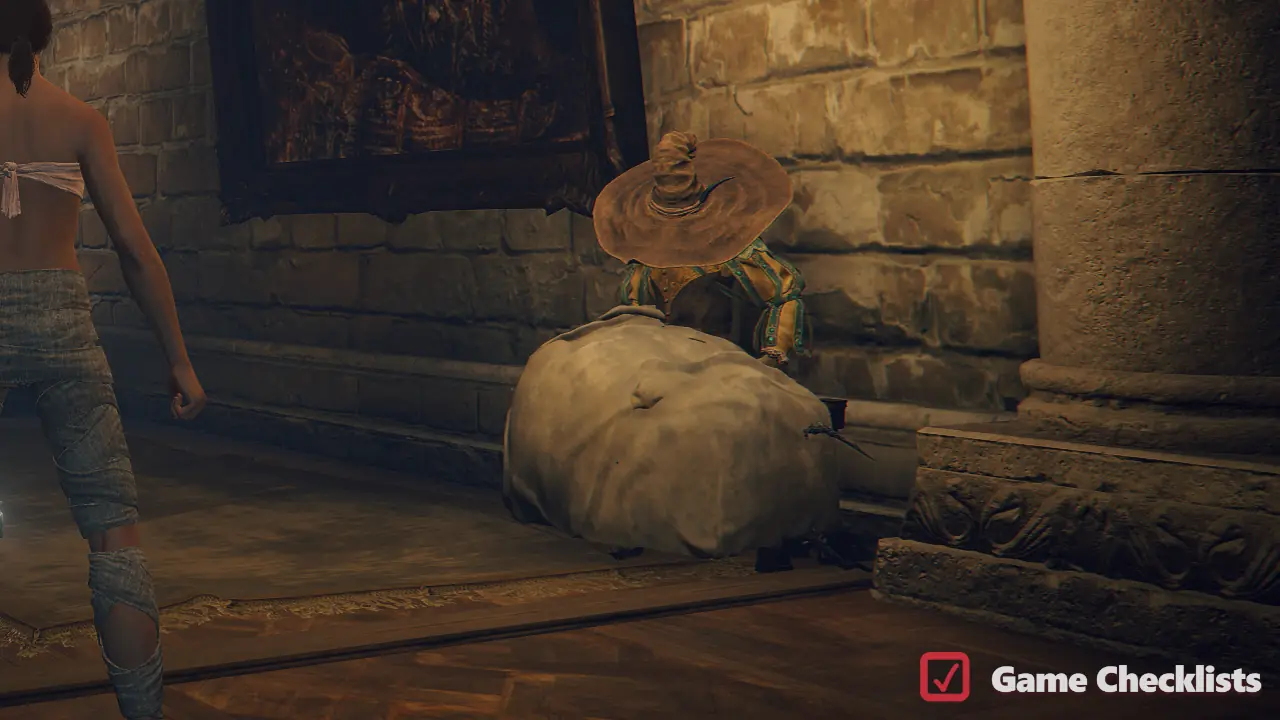 Related questlines: |
|||
|
Step 1: Find Nepheli Loux in Step 2 (optional): Summon Nepheli for the Step 3: Talk to Gideon Ofnir at the Step 4: Find Nepheli under the bridge at the Step 5: Defeat the Omenkiller boss above the village. Step 6: Return to the Warning: If you now have Seluvis's Potion, do NOT give it to Nepheli if you want to complete Nepheli Loux's questline, Gatekeeper Gostoc's questline and Step 7: Make sure you've completed Step 8: Complete Step 9: Defeat Morgott, the Omen King. Step 10: Rest at 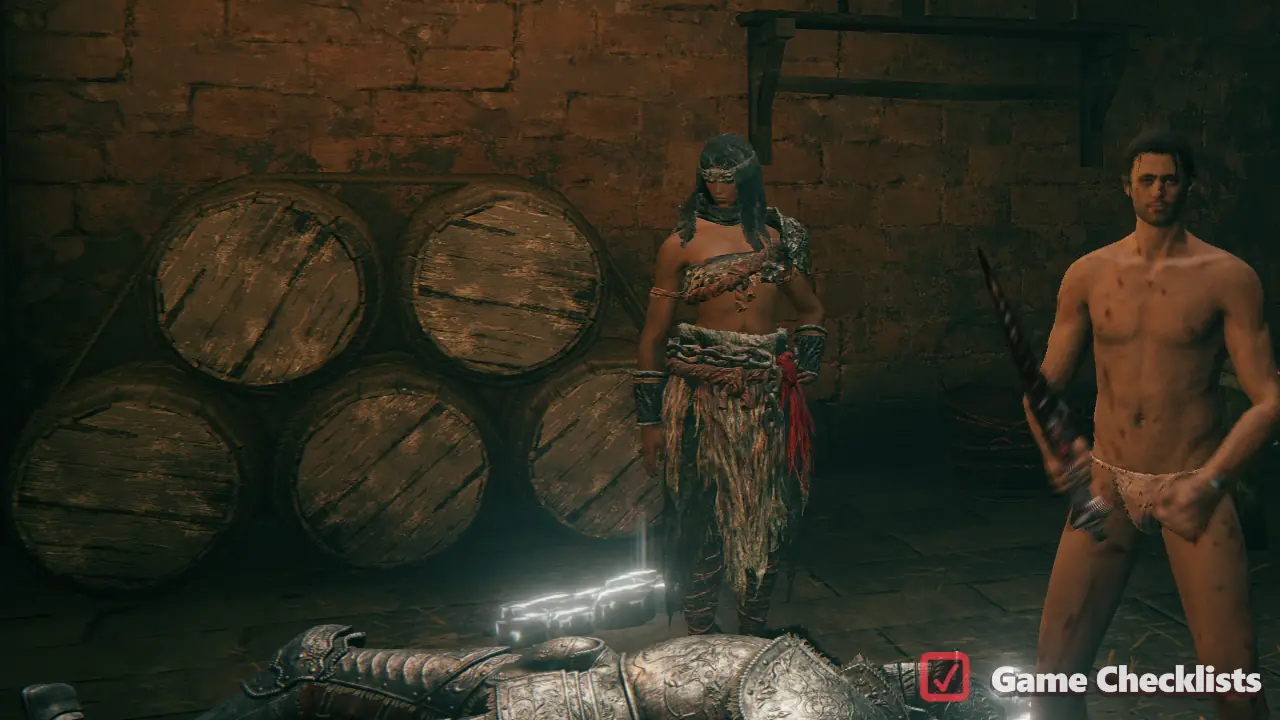 Related questlines: |
Quests in Roundtable Hold
There are 2 questlines in Roundtable Hold.
| ✓ | Quest | Questline Guide | |
|---|---|---|---|
|
Step 1: Meet Fia at the Step 2: Progress Sorcerer Rogier's questline until Step 6, which unlocks additional options from Fia. She is now available to give a key item necessary to progress Sorcerer Rogier's questline. Step 3: After starting the Radahn Festival, embrace Fia again. She will give you the Weathered Dagger. Step 4: Give the Weathered Dagger to Step 5: Reload the Step 6: Travel to Step 7: At any point after Step 4, progress Ranni's quest until you obtain the Cursemark of Death from Step 8: Return the Cursemark of Death to Fia at Prince Death's Throne. Step 9: Exhaust her dialogue and reload the area. Interact with the sleeping Fia to enter the Deathbed Dream. Defeat Lichdragon Fortissax. Step 10: Return to Fia and obtain the Mending Rune of the Death-Prince. Step 11 (optional): If you've successfully completed D, Hunter of the Dead's questline, also now talk to D's brother at 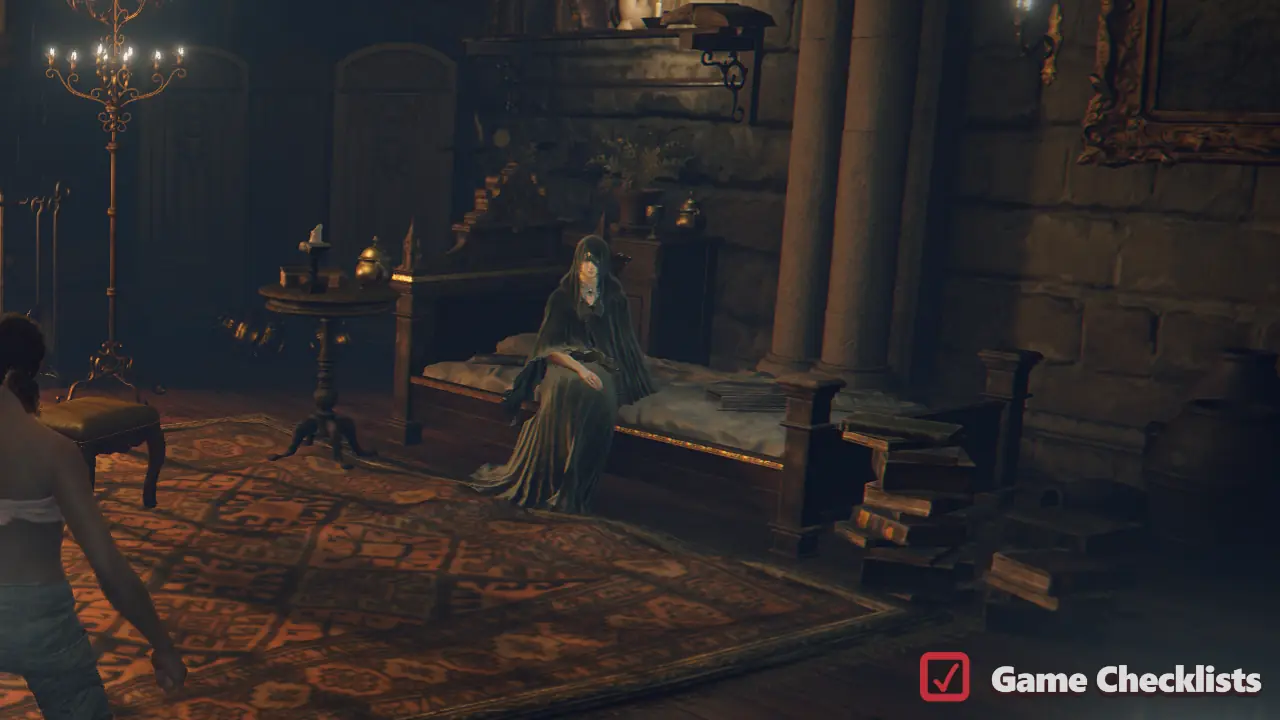 Related questlines: |
|||
|
Step 1: Meet Diallos at the Step 2: Find Diallos north of the Step 3: Return to the Step 4: Join Step 5: Diallos will eventually leave Step 6: Progress Jar-Bairn's questline Steps 1-2. Speak to Diallos and Step 7: Follow Jar Bairn's questline from Step 5 to the very end, as they progress together from this point. 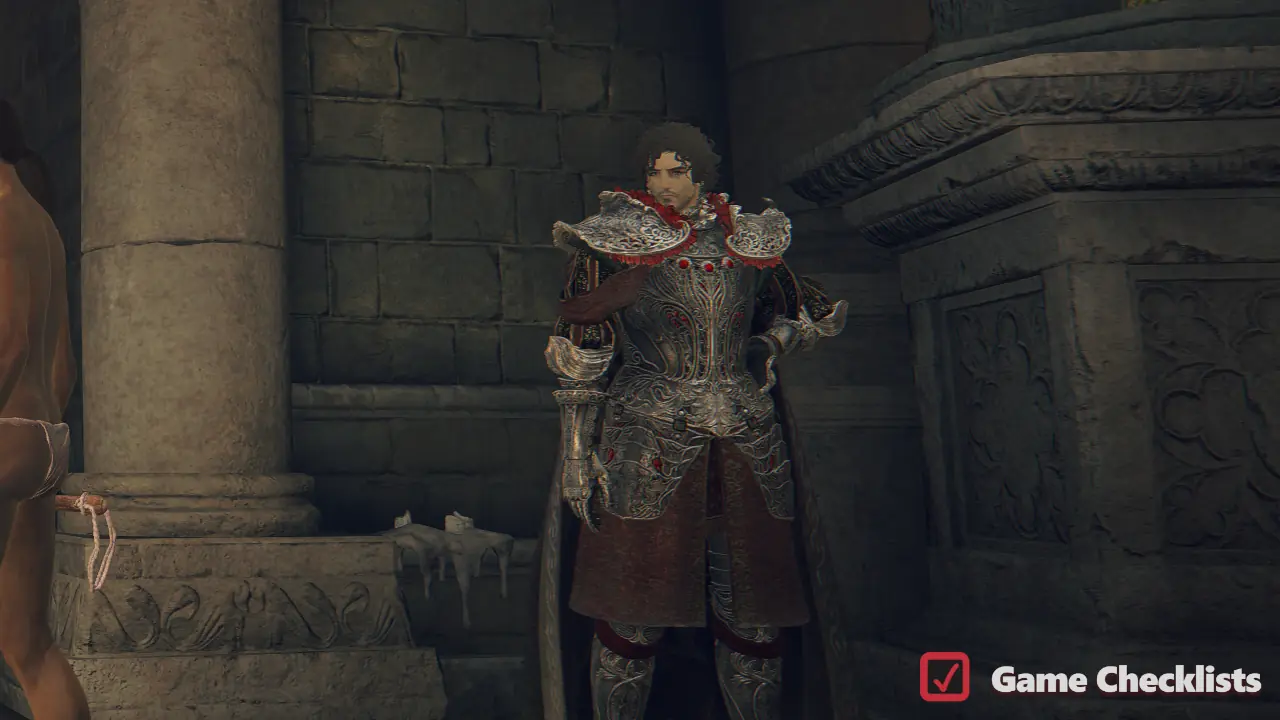 |
Quests in Liurnia of the Lakes
There are 9 questlines in Liurnia of the Lakes.
| ✓ | Quest | Questline Guide | |
|---|---|---|---|
|
Step 1: Speak to Step 2: Meet Hyetta at the Step 3: Meet Hyetta west of the Purified Ruins and give her a second Step 4: Meet Hyetta north of the Step 5: Meet Hyetta at Step 6: Travel to the Step 7: Speak to Hyetta one final time to receive the Frenzied Flame Seal and 5 Frenzyflame Stones, completing her questline. 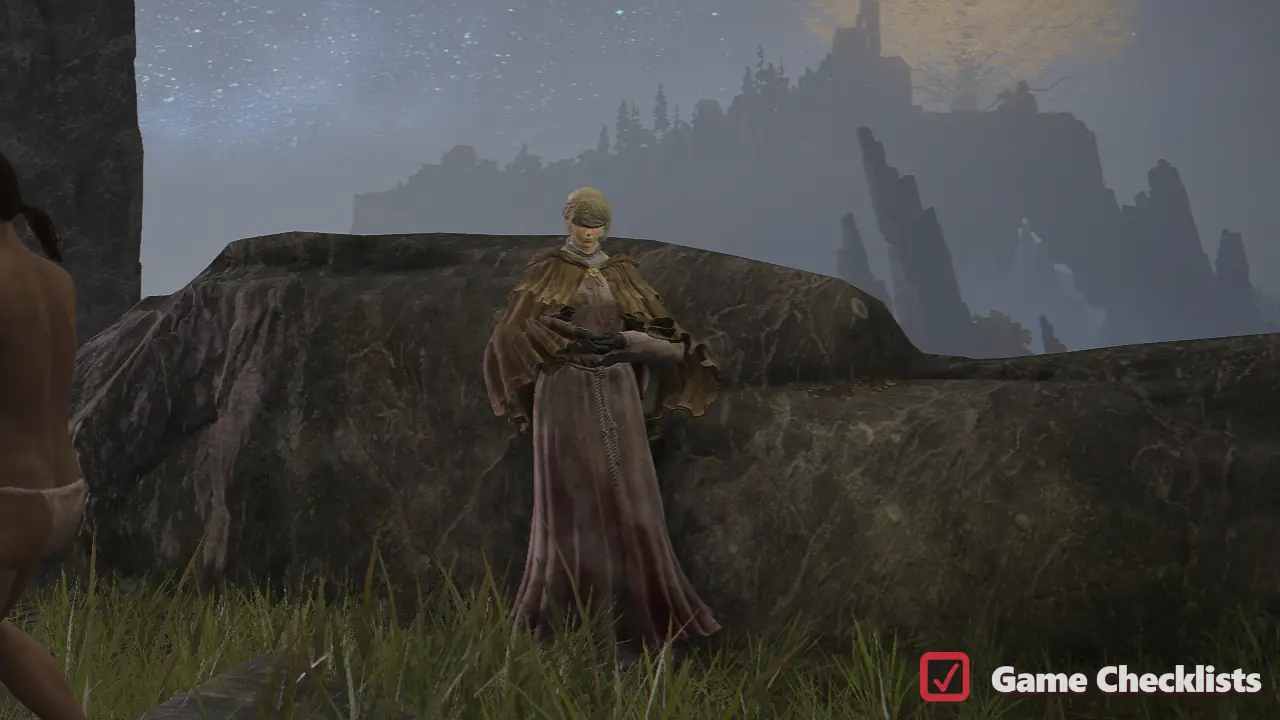 Related questlines: |
|||
|
Step 1: Meet Thops at the Church of Irith in Liurnia, west of Step 2: Progress through Step 3: Return to Thops and give him the second Academy Glintstone Key. He rewards you with the Erudition gesture and leaves for Step 4: Travel to the Step 5 (optional): Return to the Church of Irith. A Teardrop Scarab now appears in Thops's place. Defeat it to obtain the Ash of War: Thops's Barrier. 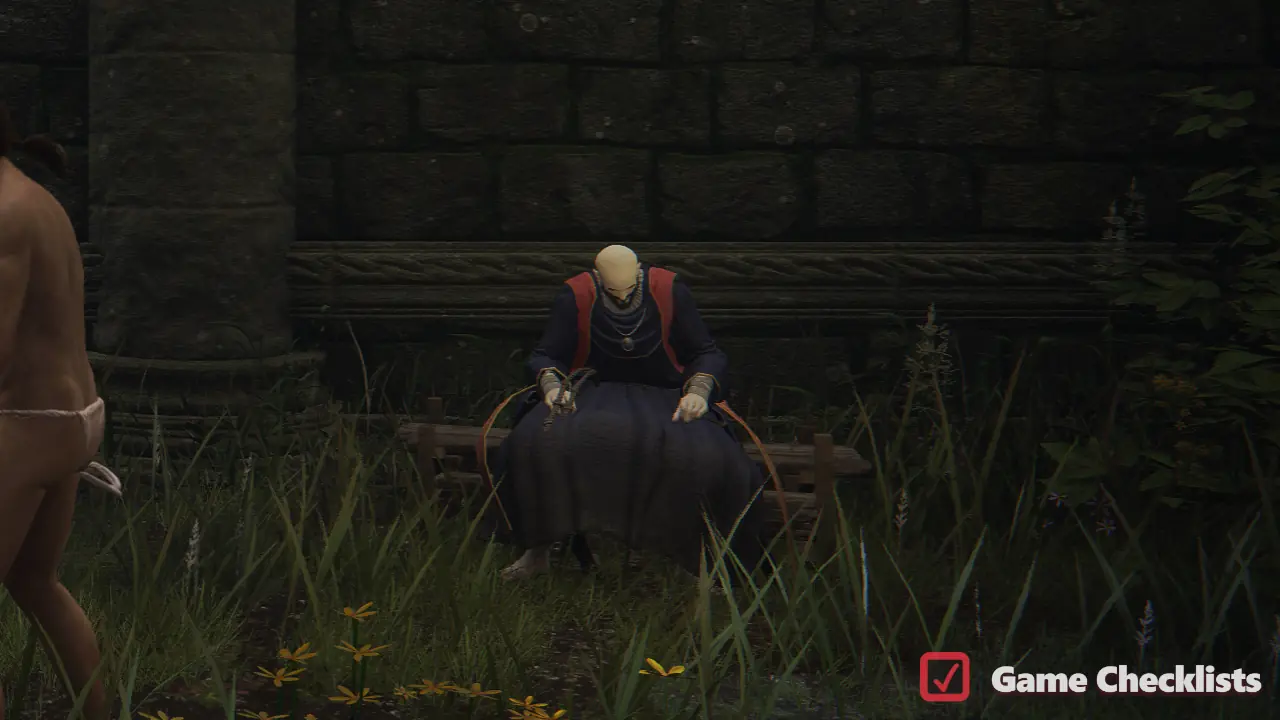 |
|||
|
Do not kill Rykard before reaching Step 13 of Rya's questline or the questline will fail. Step 1: Meet Rya in the gazebo northeast of Step 2: Go to the Step 3: Return the necklace to Rya. She rewards you with the Step 4: Go to Step 5: Join Step 6: Speak to Rya in her new room, where she appears in her snake form. Exhaust her dialogue. Step 7: Complete the second assassination contract (Rileigh the Idle). Step 8: Return to Rya in her room (now back in human form). She asks you to investigate strange noises. Discover the hidden passage behind the illusory wall next to Rya's room and reach the Step 9 (optional): Speak to Tanith about "Zorayas' troubles." Step 10: Defeat the Godskin Noble in the Step 11: Give the Serpent's Amnion to Rya. After resting, she disappears. Step 12 (optional): Speak to Tanith about "Zorayas' absence" to receive the Tonic of Forgetfulness. Step 13: Find Rya hiding deeper inside
Step 14: Defeat Step 15: Return to Rya's hiding place (or her room if you gave her the tonic). If you spared her, exhaust her final dialogue and reload the area to obtain Daedicar's Woe and Zorayas' Letter. If you gave her the tonic, reload to find Daedicar's Woe in her room instead. Important missable points Do not join Do not defeat Rykard before finding Rya in her hidden room inside 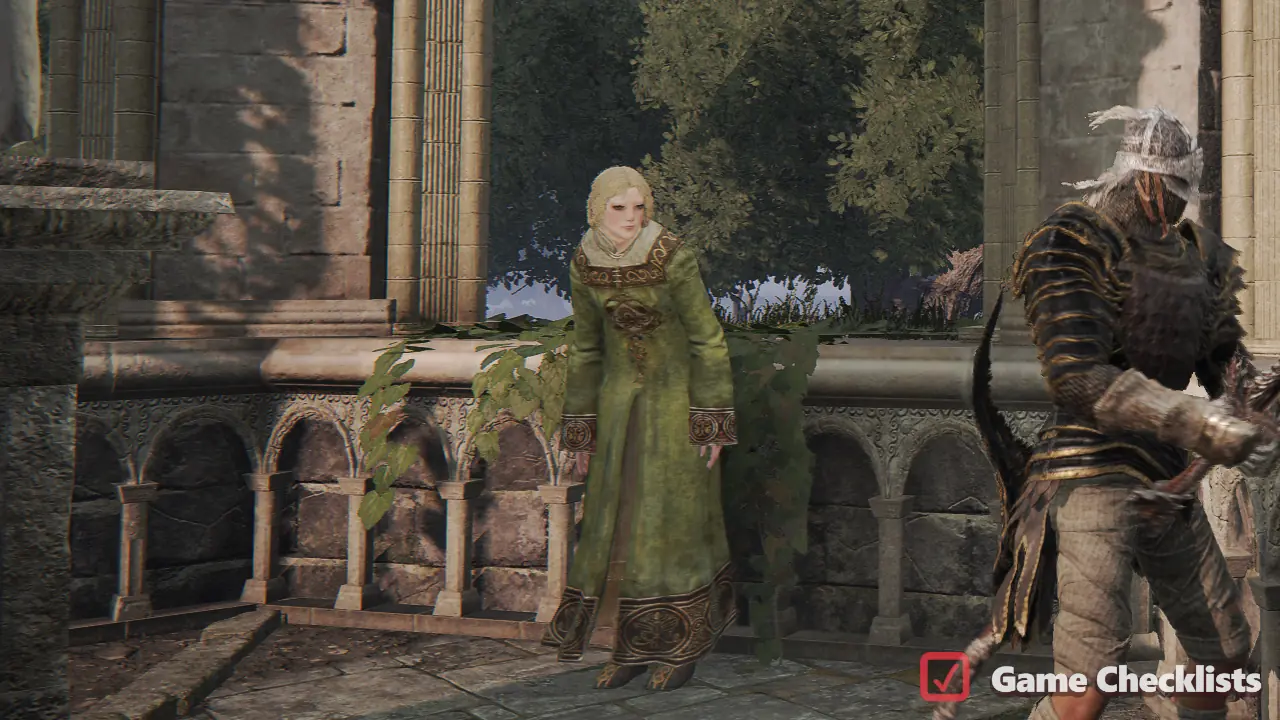 Related questlines: |
|||
|
Step 1 (optional): Do Step 1 of Rya's questline. Step 2: Shared with Rya's questline Step 2. Go to Step 3: Return the necklace to Step 4: Return to Boggart and buy at least one Boiled Prawn. This befriends him and allows his questline to continue. He can now also be summoned for the Step 5: After reaching Step 6: Progress Dung Eater's questline to Step 4 until he invades at the outer moat. Step 7: Reload the area. Boggart will be mortally wounded. Speak to him, then defeat the invading Step 8: Reload the area again and loot Boggart's body to obtain: Seedbed Curse, Blackguard's Iron Mask, Iron Ball, Blackguard's Bell Bearing. 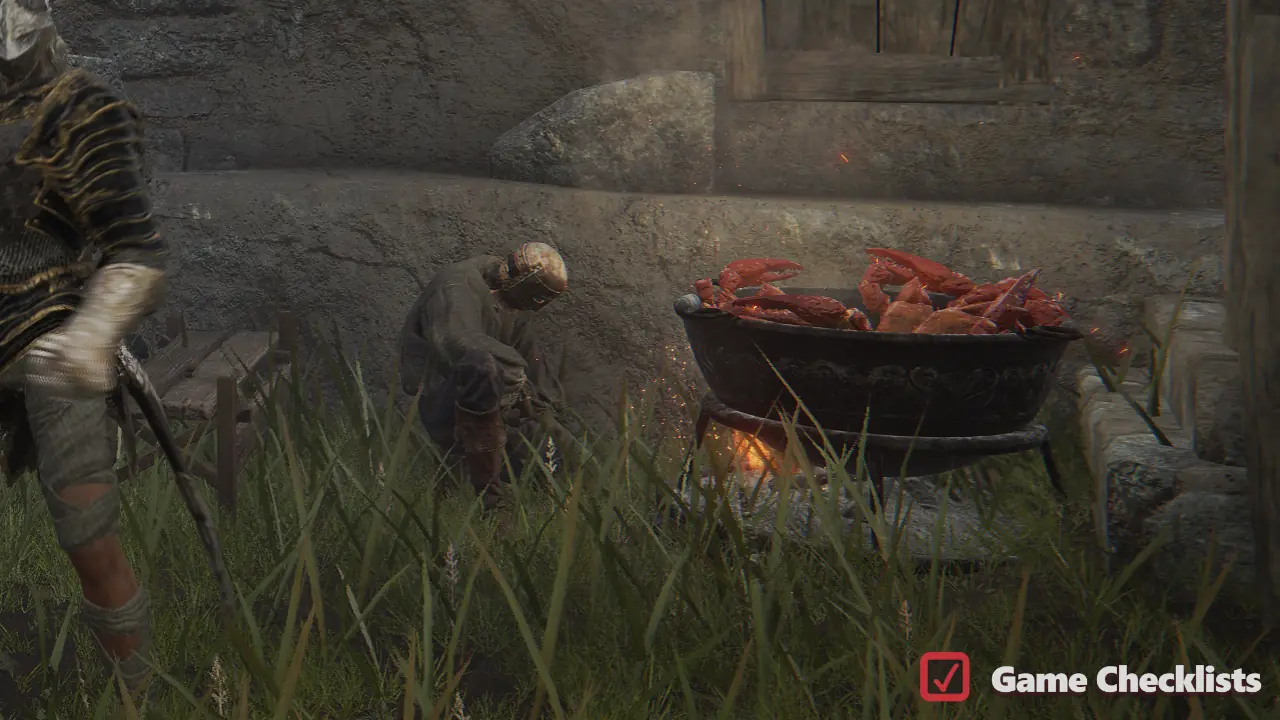 Related questlines: |
|||
|
Never kill any living jars in Step 1: Complete Step 1 of the Step 2: Meet Jar-Bairn in Step 3: Progress Diallos's questline until he leaves Step 4: Continue reloading the area and speaking to both Step 5: Defeat Step 6: Return to Step 7: Reload the area and speak to Jar-Bairn next to Step 8: Fully complete Step 9: Reload the area and Jar-Bairn will be back at his original location and announce his desire to travel the world. Give him Alexander's Innards. Step 10: Reload the area again to receive the Companion Jar talisman. Get Diallos's Mask and Hoslow's Petal Whip from the center of 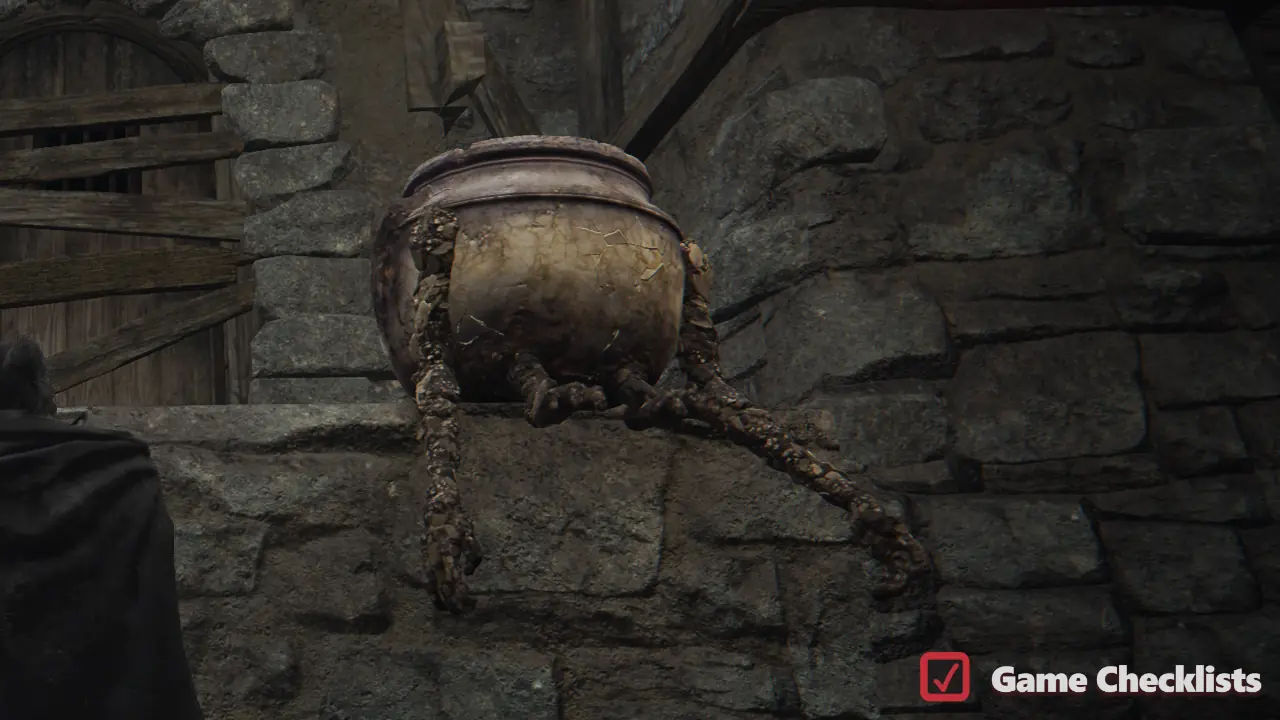 Related questlines: |
|||
|
Step 1: Meet Albus in the Step 2: Finish the Step 3: Progress through the game and obtain the Haligtree Secret Medallion (Left) from Commander Niall's area at Castle Sol. Step 4: Travel to the Step 5: Interact with the big Albinauric woman at the 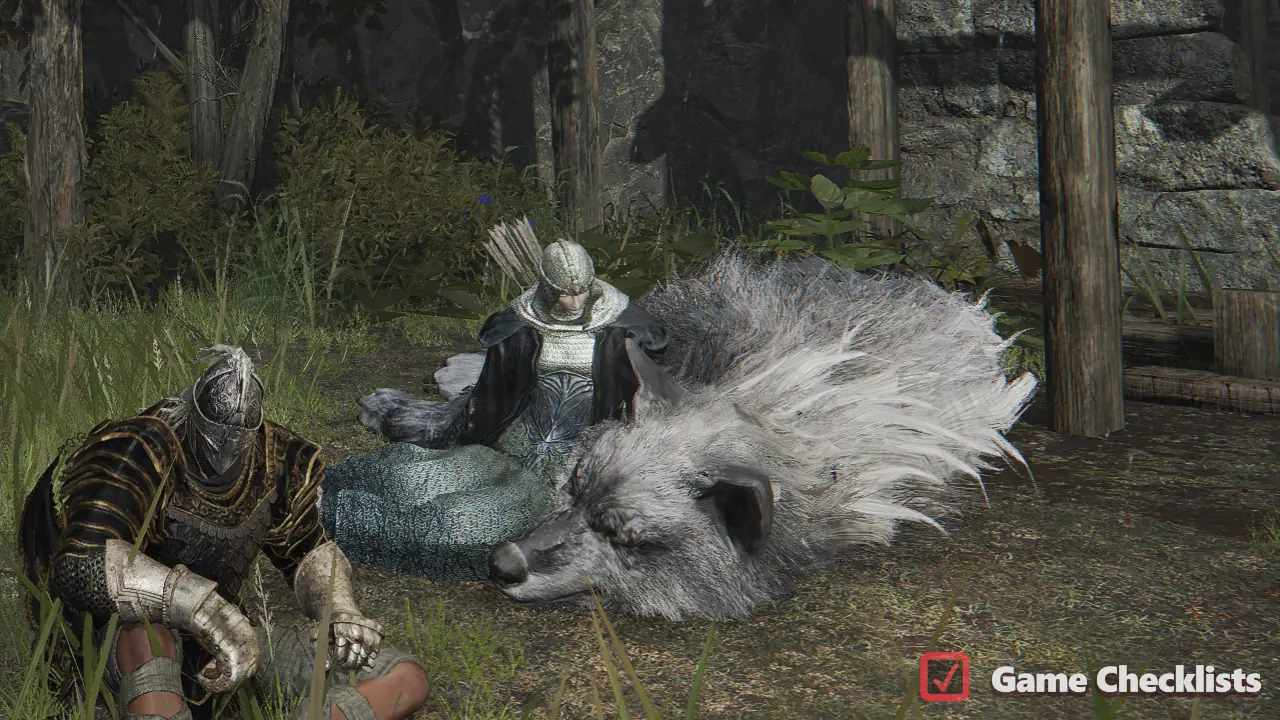 |
|||
|
Step 1 (optional): Finish Renna's questline. Step 2: Defeat Royal Knight Loretta in Caria Manor and reach Step 3: Speak to all three of Ranni's servants' phantoms inside the tower: Step 4: Complete Blaidd's questline Steps 4-6, which is: Meet Step 5: Return to Step 6: Defeat Step 7: Travel to the crater in eastern Limgrave and enter Step 8: Return to Ranni and give her the Fingerslayer Blade. She rewards you with the Carian Inverted Statue and leaves. Step 9 (optional): Use the Carian Inverted Statue at the Carian Study Hall and reach the Step 10: Open Renna's Rise, the adjacent tower to Step 11: Immediately after entering, pick up the Miniature Ranni doll and rest at the nearby Site of Grace. Select "Talk to miniature Ranni" three times until she responds. Step 12: Continue through Nokstella and defeat the Baleful Shadow. Ranni rewards you with the Discarded Palace Key. Step 13: Use the Discarded Palace Key to open the locked chest beside Rennala in the Step 14: Cross the Lake of Rot, reach the Step 15: Enter the Step 16: You are now eligible for the Age of the Stars ending. At 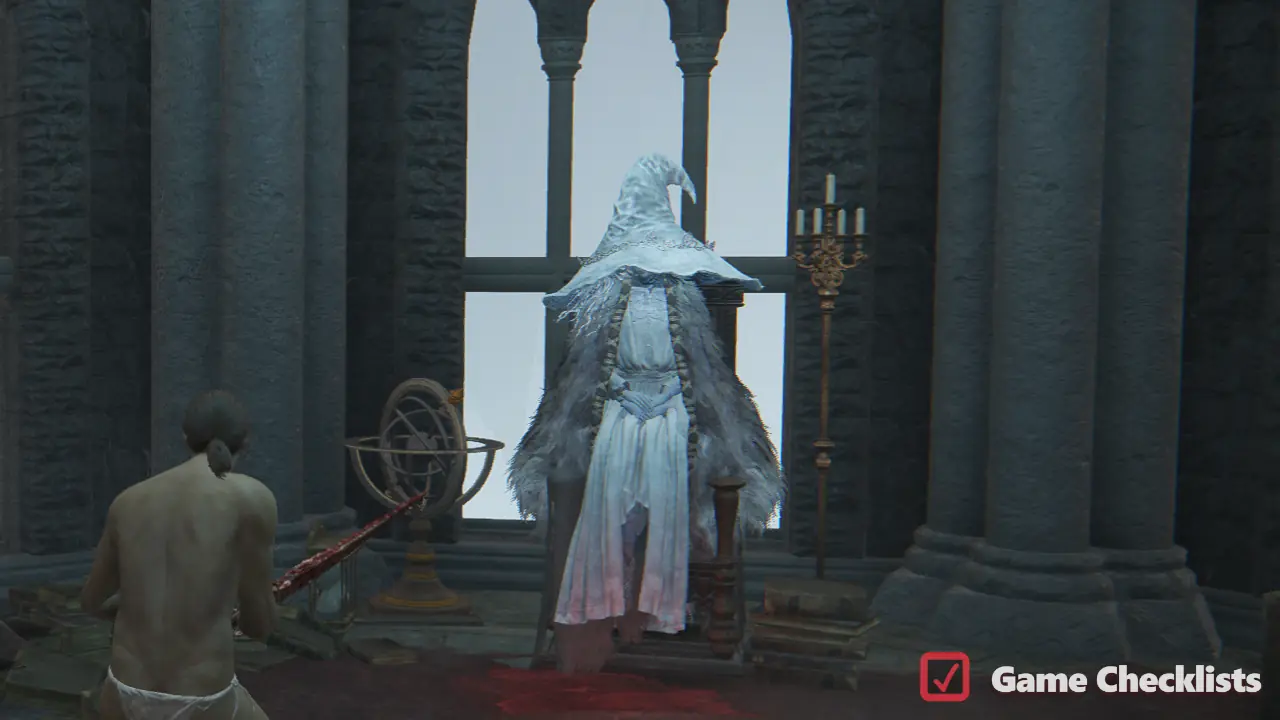 Related questlines: |
|||
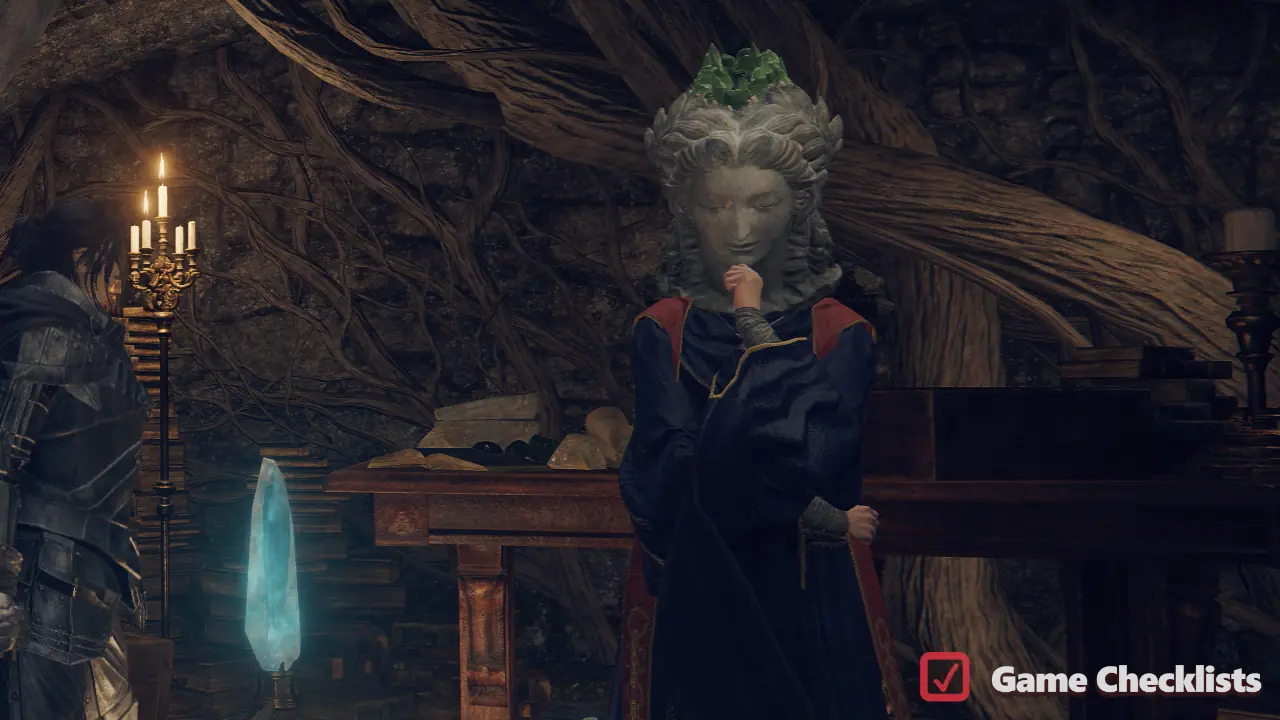
|
Before starting Preceptor Seluvis's questline, be wary that certain actions in this quest can break Step 1: Finish Steps 2 & 3 of Ranni's questline, then visit him immediately after at Seluvis's Rise tower west of Step 2: Speak with Seluvis to receive Seluvis's Potion. He instructs you to give it to Step 3: Decide what to do with the potion. Note that this poison incapacitates whoever drinks it and you will be able to obtain them as a Puppet, a special kind of Spirit Ash. Potential recipients
Step 4: Return to Seluvis and report that the potion has been delivered. Step 5: Find Seluvis's hidden puppet laboratory beneath the illusory floor in the ruins between Step 6: Seluvis allows you to choose your first puppet Spirit Ash. (Jarwight or Finger Maiden Therolina.) Step 7: Reload the area, speak to Seluvis again, reload once more, then purchase a second puppet using Starlight Shards. This unlocks the next stage of his quest. Step 8: Seluvis asks you to retrieve the Amber Starlight from Step 9: Give Seluvis the Amber Starlight. He rewards you with the Magic Scorpion Charm. This is the only opportunity to obtain this talisman. Step 10: Reload the area and receive the Amber Draught from Seluvis, who wants to give it to
Step 11: Progress Ranni's questline to Step 8. Giving her the Fingerslayer Blade will trigger Seluvis dying. Find him dead at Seluvis's Rise. Step 12 (optional): Visit Pidia at Caria Manor after Seluvis dies to witness the conclusion of his storyline and collect Pidia's drops. 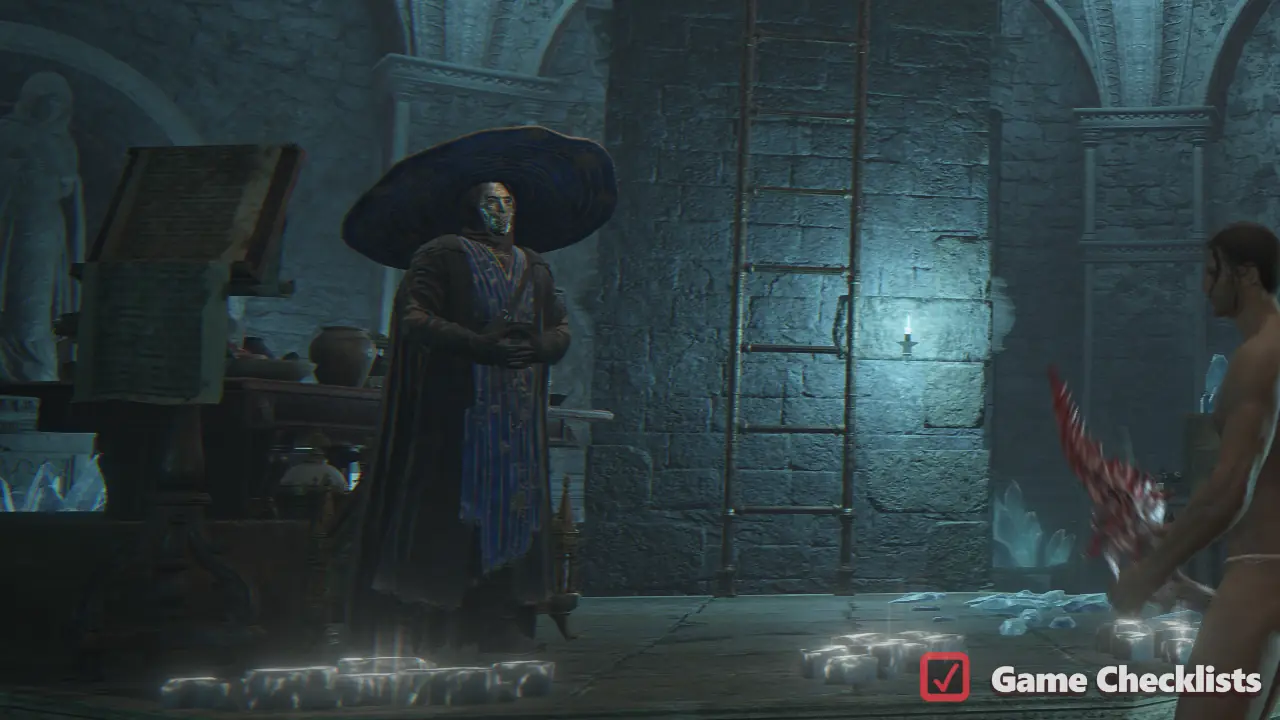 Related questlines: |
|||
|
Step 1: Meet War Counselor Iji at the Step 2: Join Ranni's service at Step 3: Continue ahead with Ranni's questline and do Steps 4-8, until you give Step 4: Finish up with what is left and still doable from Blaidd's questline until you inevitably reach Blaidd's Step 12 when you have to fight him. Step 5: Return to Iji and select the "Blaidd's Death" dialogue option. Exhaust his dialogue. Step 6: Leave the area and return. Iji will be dead, leaving behind Iji's Bell Bearing and Iji's Mirrorhelm. 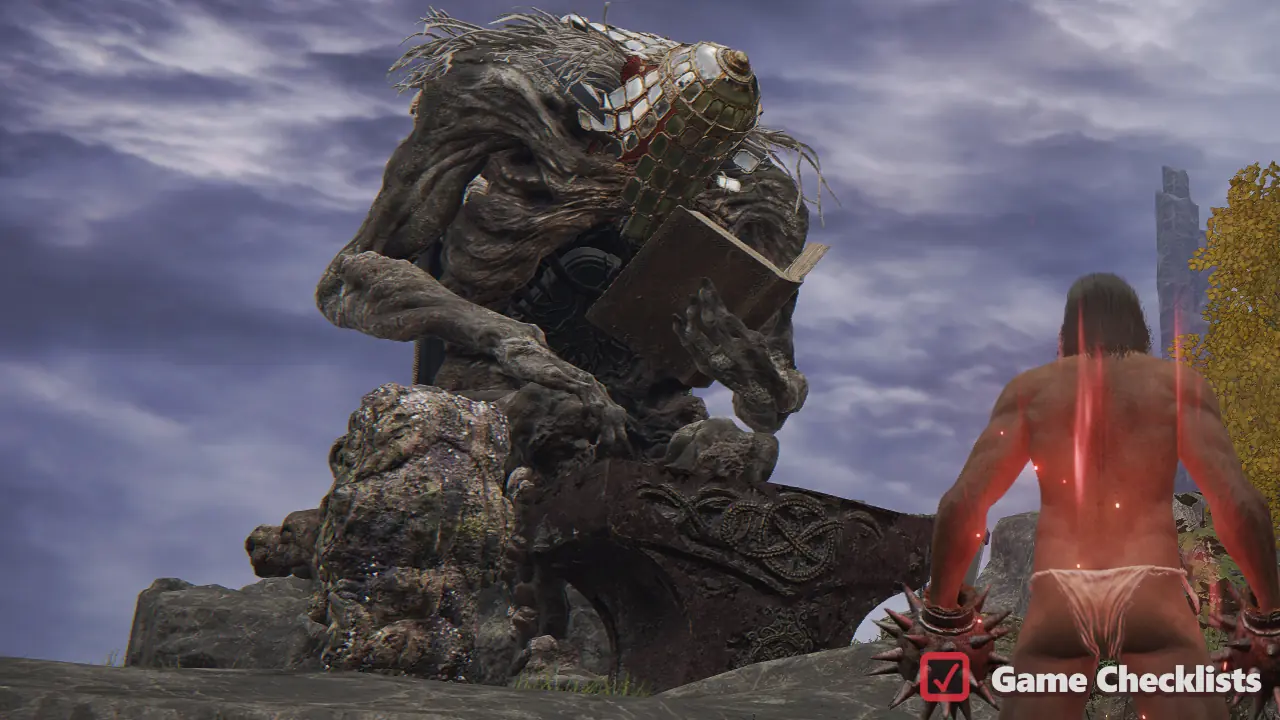 Related questlines: |
Quests in Caelid
There are 3 questlines in Caelid.
| ✓ | Quest | Questline Guide | |
|---|---|---|---|
|
Millicent and Gowry's questlines are intertwined so we list them as one for clarity and brevity. Note that both endings of this questline yield missable talismans, more explained at Step 12. Step 1: Meet Gowry at Gowry's Shack in Caelid before Sellia village and agree to help Millicent by finding the Unalloyed Gold Needle. He will give you Sellia's Secret. Step 2: Defeat Commander O'Neil in the Swamp of Aeonia and obtain the Unalloyed Gold Needle. Step 3: Return the needle to Gowry. Reload the area (or rest at a Site of Grace) and speak to him again to receive the repaired Unalloyed Gold Needle. Step 4: Give the repaired Unalloyed Gold Needle to Millicent at the Step 5: Go back down into Gowry's Shack. Speak to Millicent there until her dialogue is exhausted. Reload the area - Millicent leaves, Gowry returns, and Gowry's shop expands. Step 6: Go to The Shaded Castle. Jump into the main acid area and go up the tall ladder. Choose the rampart going north, follow it until you enter a tower with a chest. Loot the chest to get Valkyrie's Prosthesis. Step 7: Find Millicent close to the Step 8 (optional): Millicent can be summoned for the Godskin Apostle ( Step 9: Millicent moves to the Step 10: Enter Miquella's Haligtree and talk to Millicent at the Step 11: Close to the Step 12: Reload the area and again go to where you've fought the lesser Putrid Tree Spirit. You now have a decision.
Step 13: After any ending, return to Gowry for Flock's Canvas Talisman and Gowry's Bell Bearing. You can kill him now for the items, if he isn't already dead. Step 14 (only with Good Ending): Defeat Malenia, Blade of Miquella and reload the area. Go into her boss arena and use the Unalloyed Gold Needle on the scarlet flower for a Somber Ancient Dragon Smithing Stone. Using the Unalloyed Gold Needle on Malenia's Flower will give you the Miquella's Needle, which can be used in Dragonlord Placidusax's boss arena to reverse the Frenzied Flame ending.  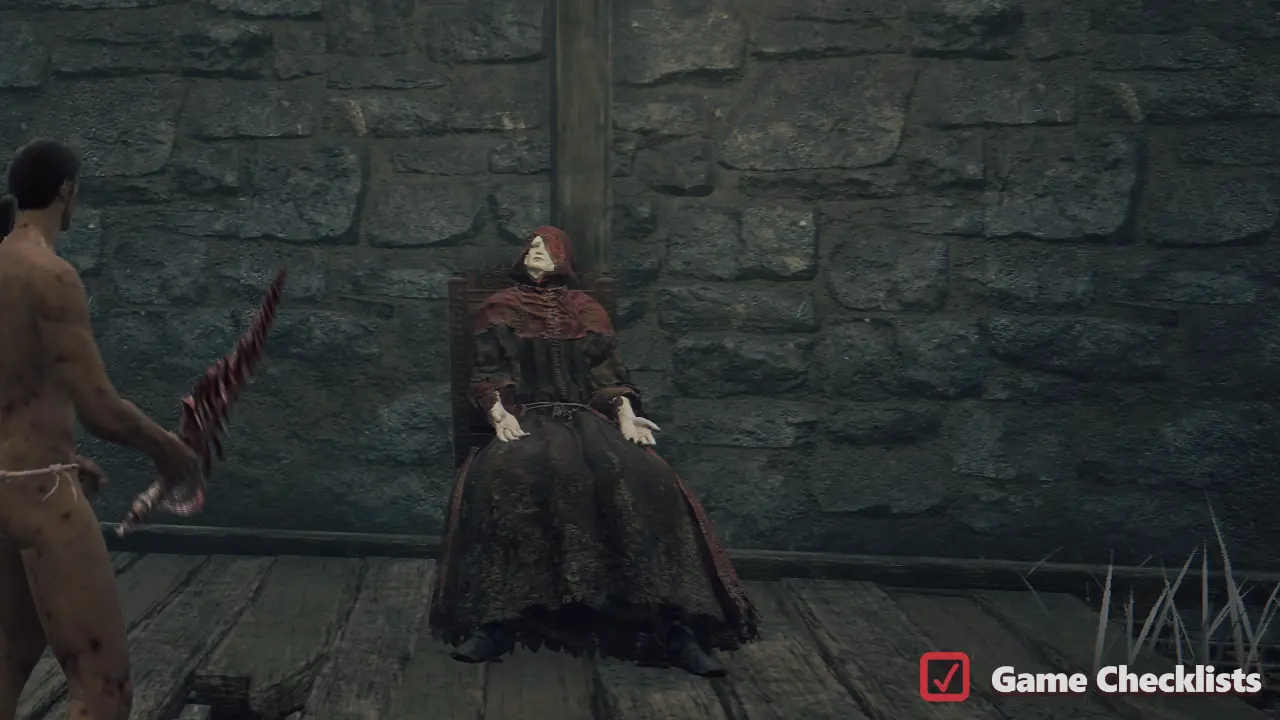 |
|||
|
Step 1: From Siofra River bottom level, use the northern elevator to reach this sub-area in Caelid. Go north to encounter The Great-Jar. Step 2: There are 3 Red Summon Signs on the ground in front of him. You must defeat all 3 invaders in 1 run, without dying. Step 3: Talk to The Great-Jar again to get the Great-Jar's Arsenal talisman. 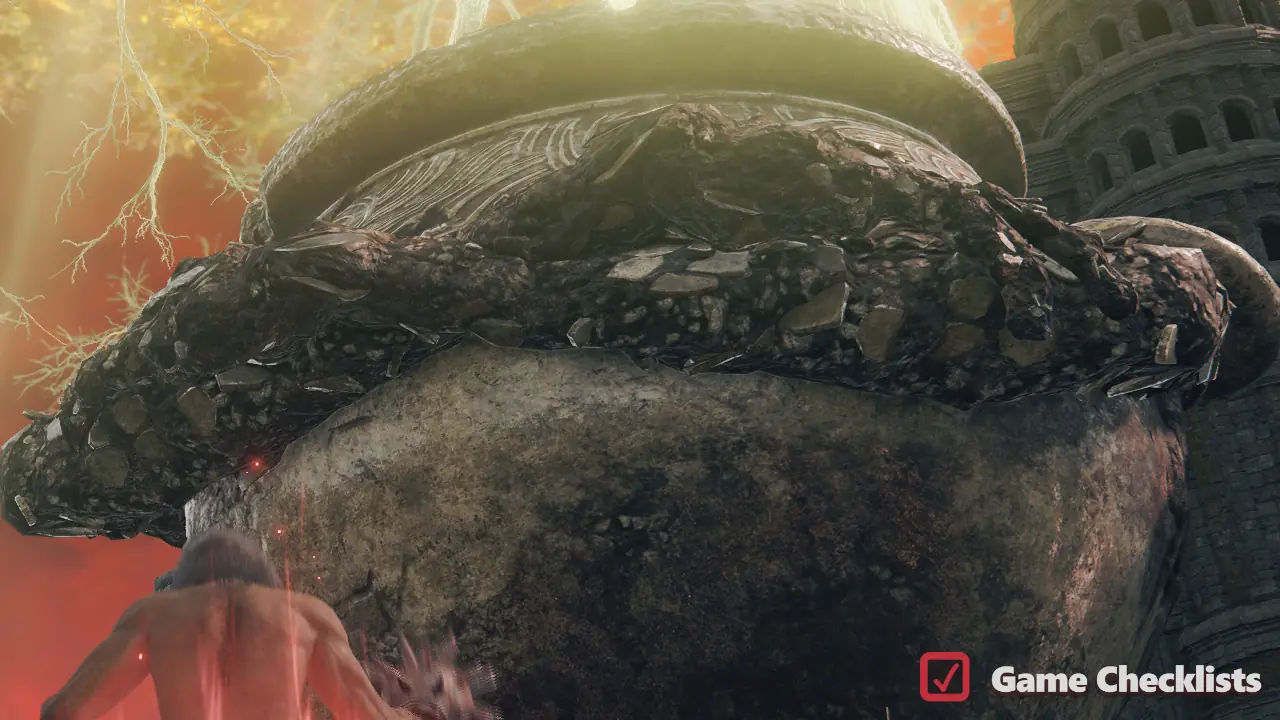 |
|||
|
Witch-Hunter Jerren doesn't have his own unique questline, instead he joins Sellen's questline from a certain point and his questline follows hers. Step 1: Defeat Step 2: Find Step 3: Continue with Steps 6 - 11 from Sellen's questline. 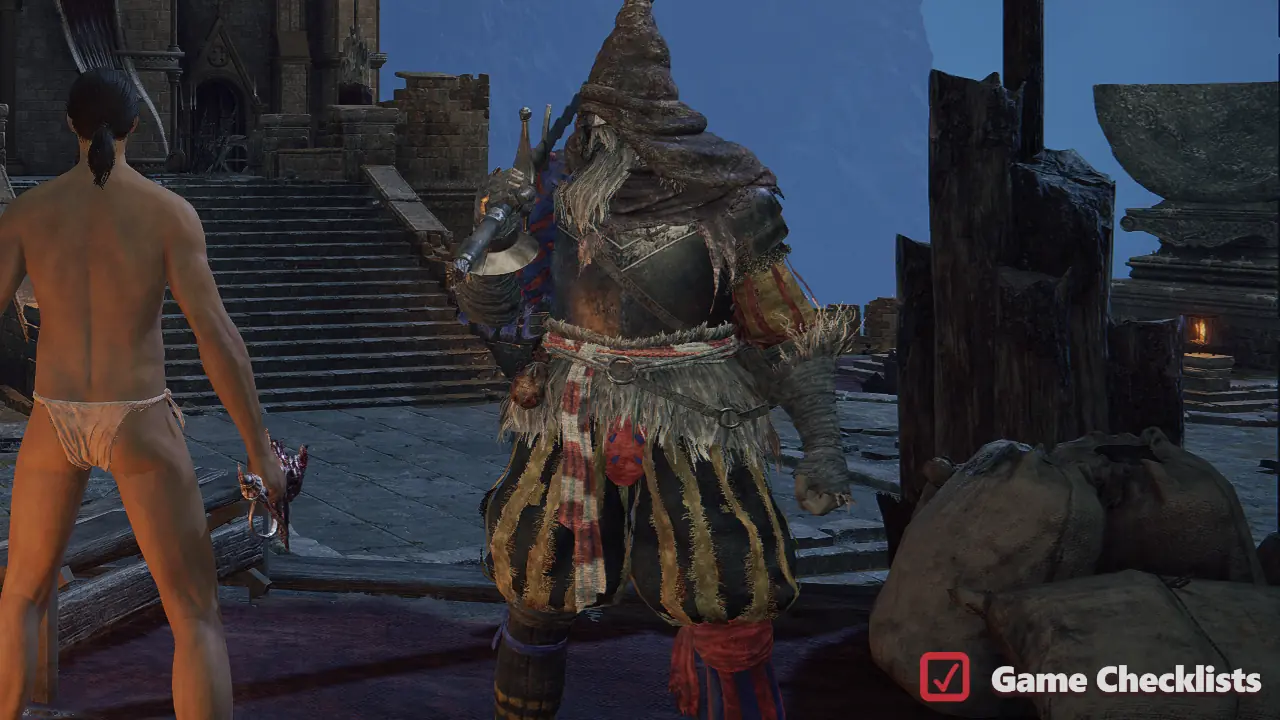 Related questlines: |
Quests in Dragonbarrow
There is 1 questline in Dragonbarrow.
| ✓ | Quest | Questline Guide | |
|---|---|---|---|
|
Step 1: Reach the Step 2: Give Deathroots to Gurranq as you find them. First four rewards are Clawmark Seal + Beast Eye, Beastial Sling, Bestial Vitality, Ash of War: Beast's Roar. Step 3: After giving the 4th Deathroot, rest at a site of grace. Gurranq will become hostile. Fight him until he retreats and becomes friendly again. Do not kill him. Rest again. Step 4: Continue giving the remaining 5 Deathroots. Rewards are: Beast Claw, Stone of Gurranq, Beastclaw Greathammer, Gurranq's Beast Claw, Ancient Dragon Smithing Stone. 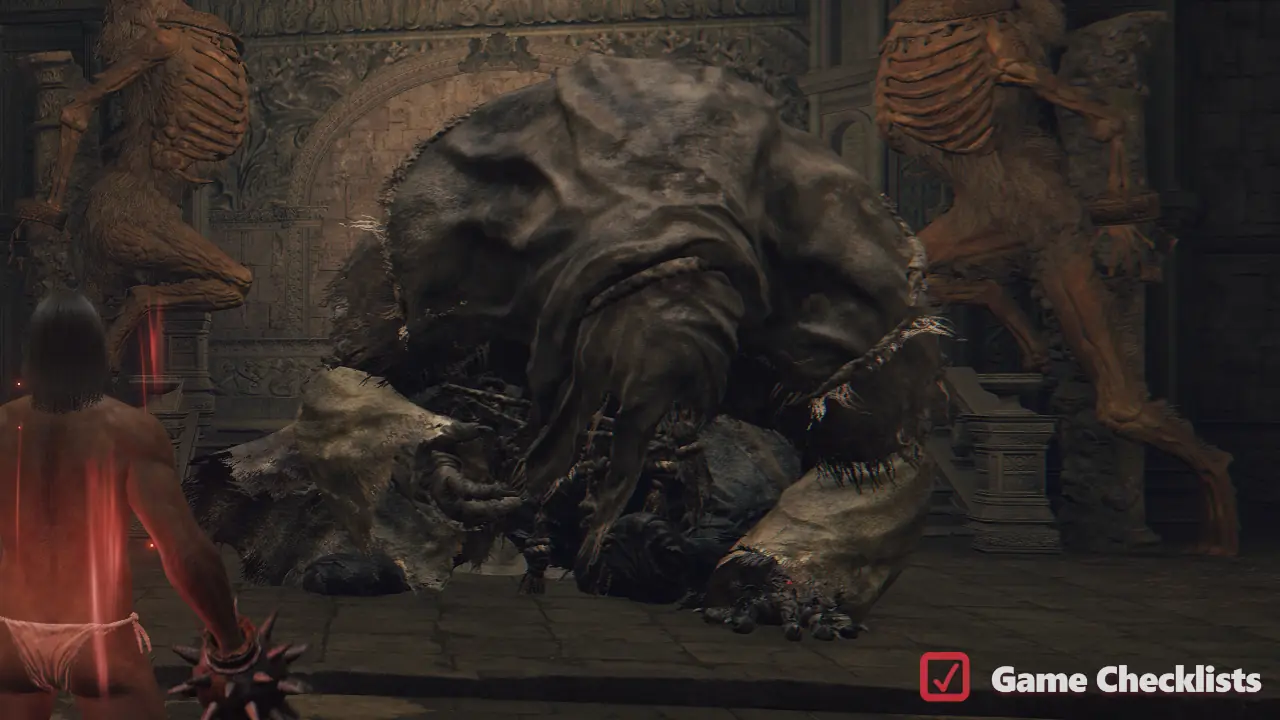 Related questlines: |
Quests in Altus Plateau
There is 1 questline in Altus Plateau.
| ✓ | Quest | Questline Guide | |
|---|---|---|---|
|
You must finish Step 7 before burning the Erdtree or this questline will fail. Step 1 (optional): Brother Corhyn appears at Step 2: Speak to Corhyn on the road north of the Step 3: Find Goldmask on the broken Forest-Spanning Great Bridge. Speak to him (...), then return to Corhyn and tell him Goldmask's location. Step 4: Reload the area. Corhyn moves on the bridge next to Goldmask and expands his shop with new Incantations. Step 5: Enter Leyndell and find Corhyn and Goldmask just next to the colosseum in the southwestern part of the capital. Fully exhaust their dialogue. They will provide a riddle. Step 6: Get the Golden Order Principia book from Step 7: Solve Goldmask's riddle before burning the Erdtree: Go to the Step 8: Return to Goldmask and exhaust his dialogue. Speak to Corhyn afterward to unlock the Immutable Shield Incantation. Step 9: Corhyn and Goldmask move to the bridge south of Stargazers' Ruins in the Mountaintops of the Giants. This is south of the Erdtree Avatar (Mountaintops) boss fight. Step 10: Complete Crumbling Farum Azula and return to Leyndell, Ashen Capital. Step 11: Find Goldmask near the cliffs below the Colosseum. Receive the Mending Rune of Perfect Order. Step 12: Reload the area and go again to Goldmask's location to collect the Goldmask Set. Step 13: Go back to Corhyn on the bridge near the Stargazers' Ruins. If he is not here, he can be found in Leyndell, Ashen Capital, near the large dragon's spear, but only if you previously offered him Tonic of Forgetfulness from Rya's questline. This is minor and doesn't affect the ending, as he will always refuse it. Step 14: Exhaust Corhyn's dialogue, reload the area, and collect Corhyn's Bell Bearing and Corhyn's Robe. 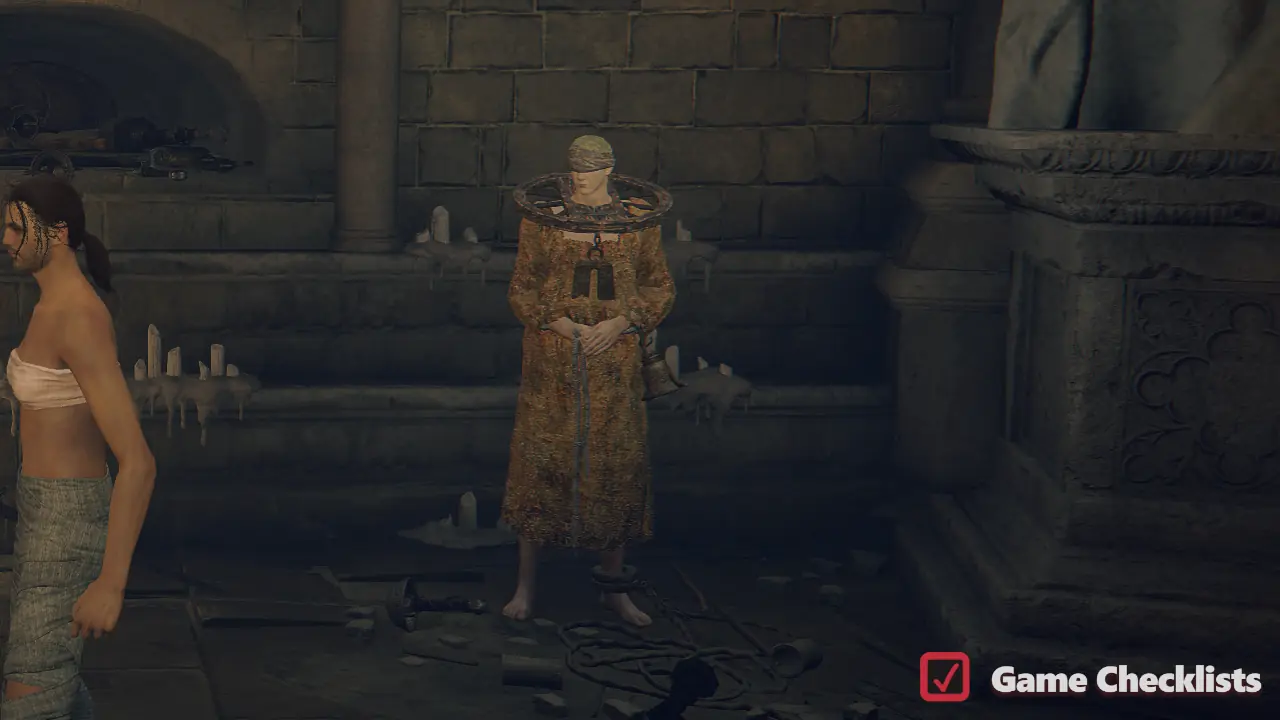 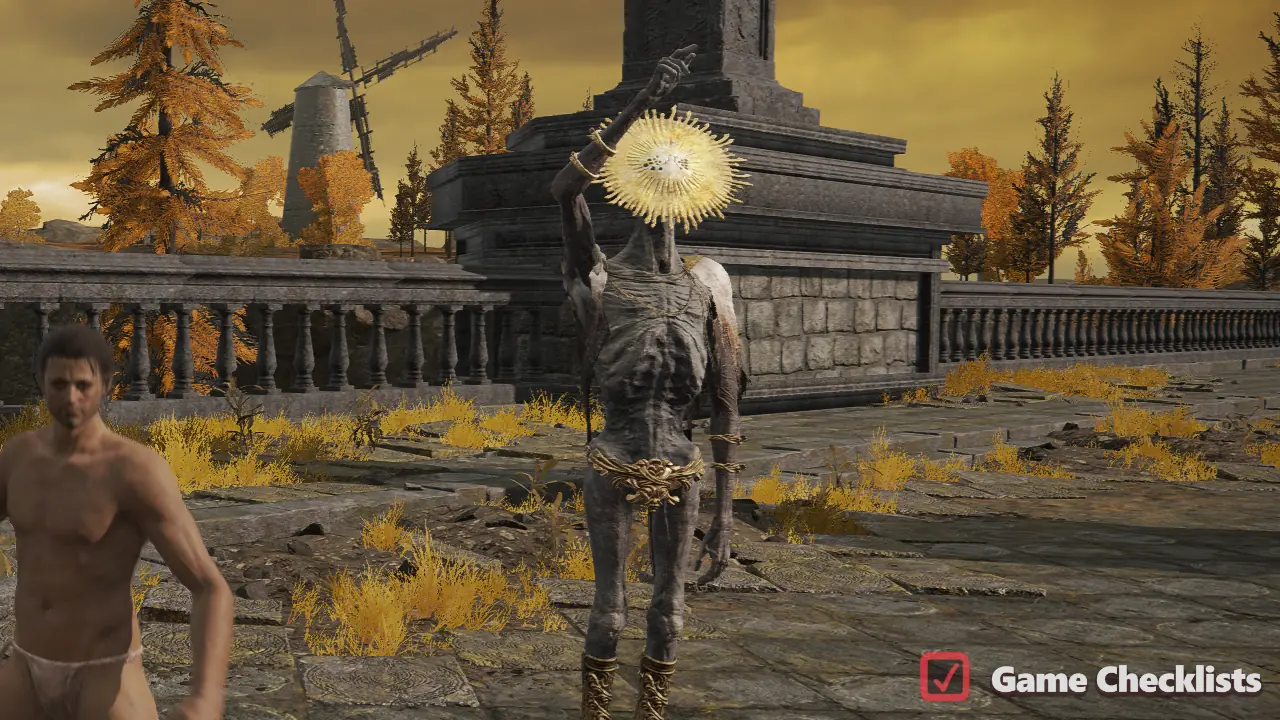 |
Quests in Leyndell
There is 1 questline in Leyndell.
| ✓ | Quest | Questline Guide | |
|---|---|---|---|
|
Step 1: Reach Step 2: Obtain at least one Seedbed Curse, then speak to Dung Eater at the Step 3: Use the Sewer-Gaol Key to free Dung Eater from his cell in the Subterranean Shunning-Grounds beneath Leyndell. Step 4: Return to the Step 5: If you progressed Boggart's questline to at least Step 5, he will die here. If you want to save him, make sure to wait on his questline until after this Dung Eater's step is completed: Go to the Outer Moat in Leyndell and trigger the invasion. Defeat the invading Dung Eater. He drops the Sword of Milos. Step 6: Return to the Step 7: Return to Dung Eater's body in the Subterranean Shunning-Grounds. You now have two options:
 Related questlines: |
Quests in Mountaintops of the Giants
There is 1 questline in Mountaintops of the Giants.
| ✓ | Quest | Questline Guide | |
|---|---|---|---|
|
Step 1: Complete Step 2: Reach the Step 3: He will direct you to join The Three Fingers and commit to the Frenzied Flame ending. Step 4: Return to Shabriri's location at 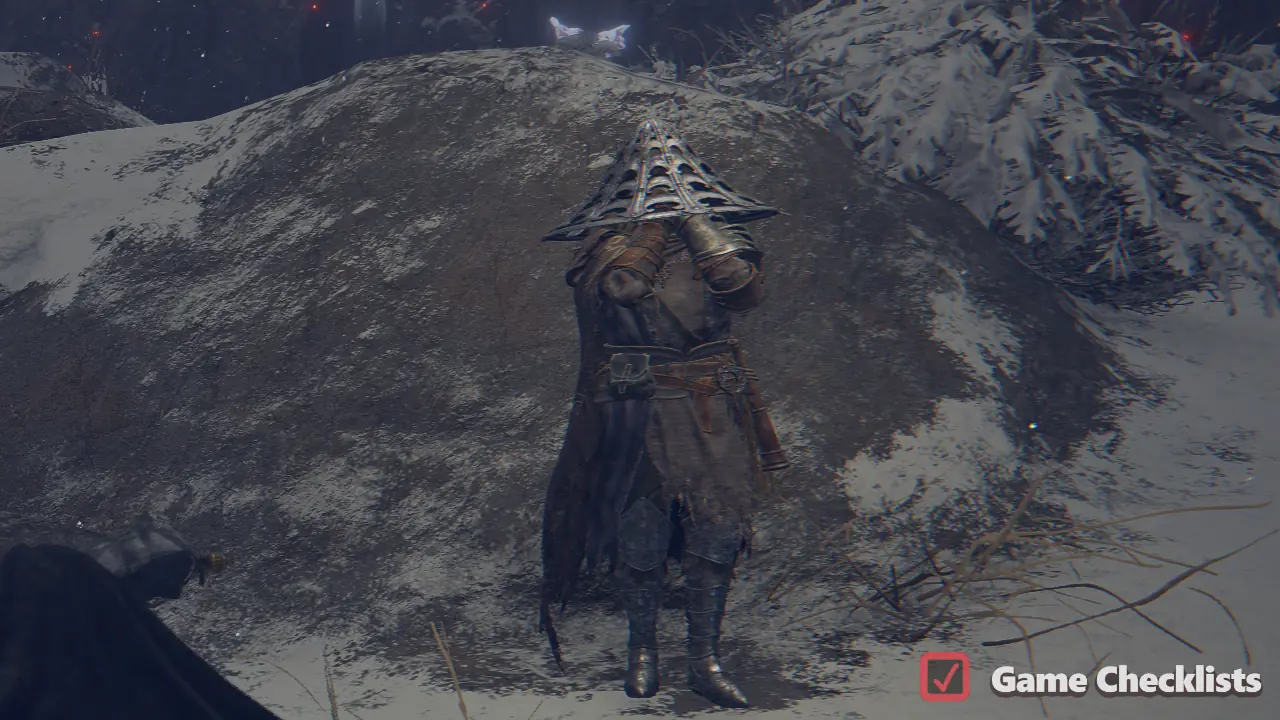 Related questlines: Bloody Finger |
Quests in Mohgwyn Palace
There is 1 questline in Mohgwyn Palace.
| ✓ | Quest | Questline Guide | |
|---|---|---|---|
|
Leda's questline is intertwined with other NPCs. It has a few missable items and you cannot get them all in a single playthrough. If you are aiming to get all the items in the most efficient way, help Step 1: Defeat Mohg, Lord of Blood Boss. Rest at the Step 2: Defeat the Divine Beast Dancing Lion in Belurat ( Step 3: Continue to Castle Ensis and read Leda's second message near the Step 4 (optional): Summon her for the fight against Rellana, Twin Moon Knight. Step 5: Meet Leda at the Step 6: Advance to Shadow Keep so you break Miquella's charm - then return to Step 7: Go into Shadow Keep and progress to
Step 8 (only if you've helped Leda): Another decision. Leda's target is now
Step 9: Leda moves to the final NPC battle at Enir-Elim, after the  Related questlines: |
Quests in Gravesite Plain (DLC)
There are 6 questlines in Gravesite Plain (DLC).
| ✓ | Quest | Questline Guide | |
|---|---|---|---|
|
Step 1: Meet Redmane Freyja at the Step 2 (optional): Summon Freyja to help defeat the Divine Beast Dancing Lion in Belurat. Step 3: Exhaust Freyja's dialogue after the battle. Step 4 (optional): Summon Freyja to assist against Rugalea, the Great Red Bear boss fight. Step 5: Advance to Shadow Keep so you break Miquella's charm - then return to Step 6: (Optional) Summon Freyja for the Golden Hippopotamus boss fight at the entrance of Shadow Keep. Step 7: Find Freyja on the seventh floor of the Specimen Storehouse and speak with her. She explains that she needs Sir Ansbach's help to understand an old text. Step 8: Speak to Step 9: Give Step 10: Deliver the Letter to Freyja and exhaust her dialogue. She rewards you with the Golden Lion Shield. Step 11: Meet Freyja again during the final NPC battle at Enir-Elim, after the  |
|||
|
Step 1: Meet Hornsent at the Step 2: Reach Scadu Altus and meet Hornsent again at the Step 3: Advance to Shadow Keep so you break Miquella's charm - then return to Step 4 (optional): Summon Hornsent as an ally for the Golden Hippopotamus boss. Step 5: Before entering Messmer's boss arena, choose whether to assist Hornsent or Step 6: Go into Shadow Keep and progress to
Step 7: If Hornsent is still alive (you didn't help Step 8: If you summoned Hornsent for Messmer the Impaler boss, Hornsent will invade near  Related questlines: |
|||
|
Step 1: Speak with Sir Ansbach at the Step 2: (Optional) Visit all marked Miquella's Crosses for additional dialogue from Ansbach. Only possible before Miquella’s Great Rune is broken. Step 3: Advance to Shadow Keep so you break Miquella's charm - then return to Step 4: Find Ansbach on the Step 5: Speak with Step 6: Return to Ansbach, tell him about Freyja’s decision, then exhaust his dialogue. Step 7: From Step 8: Reload the area, then speak with Ansbach again to receive the Letter for Step 9: As soon as Leda's questline reaches Step 8, she will want to invade him near
Step 10: If Ansbach survived and received the Secret Rite Scroll, summon him during the Enir-Ilim NPC battle. Speak with him afterward near the top of the elevator for additional dialogue. Step 11 (optional): Summon Ansbach for the Promised Consort Radahn boss fight. Step 12: After the battle, collect Ansbach’s Set and the Obsidian Lamina from the arena entrance.  Related questlines: |
|||
|
Step 1: Meet Moore at the Step 2 (Optional): Visit Step 3 (Optional): Collect all seven Forager Brood Cookbooks before breaking Miquella's Great Rune or making Moore's final choice. Speak to each friendly Forager Brood across the Realm of Shadow, including warming the shivering Pest north of the Church of the Crusade with a Warming Stone or Sunwarmth Stone. After obtaining Cookbook (4), return to Moore to receive Cookbook (7). Step 4: Advance to Shadow Keep so you break Miquella's charm - then return to Sir Moore and again exhaust all available dialogue until he asks you a question about sadness. The answers are a decision.
Step 5: If you chose "Put it behind you," Moore joins the final NPC battle in Enir-Ilim. Defeat him there to obtain Moore's Bell Bearing, Verdigris Greatshield, and the Verdigris Set.  Related questlines: |
|||
|
Step 1: Obtain the Storeroom Key from a corpse atop a ladder past a waterfall, and speak with her before fighting the Divine Beast Dancing Lion to hear her unique pre-boss dialogue. Step 2 (optional): Find Step 3: Defeat the Divine Beast Dancing Lion boss, then equip the Divine Beast Head before returning to Step 4: With the Divine Beast Head equipped, exhaust Grandam's dialogue to get the Watchful Spirit incantation and a Scorpion Stew. Step 5 (optional): Give a Scorpion Stew to Step 6: After defeating Messmer the Impaler, return to Step 7 (optional): Rest at a Site of Grace and revisit her. She will be asleep, allowing you to pick up one additional Gourmet Scorpion Stew. This is the only way to obtain this consumable.  Related questlines: |
|||
|
Step 1: Defeat Fire Knight Queelign during his first invasion in Belurat. He drops the Crusade Insignia talisman. Step 2: Defeat Queelign again when he invades at the Church of the Crusade northwest of Step 3: Use the Step 4: Speak with Queelign and choose one of the following rewards:
 |
Quests in Scadu Altus (DLC)
There are 4 questlines in Scadu Altus (DLC).
| ✓ | Quest | Questline Guide | |
|---|---|---|---|
|
Step 1: Meet Thiollier at the Step 2 (optional): If you also speak with Step 3: Advance to Shadow Keep so you break Miquella's charm - then return to Thiollier back at Step 4: Reach the Step 5: You can either discover St. Trina yourself and tell Thiollier where she is, or allow him to leave on his own by progressing the DLC until he travels there. Step 6: Speak with Thiollier beside St. Trina. Interact with St. Trina and choose "Imbibe Nectar" five times, dying each time. Continue until you hear her voice after death, then repeat until all of her dialogue is exhausted. Step 7: Speak with Thiollier and choose "Pass on St. Trina's words." Repeat the dialogue option a second time to provoke him. Step 8: Rest at the nearby Site of Grace or drink St. Trina's nectar again to trigger Thiollier's invasion. Defeat him to receive St. Trina's Smile talisman Step 9: Speak with Thiollier once again in St. Trina's chamber and exhaust his dialogue. Step 10 (optional): Summon Thiollier during the Enir-Ilim NPC battle if you want him to remain available for the final boss. Skipping this summon prevents him from appearing for the last fight. Step 11: Defeat the final DLC boss. Reload the arena entrance to collect Thiollier's Hidden Needle weapon along with Thiollier's Set. 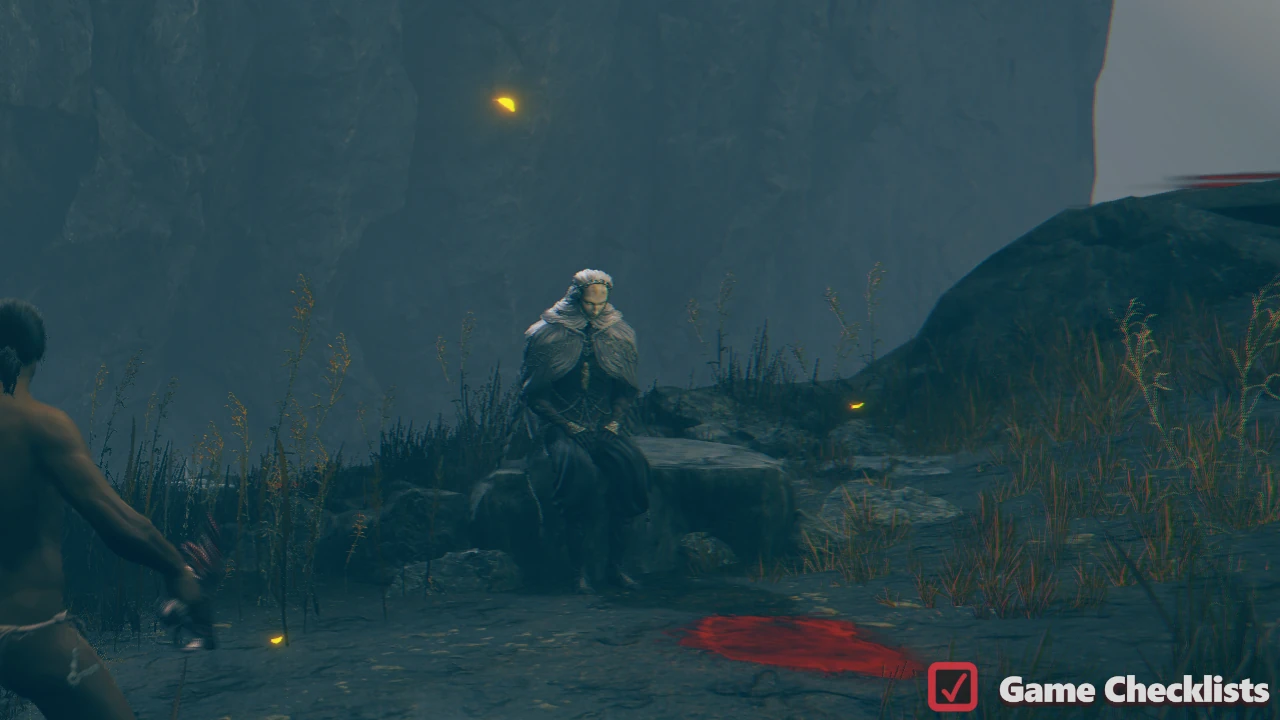 Related questlines: |
|||
|
Step 1: Reach the Step 2: Travel to the Step 3: Defeat Dryleaf Dane. As a reward, you will receive Dryleaf Arts and Dane's Hat. Step 4: Progress through the DLC until you reach the NPC battle in Enir-Ilim after the 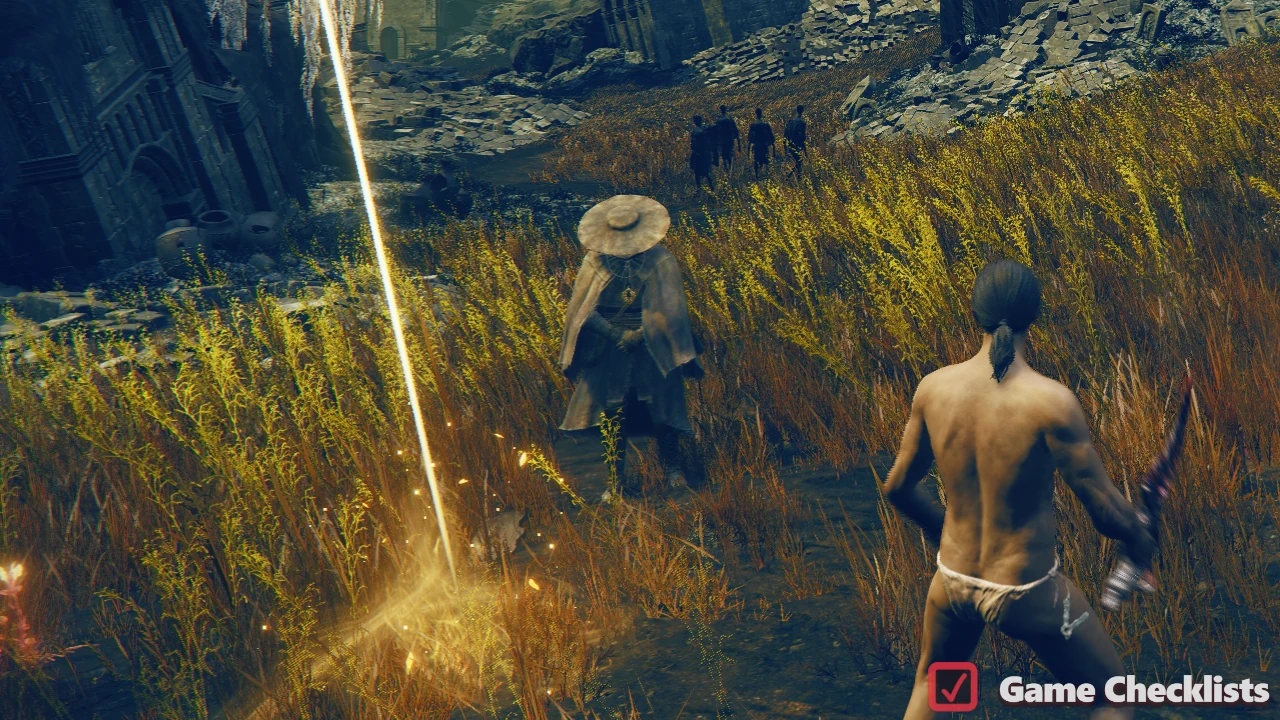 Related questlines: |
|||
|
Step 1: Progress Count Ymir's quest until you ring the bell at the Finger Ruins of Rhia (Step 2). Return to the Step 2: Continue Count Ymir's questline Steps 3-6, but speak to Jolán after ringing every bell. Step 3: Rest at the Site of Grace and return to Jolán's usual location. She will be dying beside the pillar and ask for your help. Choose one of the following rewards:
Step 4 (if you chose Iris of Grace): Travel to the Shaman Village, descend the cliffs behind it to Rabbath's Rise, and interact with Anna's puppet. Choose to unite Anna with Jolán to upgrade the Swordhand of Night Jolan Spirit Ash into the combined Jolan and Anna Spirit Ash.  Related questlines: |
|||
|
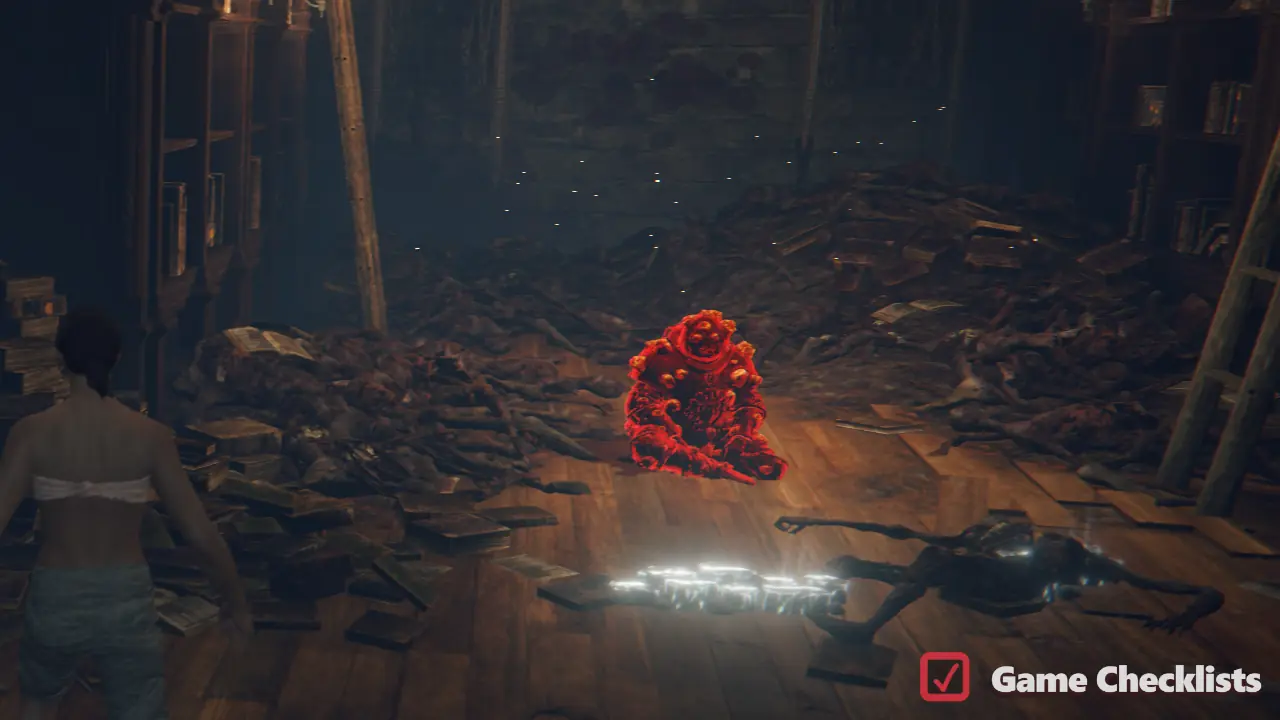
Step 1: Meet Count Ymir inside the Step 2: Travel to the Finger Ruins of Rhia, use the Hole-Laden Necklace to ring the bell, then return to Count Ymir. He rewards you with Beloved Stardust and a second Ruins Map. After reloading the area, Step 3: Visit Step 4 (optional): Return to the cathedral while Ymir is outside by Yuri's grave. Activate the hidden switch beneath his throne, descend the ladder, defeat Swordhand of Night Anna. Step 5: Speak to Count Ymir, then reload the area until he leaves. Examine the throne to reveal the hidden passage, descend into the Finger Ruins of Miyr, defeat Anna if you skipped the optional step, ring the final bell, and defeat Metyr, Mother of Fingers. Step 6: Return to the Step 7: Collect the Cherishing Fingers from the graveyard west of the cathedral. Rest at the Site of Grace, then return inside to find 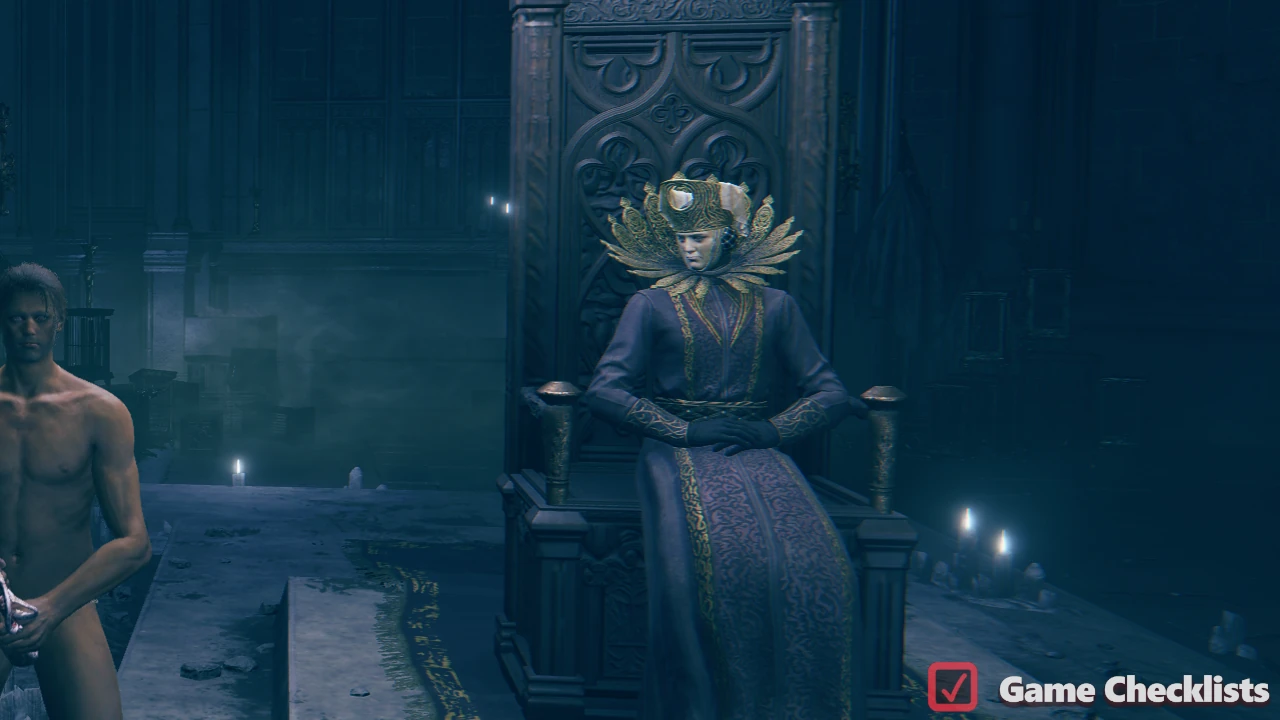 Related questlines: |
Quests in Jagged Peak (DLC)
There are 2 questlines in Jagged Peak (DLC).
| ✓ | Quest | Questline Guide | |
|---|---|---|---|
|
Step 1: Find Igon just south of the Step 2: Continue through Step 3: Speak with the Step 4: Continue toward the Step 5: After the battle, find Igon near the entrance to the nearby canyon and exhaust his dialogue. He will ask you to summon him against Bayle. Step 6: Reach Bayle the Dread's arena at the summit of Jagged Peak. Once the battle begins, locate Igon's summon sign just inside the entrance on the left side and summon him if you want the full experience with Igon's screaming. Step 7: Defeat Bayle the Dread. After the fight, return to Igon's last location near the two Jagged Peak Drake Duo boss fight to collect Igon's Greatbow, Igon's Bell Bearing and Igon's Set. Step 8: Return to the  Related questlines: |
|||
|
Step 1: Find the Dragon Communion Priestess at the Step 2: Before you defeat Bayle, the Dread boss, decide on the ending and get Thiollier's Concoction in time. See Thiollier's questline Step 2 on how to obtain it. Choose whether to give it to her or not. Step 3: Defeat Bayle and get respective rewards. If you gave her Thiollier's Concoction: Ancient Dragon Florissax Spirit Ash, Dragonbolt of Florissax. If you didn't: Priestess Heart reusable consumable, Flowerstone Gavel. 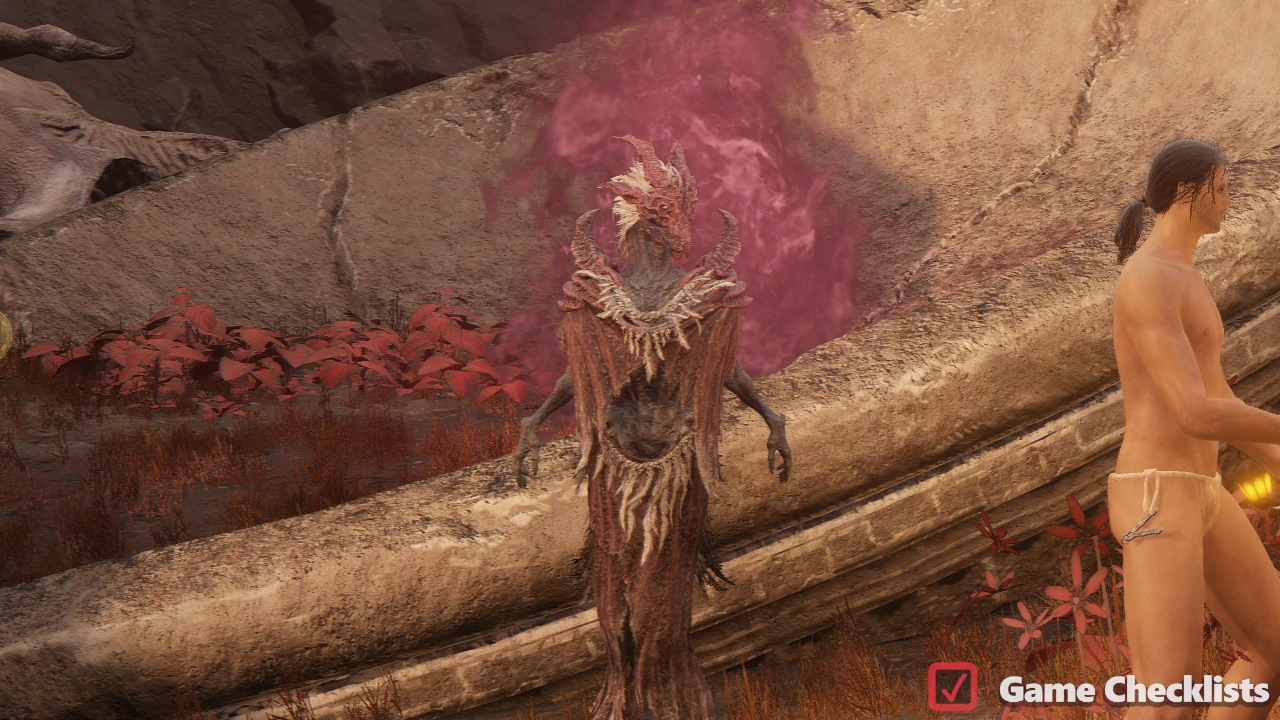 Related questlines: |
Frequently Asked Questions
How many questlines are in Elden Ring?
This checklist tracks 49 NPC questlines across the base game and Shadow of the Erdtree DLC, with step-by-step guides and links to related questlines.
How do I use this All Quests checklist?
Check off each questline as you complete it. Progress saves automatically in your browser. We strongly recommend creating a free account to back up your progress across devices and browsers.
Where can I see my whole Elden Ring progress?
After syncing with your account, open the Elden Ring progress tracker to see completion across every Elden Ring checklist in one place. Your Profile page also lists progress per game.
How are questlines used in Elden Ring?
Questlines unlock weapons, spells, gestures, talismans, endings, and merchant stock. Many tie into other NPC stories, so use the Related questlines notes to avoid breaking chains.
Are any questlines missable?
Yes. 11 entries include missable warnings in their descriptions, including Bloody Finger Yura, Patches, Irina & Edgar, Diallos, Rya, Boggart, and 5 more. Search this checklist for "missable" or "DO NOT" to review each case.