All Quests Checklist Overview
The checklist is located below this introductory text.
This checklist contains every NPC questline in Bloodborne. Questlines reward unique weapons, armor, Caryll Runes, Gestures, Hunter Tools, and other exclusive items that are often unavailable anywhere else, usually through unique Badges.
How to complete all Quests in Bloodborne
Most questlines begin simply by speaking to an NPC, but they usually progress only after defeating major bosses or advancing the night's Moon Cycle. Many NPCs move to new locations as the story progresses, making it important to revisit previously explored areas and speak to them again whenever new dialogue becomes available.
Unlike many RPGs, Bloodborne does not include a quest log or objective markers. Quest progression is tracked entirely through NPC dialogue and story progression. As is common in Fromsoft games, the NPC dialogue is extremely cryptic, making it easy to lose track of questlines during a blind playthrough.
We strongly recommend using a step-by-step checklist like this one, which tracks every step in every questline to not miss any. With this checklist, it is possible to complete All Questlines in a single playthrough in a way that does not miss any important rewards.
Missable Quests
Several Questlines depend on specific story progression and can permanently fail if major bosses are defeated before completing the required NPC interactions.
Do NOT attack any NPCs unless specifically prompted by our guides. Do NOT defeat major bosses (especially  Rom, the Vacuous Spider), unless you're absolutely sure every required NPC questline step has been fulfilled.
About Questlines in Bloodborne
Questlines are among the most rewarding optional content in Bloodborne. Besides unlocking exclusive collectibles, they reveal much of the game's lore and often influence the fate of the characters you meet throughout Yharnam.
Some questlines also present mutually exclusive choices, meaning not every reward can always be obtained in the same way. This checklist is designed in a way that leads to NPC endings that yield every single worthy reward (except for some consumables, which can be found or bought elsewhere).
The only exception is the Gascoigne's Daughters quest. In your main playthrough, we recommend sending the young sister to Oedon Chapel (she will be eaten by the Boar in sewers) to later progress the quest and ultimately obtain the  White Messenger Ribbon.
However, you also need to send her to Iosefka's Clinic to get one of the Caryll Runes. We recommend doing this in NG+, as it is accessible just a few minutes after the opening cutscene.
If you've been following our Bloodborne 100% Checklists closely, this is the only thing you need to do in NG+.
Related Checklists
Open the Bloodborne 100% Completion Hub for every checklist. See also All Gestures, All Badges, and All Messenger Skins.
Potential Oedon Chapel Guests
Arianna
Arianna is one of the NPCs that can be sent to Oedon Chapel or Iosefka's Clinic. If she ends up in Iosefka's Clinic, she will be transformed into a celestial. Killing it will also drop  Arianna's Shoes armor.
Be careful so Arianna doesn't die while she stays at Oedon Chapel: Suspicious Beggar NPC can kill her AND Adella can kill her, if she's present and you collect Blood of Arianna three times.
Remember to not unnecessarily attack any NPC. Note that this is not the only way the quest can go - this is the recommended plan of steps to maximize completionist rewards.
There are 4 steps in this questline.
| ✓ | Quest Step | Description | |
|---|---|---|---|
 |
Arianna - Step 1
 Cathedral Ward Cathedral WardQuest Step
|
Speak to Arianna's window and offer her to relocate to Oedon Chapel. She will accept only AFTER you've defeated at least three Bosses and you must do this BEFORE killing Location of Arianna - Step 1: 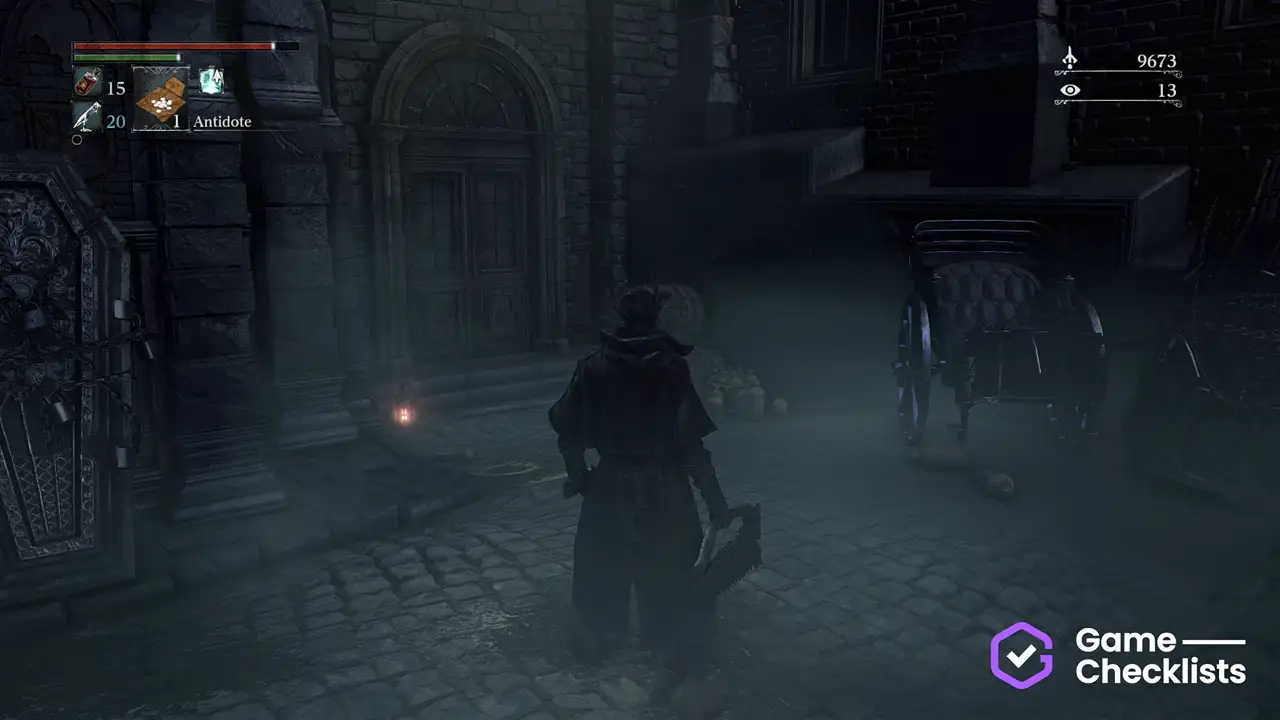 |
|
|
Arianna - Step 2
Cathedral WardQuest Step
|
Talk to Arianna at Oedon Chapel. You can accept her blood too. Location of Arianna - Step 2: 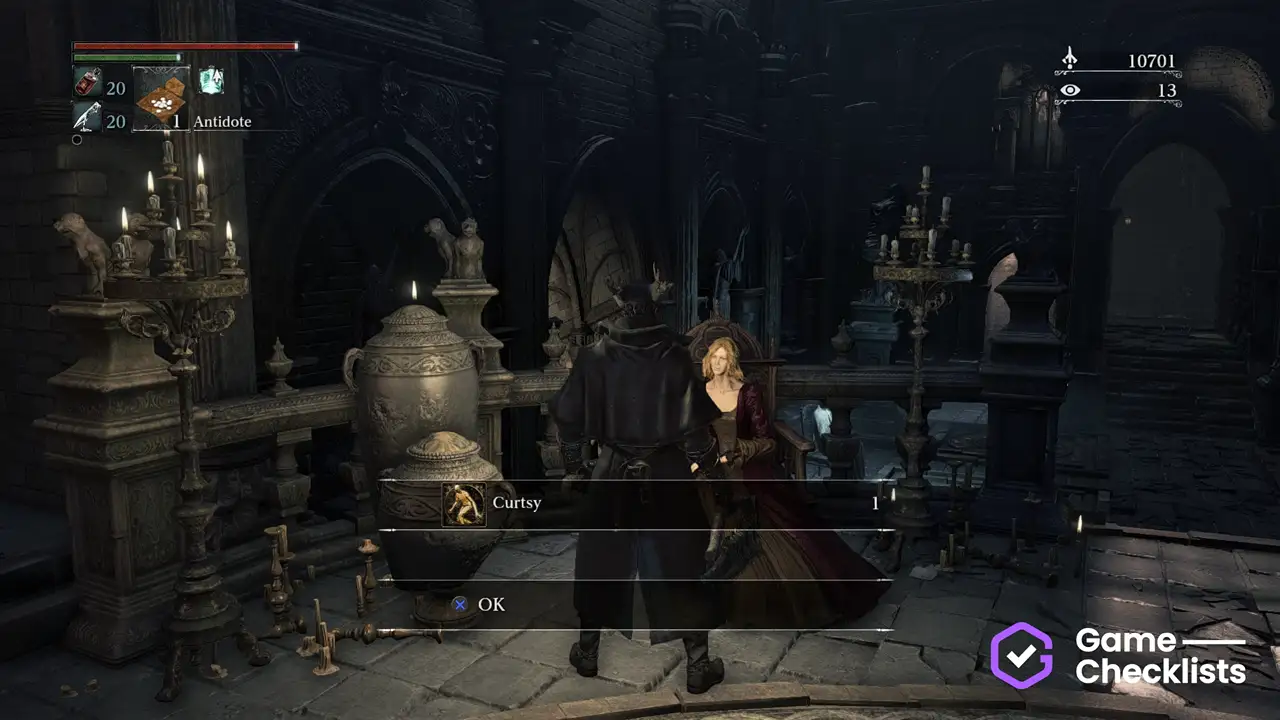 |
|
|
Arianna - Step 3
Cathedral WardQuest Step
|
After defeating Location of Arianna - Step 3: 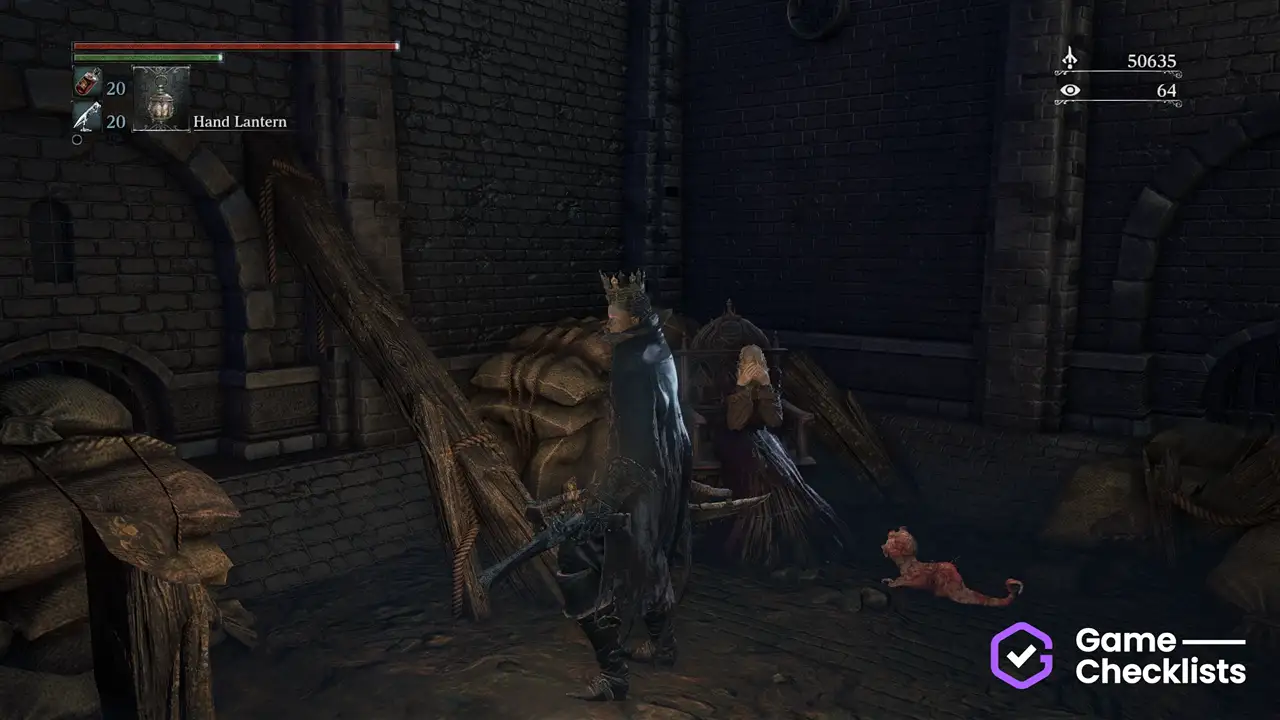 |
|
|
Arianna - Step 4
Cathedral WardQuest Step
|
Kill Arianna too. Location of Arianna - Step 4: 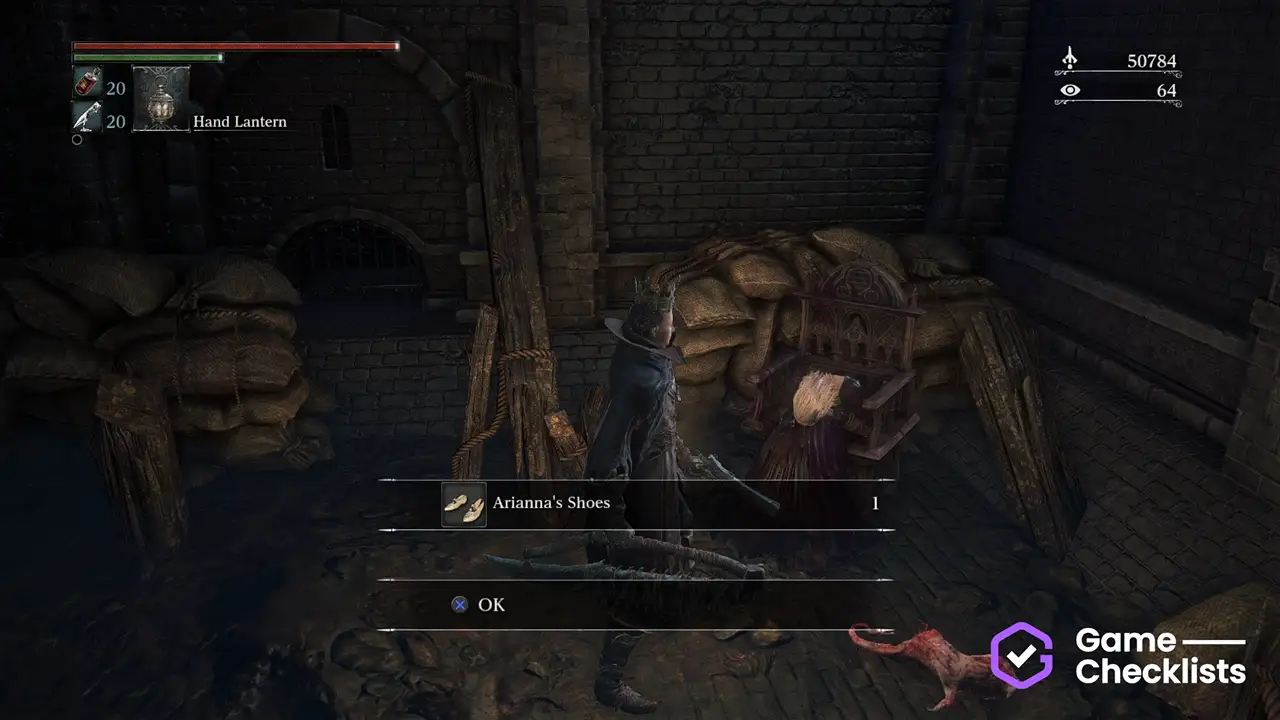 |
Lonely Old Woman
Lonely Old Woman is one of the NPCs that can be sent to Oedon Chapel or Iosefka's Clinic. If she ends up in Iosefka's Clinic, she will be transformed into a celestial. Lonely Old Woman is an unofficial, community name for this NPC.
Be careful so Lonely Old Woman doesn't die while she stays at Oedon Chapel: Suspicious Beggar NPC can kill her and asking for too much Sedatives will also kill her. This doesn't have a big effect, as she doesn't have any interesting item drops either way.
Remember to not unnecessarily attack any NPC. Note that this is not the only way the quest can go - this is the recommended plan of steps to maximize completionist rewards.
There are 4 steps in this questline.
| ✓ | Quest Step | Description | |
|---|---|---|---|
|
Lonely Old Woman - Step 1
Central YharnamQuest Step
|
Speak to Lonely Old Woman's window and offer her to relocate to Oedon Chapel right after discovering Location of Lonely Old Woman - Step 1:  |
|
|
Lonely Old Woman - Step 2
Cathedral WardQuest Step
|
Talk to her at Oedon Chapel. She is not friendly. Location of Lonely Old Woman - Step 2: 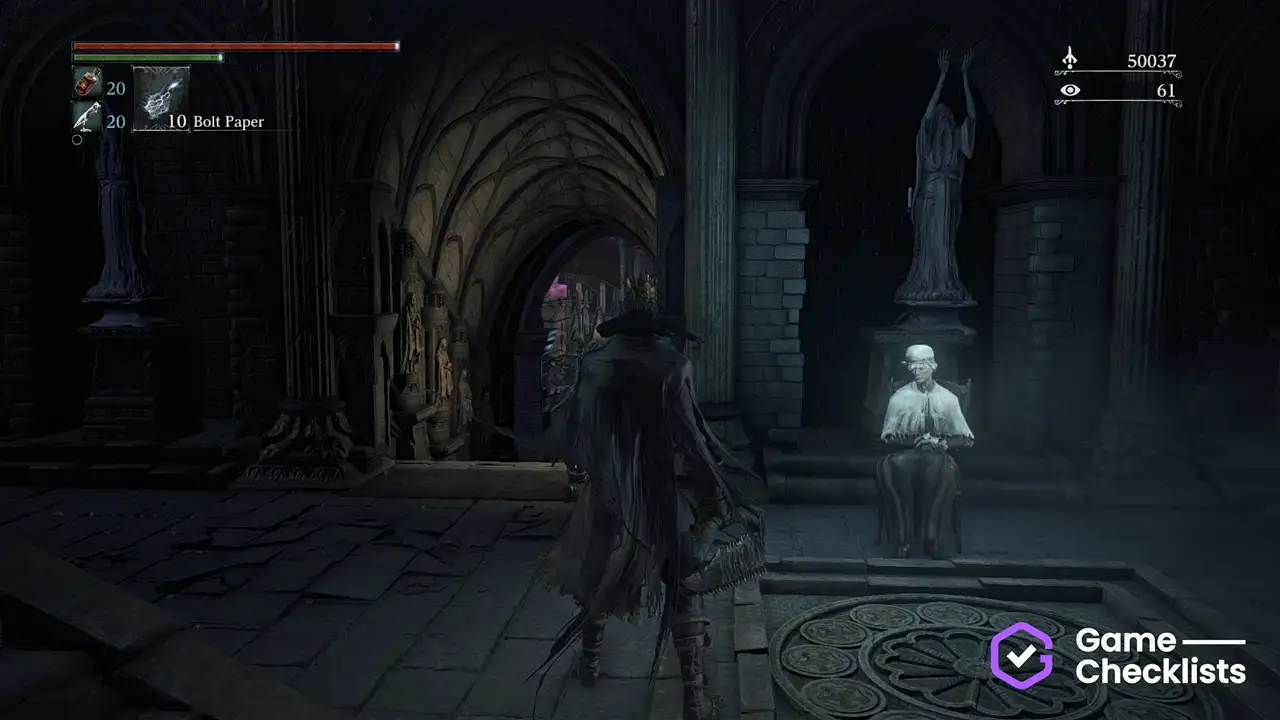 |
|
|
Lonely Old Woman - Step 3
Cathedral WardQuest Step
|
Talk to her each time after defeating a boss. She will become friendlier and start giving out Sedatives, if you answer "I have my woes". Location of Lonely Old Woman - Step 3: |
|
|
Lonely Old Woman - Step 4
Cathedral WardQuest Step
|
OPTIONAL: If you request Sedatives three times, she will go outside to find more. Find her body outside the left Oedon Chapel exit. Location of Lonely Old Woman - Step 4: 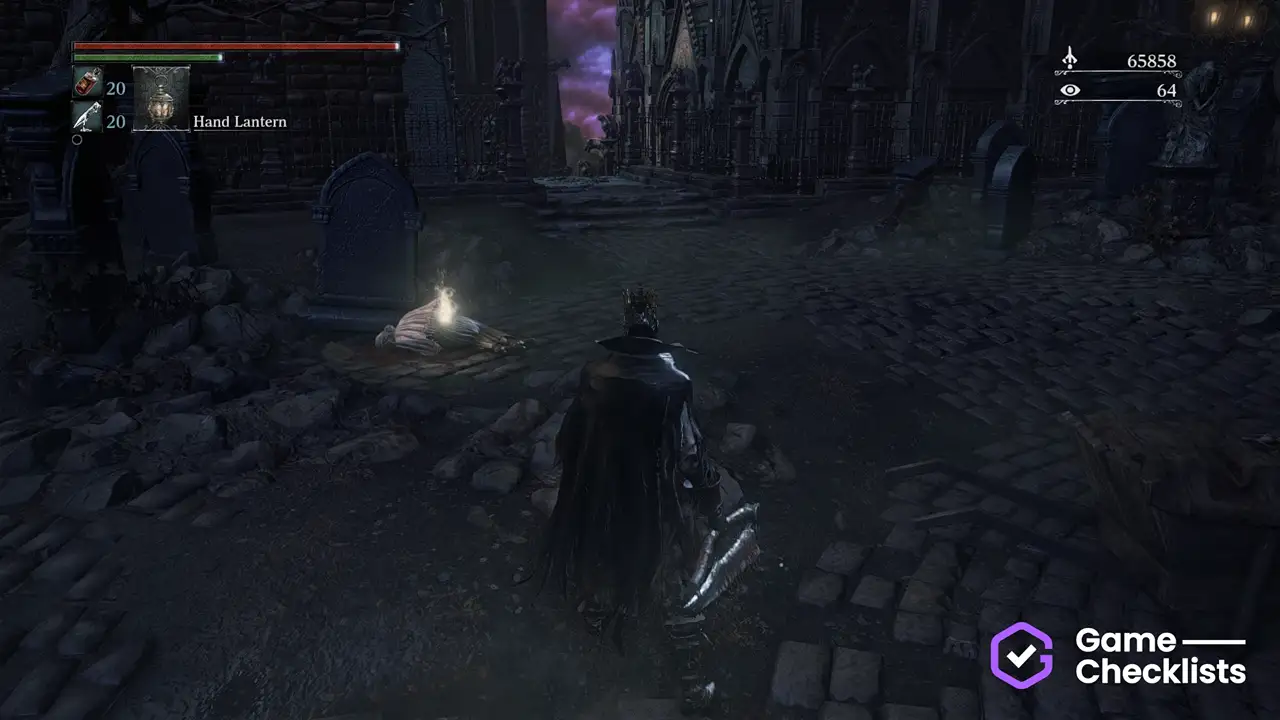 |
Skeptical Man
Skeptical Man is one of the NPCs that can be sent to Oedon Chapel or Iosefka's Clinic. If he ends up in Iosefka's Clinic, he will be transformed into a celestial. Skeptical Man is an unofficial, community name for this NPC.
Be careful so Skeptical Man doesn't die while she stays at Oedon Chapel: Suspicious Beggar NPC can kill him. This doesn't have a big effect, as he doesn't have any interesting item drops either way.
Remember to not unnecessarily attack any NPC. Note that this is not the only way the quest can go - this is the recommended plan of steps to maximize completionist rewards.
There are 2 steps in this questline.
| ✓ | Quest Step | Description | |
|---|---|---|---|
|
Skeptical Man - Step 1
Cathedral WardQuest Step
|
Speak to Skeptical Man's window and offer him to relocate to Iosefka's Chapel. Everything he says and does is opposite to truth, which is why he'll actually go to Oedon Chapel and survive. His window is to the right and down the stairs from the courtyard with two Chapel Giants, right next to Arianna's window. You must interact with it repeatedly. Location of Skeptical Man - Step 1: 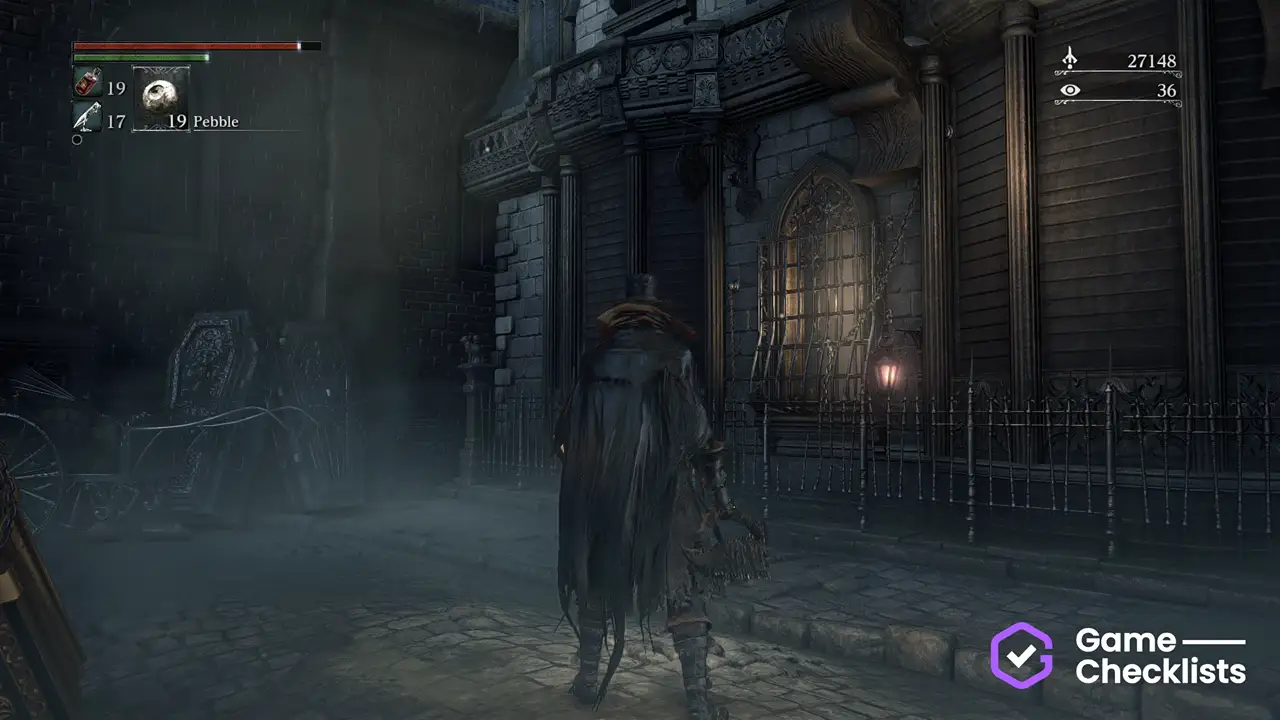 |
|
|
Skeptical Man - Step 2
Cathedral WardQuest Step
|
Talk to him at Oedon Chapel. He will frequently add some dialogue with new survivors arriving and is constantly lying. Location of Skeptical Man - Step 2: 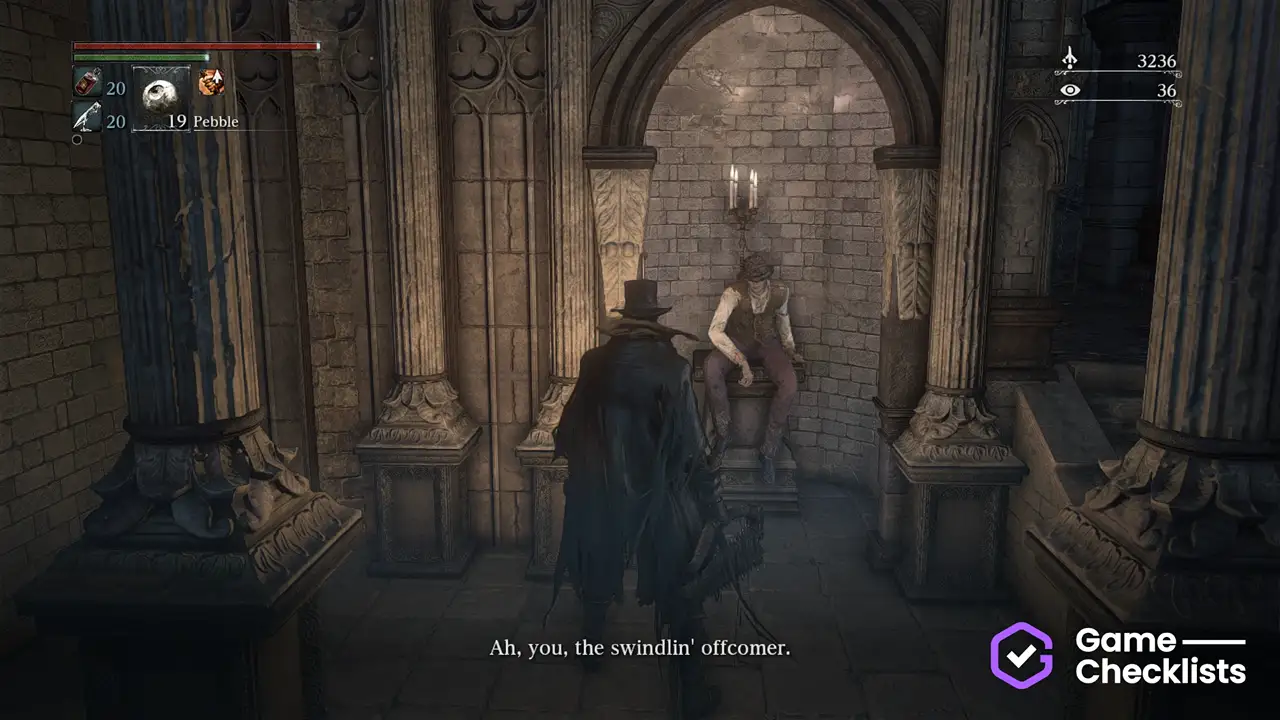 |
Adella
Adella is one of the NPCs that can be sent to Oedon Chapel or Iosefka's Clinic. If she ends up in Iosefka's Clinic, she will be transformed into a celestial.
Be careful so Adella doesn't get in conflict with other questlines while she stays at Oedon Chapel: Suspicious Beggar NPC can kill her AND if you take Blood of Arianna 3 times, Adella will get jealous and murder Arianna, if she's present.
Remember to not unnecessarily attack any NPC. Note that this is not the only way the quest can go - this is the recommended plan of steps to maximize completionist rewards.
There are 3 steps in this questline.
| ✓ | Quest Step | Description | |
|---|---|---|---|
|
Adella - Step 1
Hypogean GaolQuest Step
|
Reach Adella and tell her to go to Oedon Chapel. You must wear either the White Chuch Set or Location of Adella - Step 1: 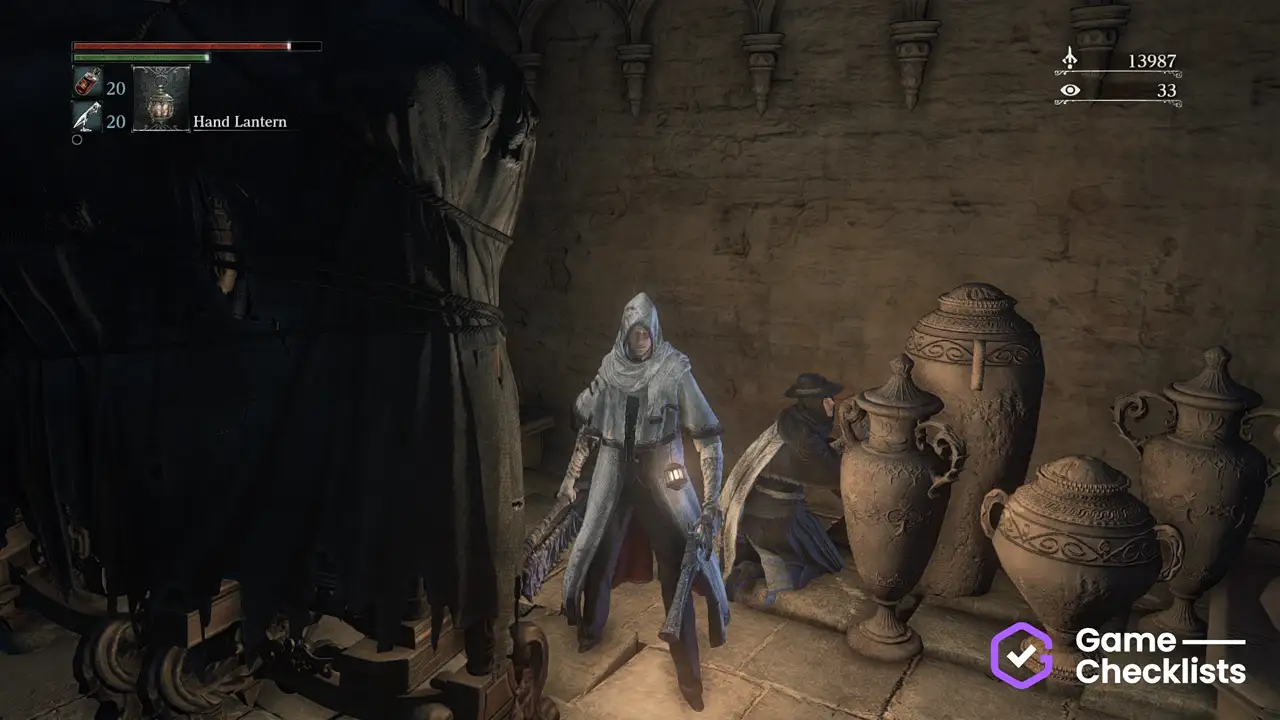 |
|
|
Adella - Step 2
Cathedral WardQuest Step
|
Talk to her at Oedon Chapel. You can get her blood if you want. Location of Adella - Step 2:  |
|
|
Adella - Step 3
Cathedral WardQuest Step
|
Kill Adella for the final reward, when ready. The rune drops from her in Iosefka's Clinic or Location of Adella - Step 3: 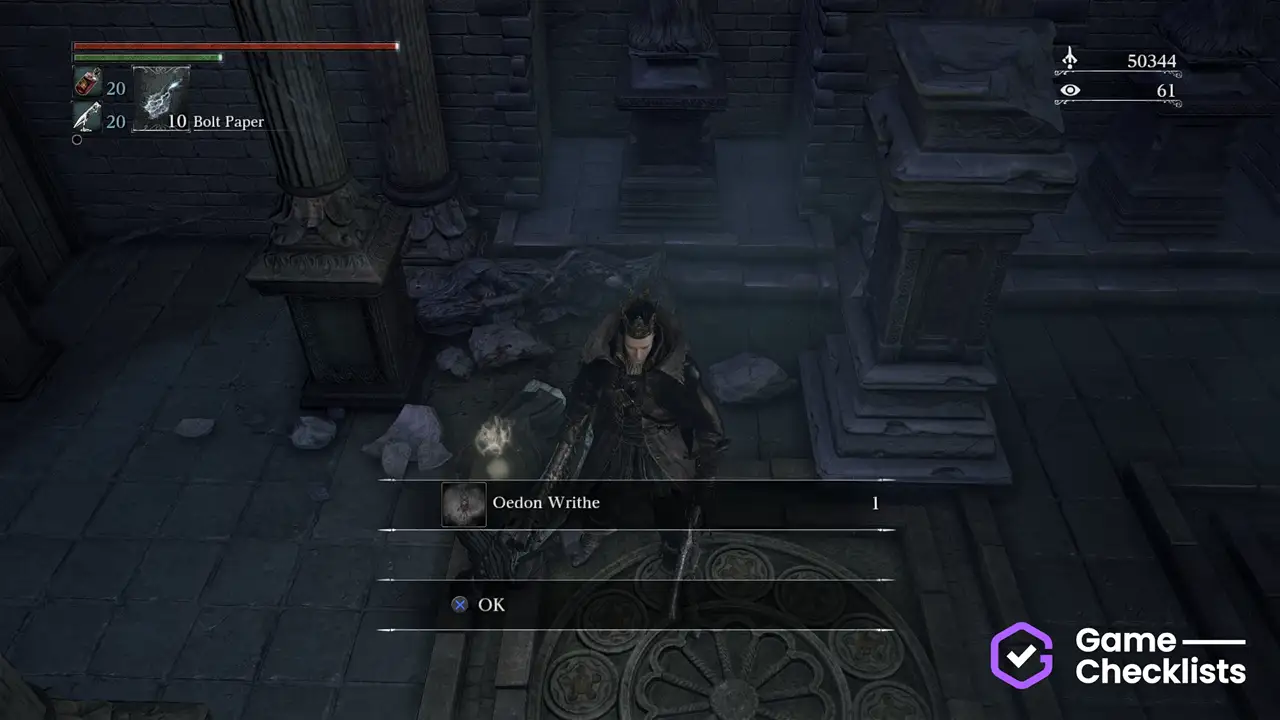 |
Suspicious Beggar
Suspicious Beggar is one of the NPCs that can be sent to Oedon Chapel or Iosefka's Clinic. This is the only NPC which we recommend sending to Iosefka's Clinic. If he ends up in Iosefka's Clinic, he will be transformed into a celestial and have an item drop. Suspicious Beggar is an unofficial, community name for this NPC.
Be careful so Suspicious Beggar doesn't interfere with other questlines - sending him to Oedon Chapel will start his killing spree and he will kill 1 other NPC per defeated boss, giving you only 1x Beast Blood Pellet for them.
Remember to not unnecessarily attack any NPC. Note that this is not the only way the quest can go - this is the recommended plan of steps to maximize completionist rewards.
There are 2 steps in this questline.
| ✓ | Quest Step | Description | |
|---|---|---|---|
|
Suspicious Beggar - Step 1
Forbidden WoodsQuest Step
|
Talk to Suspicious Beggar on a ledge in the central house in Location of Suspicious Beggar - Step 1: 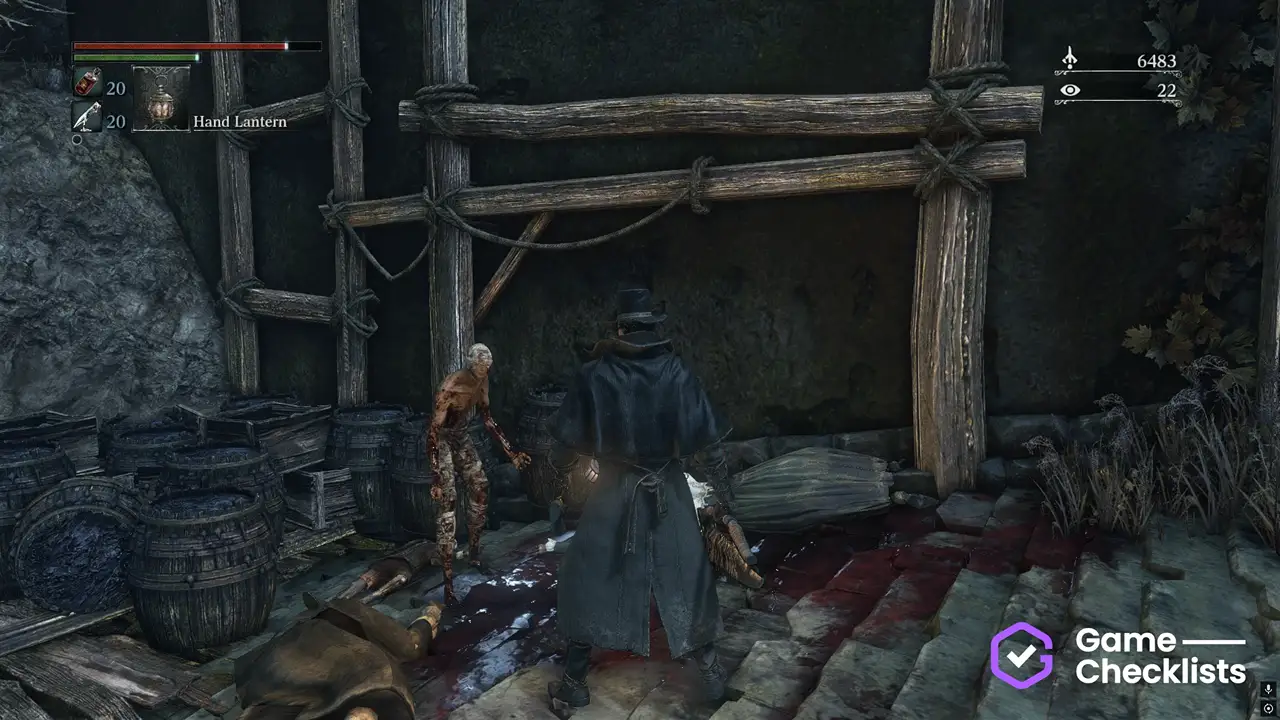 |
|
|
Suspicious Beggar - Step 2
1st Floor SickroomQuest Step
|
Kill the celestial he transformed into. Location of Suspicious Beggar - Step 2: 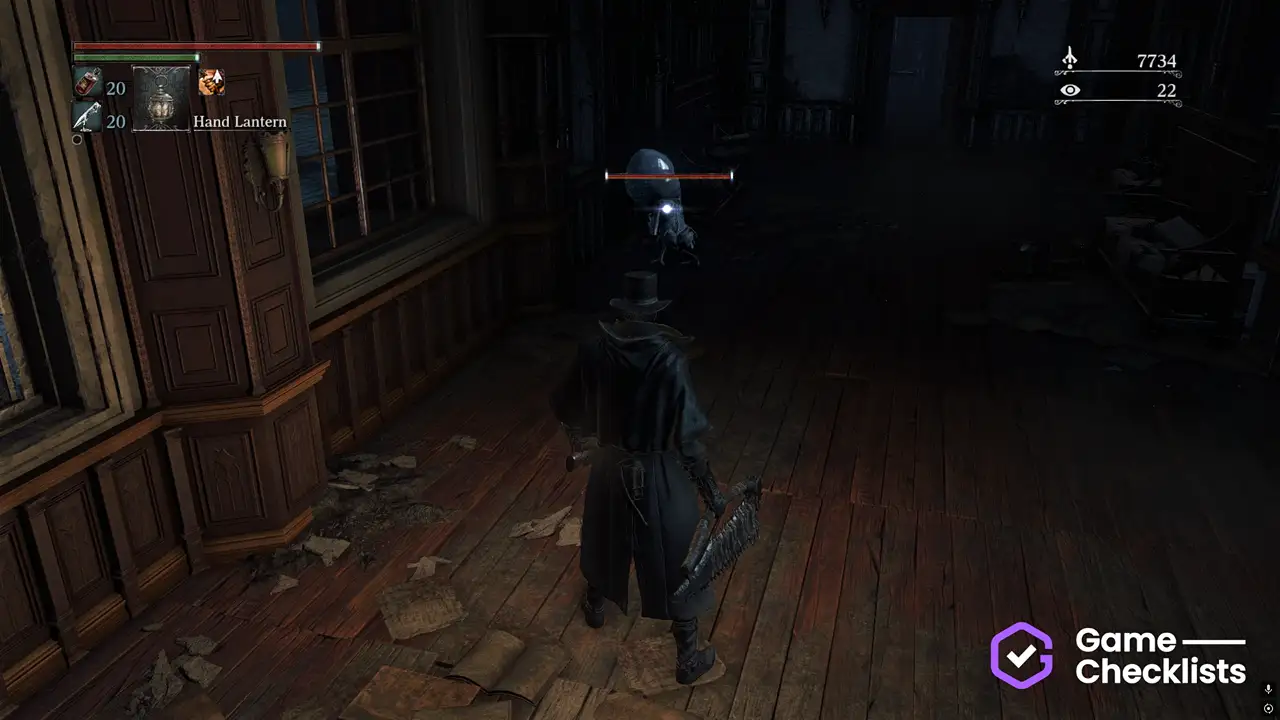 |
Gilbert
Gilbert is a man beside a window in Central Yharnam. Visit him frequently for additional dialogue and a tragic end.
Remember to not unnecessarily attack any NPC. Note that this is not the only way the quest can go - this is the recommended plan of steps to maximize completionist rewards.
There are 3 steps in this questline.
| ✓ | Quest Step | Description | |
|---|---|---|---|
|
Gilbert - Step 1
Central YharnamQuest Step
|
At the start of the game, talk to Gilbert at his window near Location of Gilbert - Step 1:  |
|
|
Gilbert - Step 2
Central YharnamQuest Step
|
After reaching Oedon Chapel, his dialogue will change. Talk to him again. Location of Gilbert - Step 2: 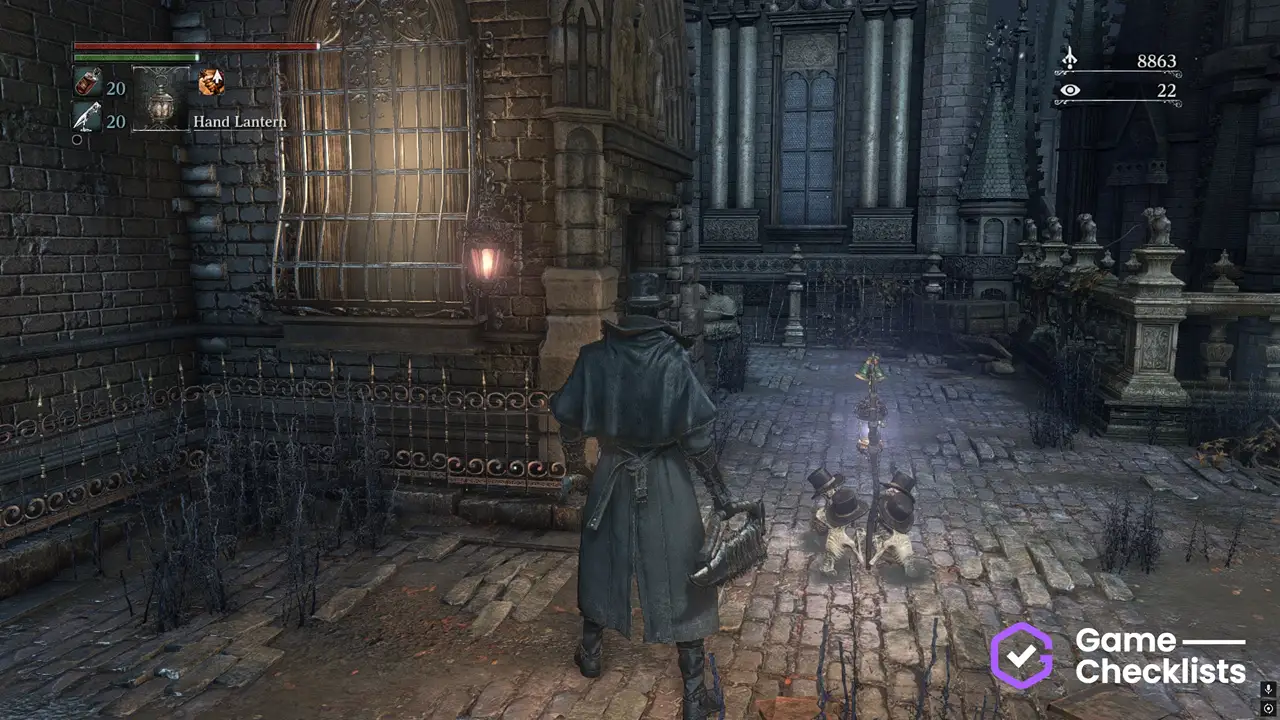 |
|
|
Gilbert - Step 3
Central YharnamQuest Step
|
After killing Location of Gilbert - Step 3: 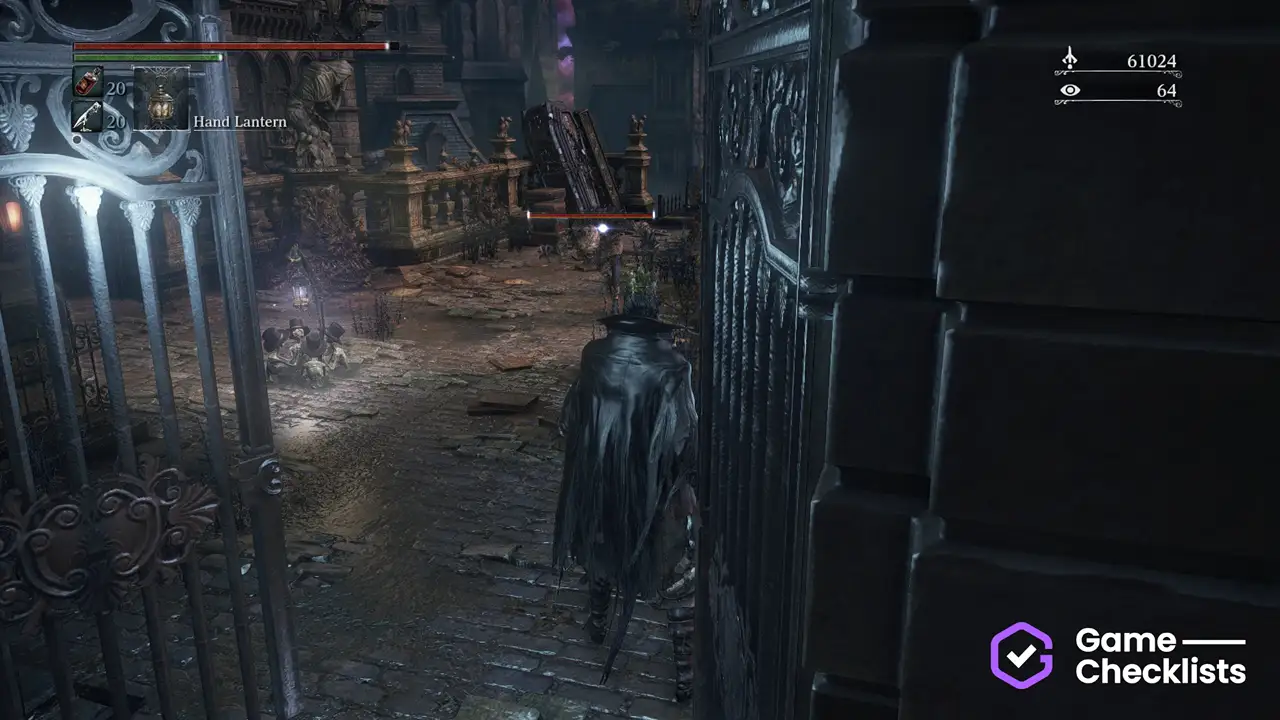 |
Gascoigne's Daughters
This questline should be started at the begininng of the game, speaking to a small girl in a window who is missing her father. Later, she will be replaced by her older sister and the quest will continue.
Remember to not unnecessarily attack any NPC. Note that this is not the only way the quest can go - this is the recommended plan of steps to maximize completionist rewards.
In your main playthrough, we recommend sending the young sister to Oedon Chapel (she will be eaten by the Boar in sewers) to later progress the quest and ultimately obtain the White Messenger Ribbon.
However, you also need to send her to Iosefka's Clinic to get one of the Caryll Runes. We recommend doing this in NG+, as it is accessible just a few minutes after the opening cutscene.
There are 6 steps in this questline.
| ✓ | Quest Step | Description | |
|---|---|---|---|
|
Gascoigne's Daughters - Step 1
Central YharnamQuest Step
|
Speak to the young girl in Location of Gascoigne's Daughters - Step 1: 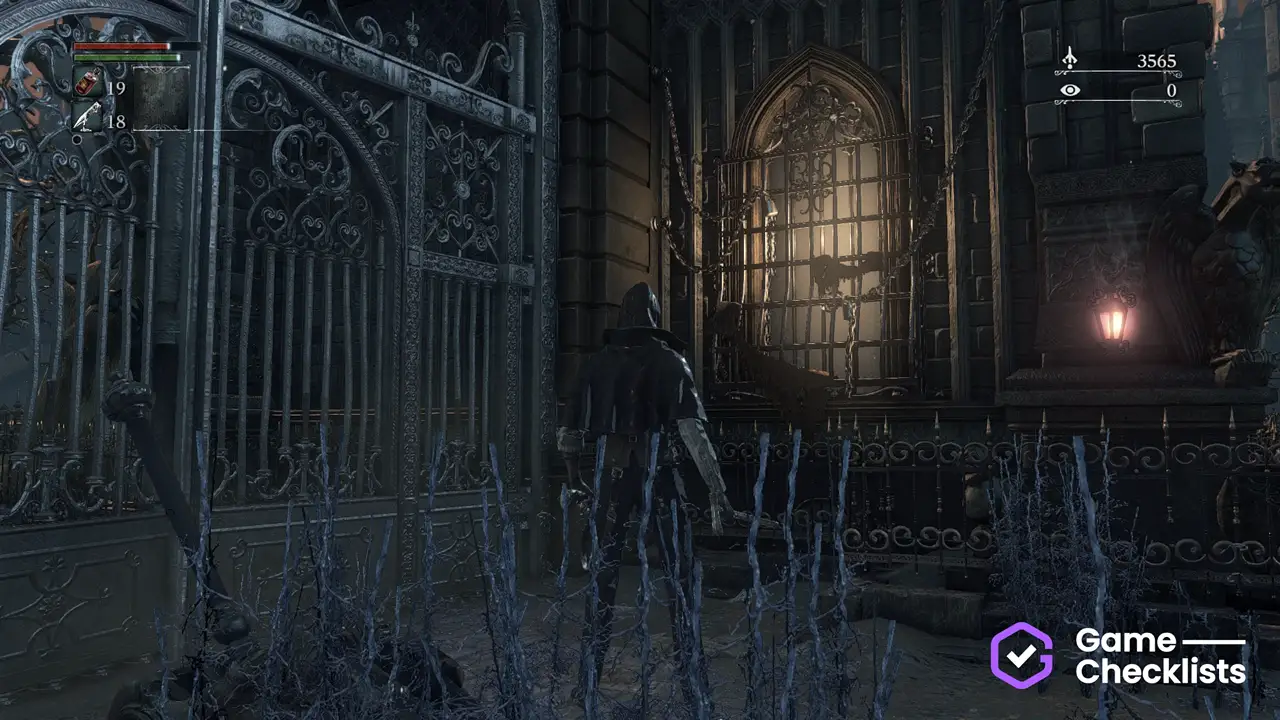 |
|
|
Gascoigne's Daughters - Step 2
Tomb of OedonQuest Step
|
Defeat Location of Gascoigne's Daughters - Step 2: 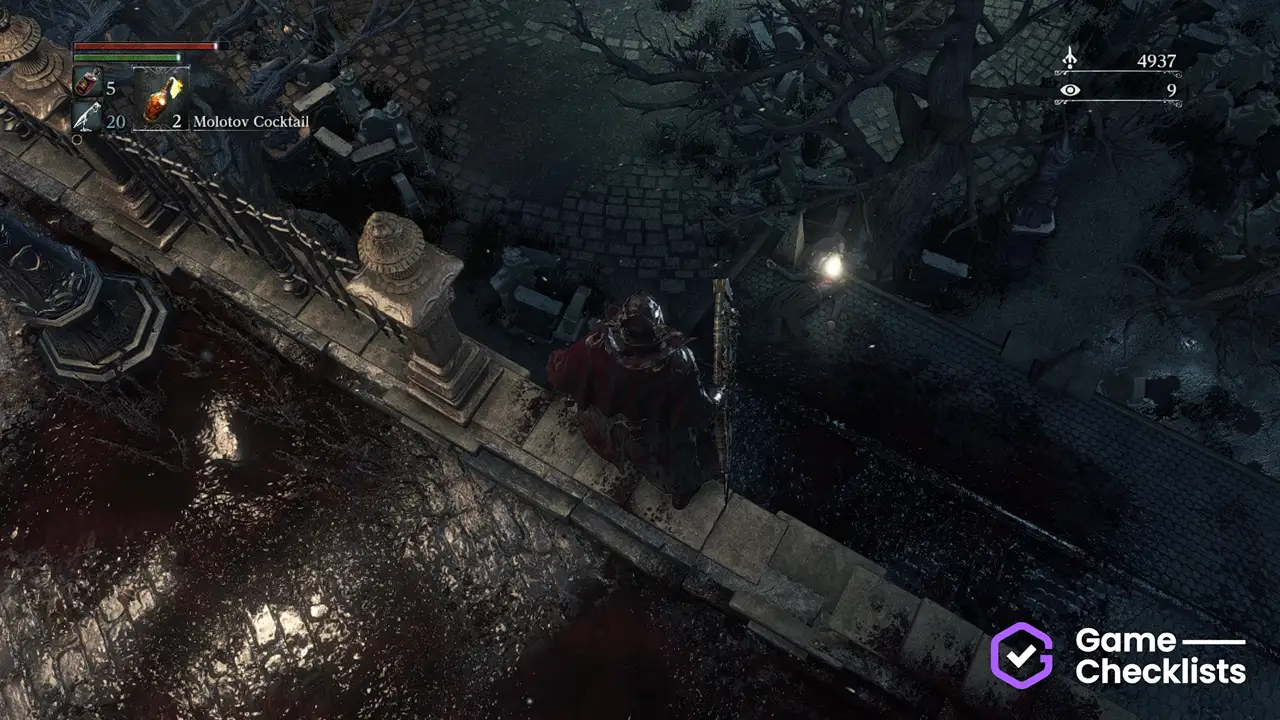 |
|
|
Gascoigne's Daughters - Step 3
Central YharnamQuest Step
|
Return to the girl and recommend her going to Oedon Chapel. Location of Gascoigne's Daughters - Step 3: |
|
|
Gascoigne's Daughters - Step 4
Central YharnamQuest Step
|
After completing these 3 steps, the giant Boar in sewers will now drop the Location of Gascoigne's Daughters - Step 4: 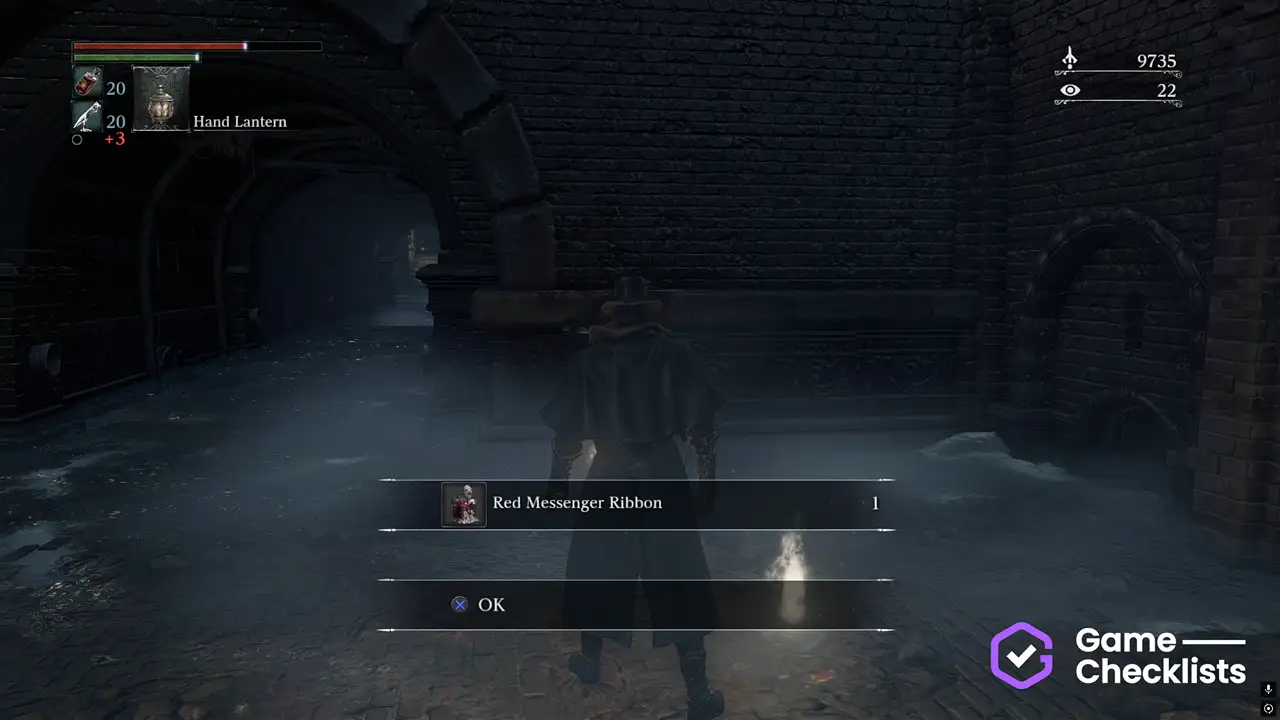 |
|
|
Gascoigne's Daughters - Step 5
Central YharnamQuest Step
|
After defeating Location of Gascoigne's Daughters - Step 5: 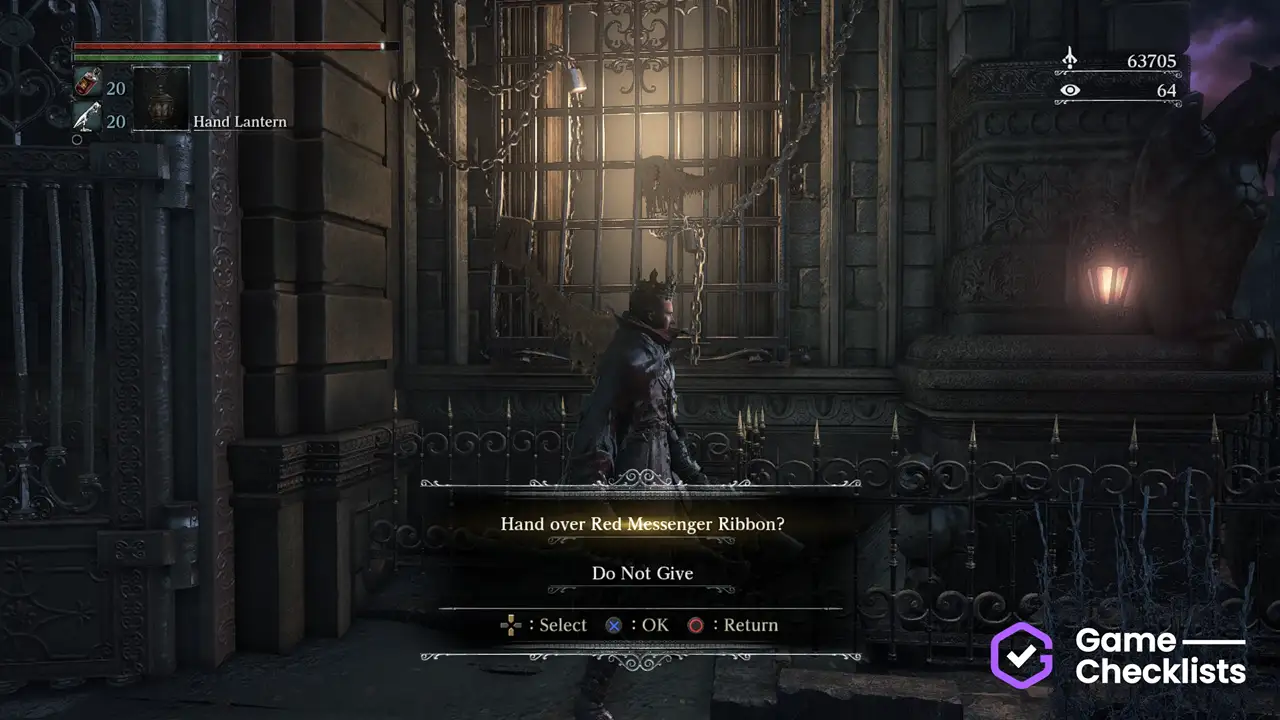 |
|
|
Gascoigne's Daughters - Step 6
Central YharnamQuest Step
|
Reload the area and get the Location of Gascoigne's Daughters - Step 6: 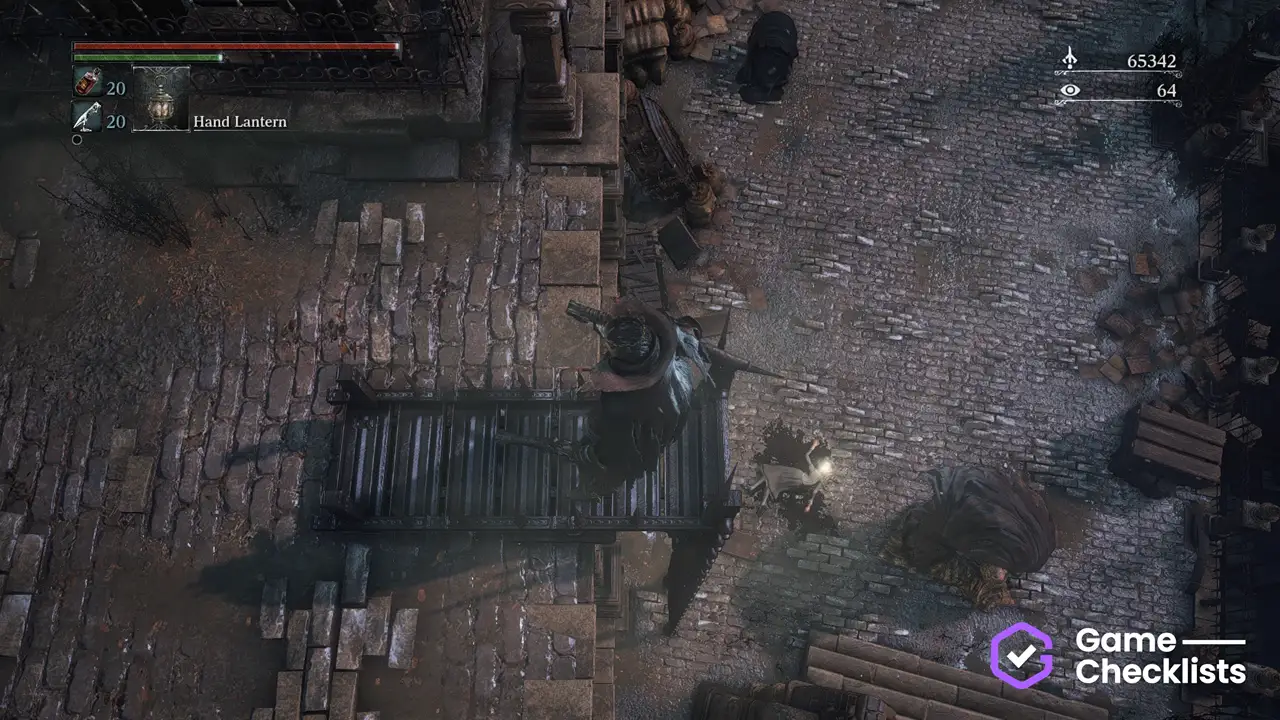 |
Eileen the Crow
Eileen the Crow is one of Bloodborne's signature quest. At its end, Eileen will reward the player with a  Crow Hunter Badge, which opens a batch of items in the Messenger shop.
Remember to not unnecessarily attack any NPC. Note that this is not the only way the quest can go - this is the recommended plan of steps to maximize completionist rewards.
There are 5 steps in this questline.
| ✓ | Quest Step | Description | |
|---|---|---|---|
|
Eileen the Crow - Step 1
Central YharnamQuest Step
|
Talk to her near the Location of Eileen the Crow - Step 1: 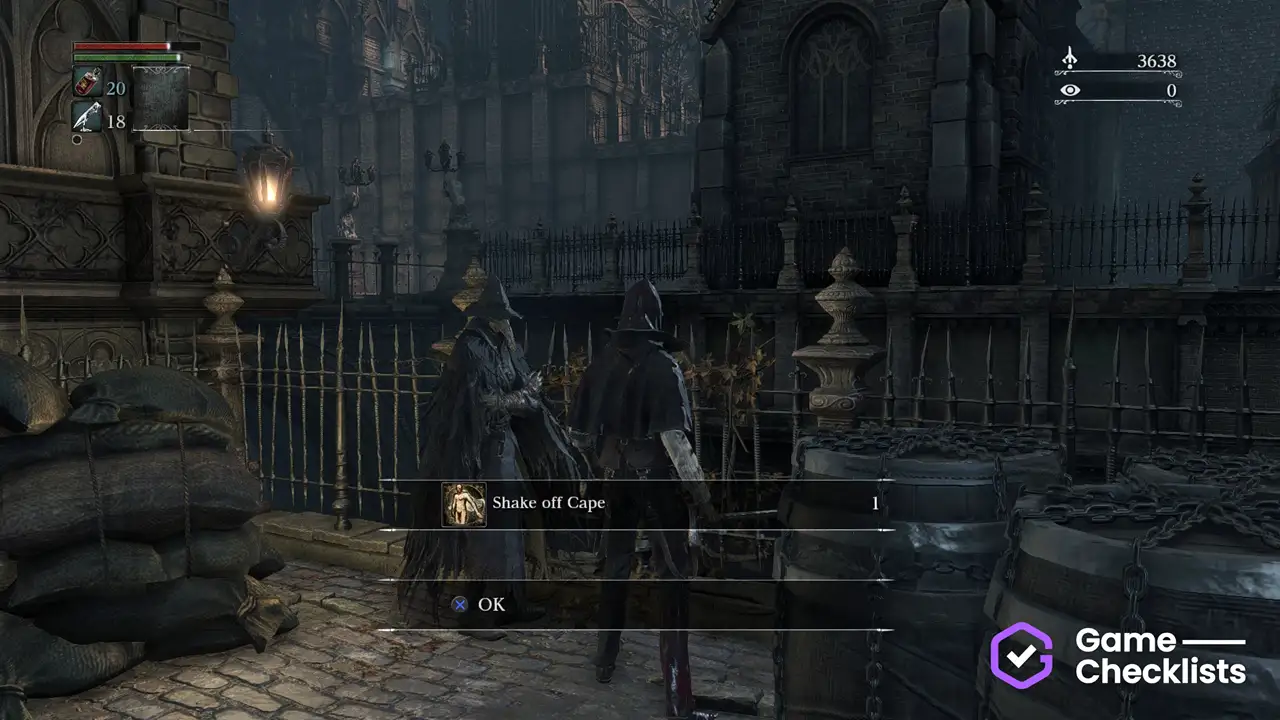 |
|
|
Eileen the Crow - Step 2
Cathedral WardQuest Step
|
First unlock all gates in Location of Eileen the Crow - Step 2: 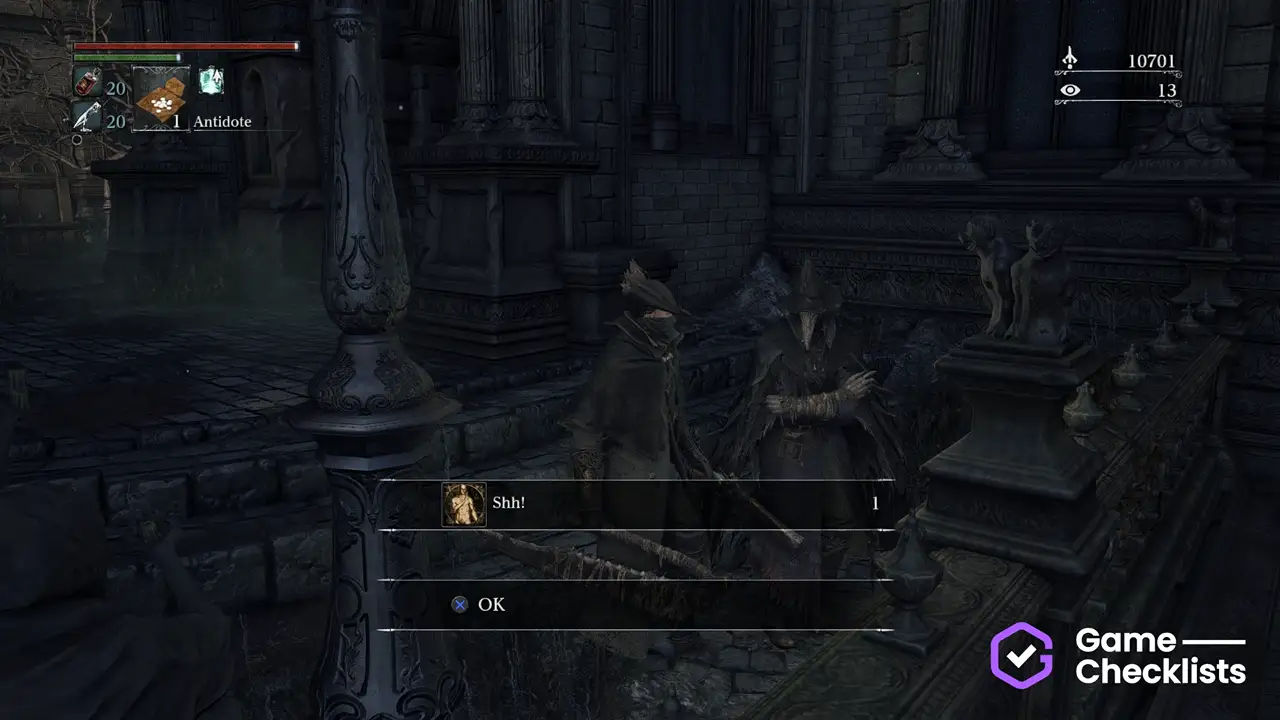 |
|
|
Eileen the Crow - Step 3
Tomb of OedonQuest Step
|
Travel to Location of Eileen the Crow - Step 3: 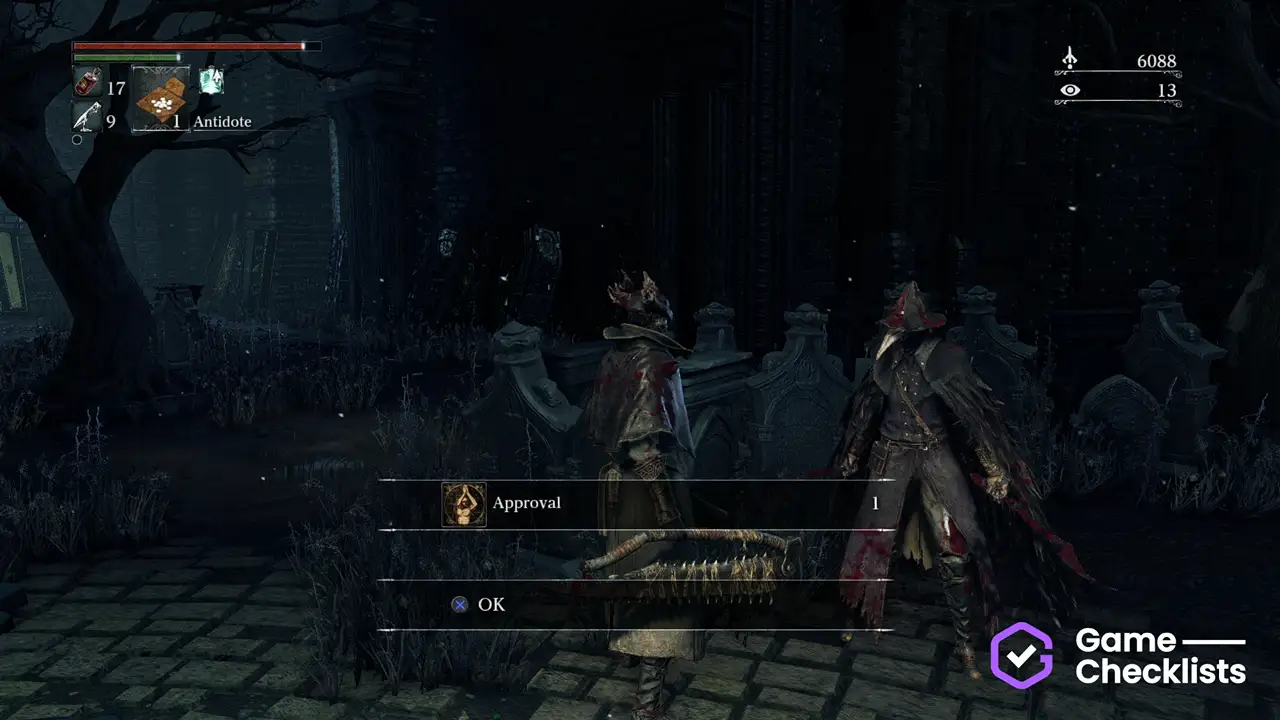 |
|
|
Eileen the Crow - Step 4
Grand CathedralQuest Step
|
After defeating Location of Eileen the Crow - Step 4: 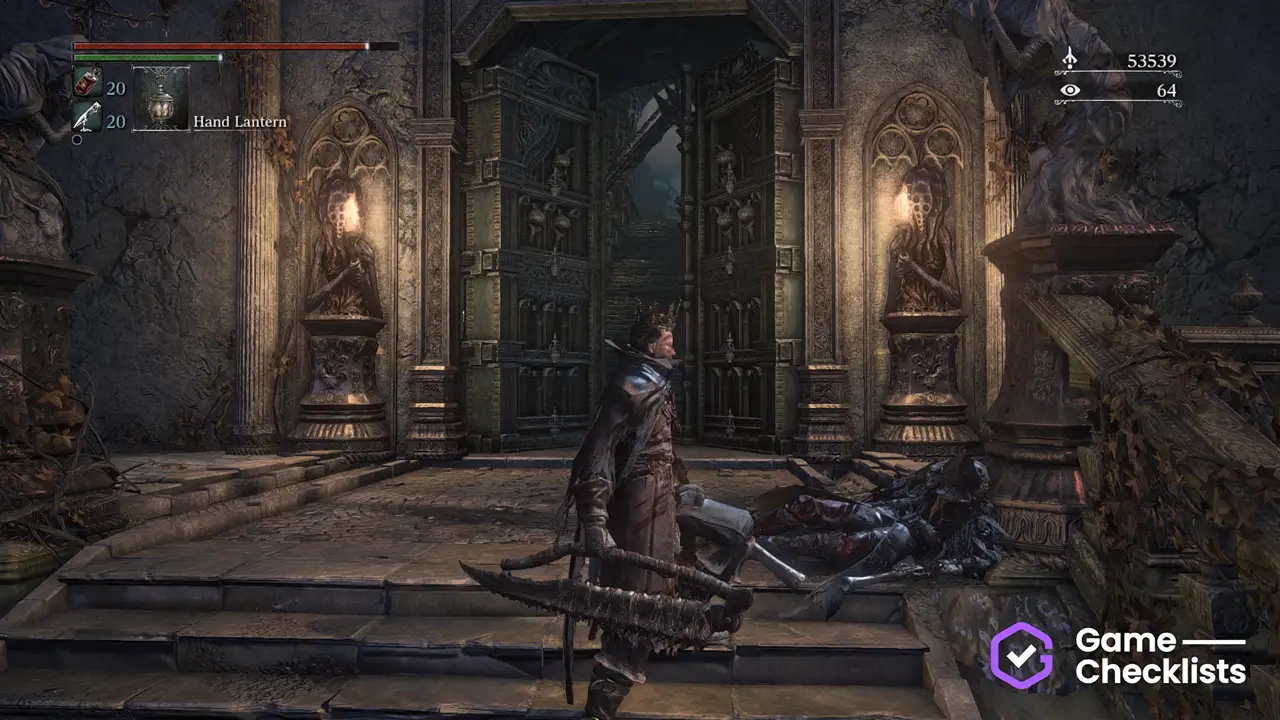 |
|
|
Eileen the Crow - Step 5
Grand CathedralQuest Step
|
After defeating the Bloody Crow of Cainhurst, talk to Eileen outside the cathedral again. Location of Eileen the Crow - Step 5: 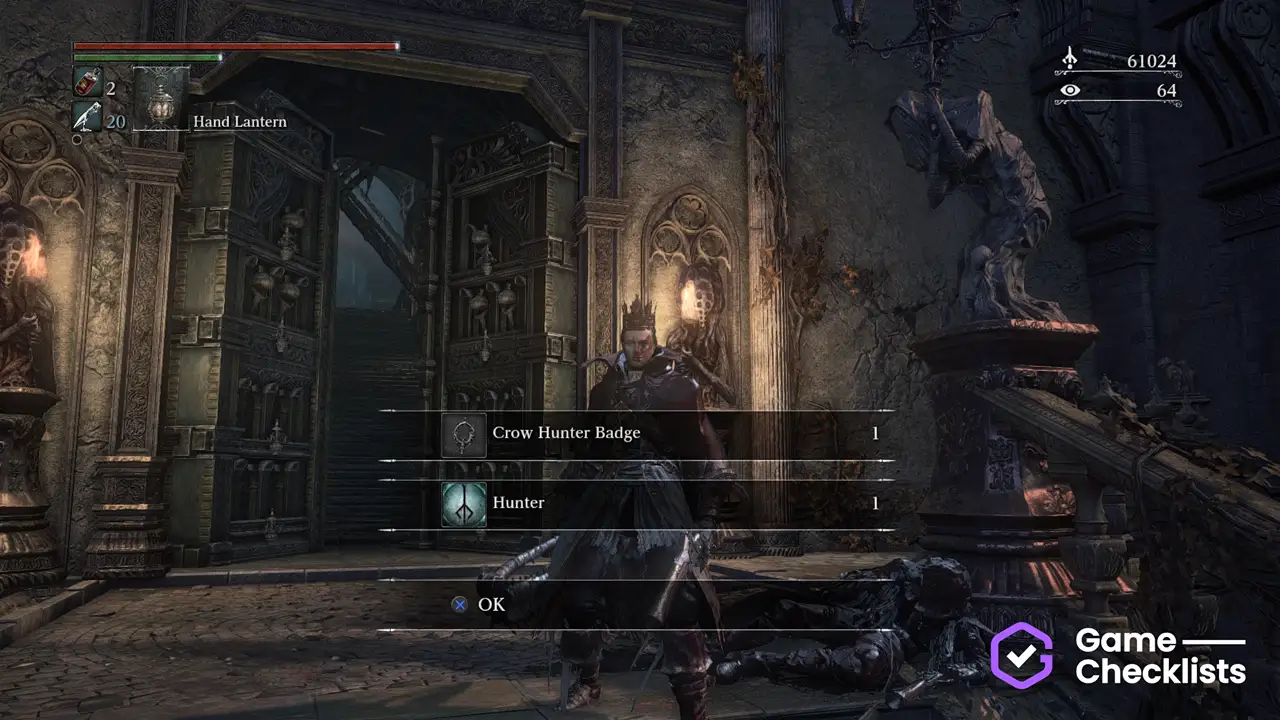 |
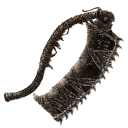 Saw Spear
Alfred
Alfred's questline is one of the main questlines that appears in Bloodborne. He is the enemy of the Vilebloods and will kill Annalise, if you bring him the Unopened Summons.
Remember to not unnecessarily attack any NPC. Note that this is not the only way the quest can go - this is the recommended plan of steps to maximize completionist rewards.
There are 6 steps in this questline.
| ✓ | Quest Step | Description | |
|---|---|---|---|
|
Alfred - Step 1
Cathedral WardQuest Step
|
Find Alfred past the top floor of Oedon Tomb, when going to Location of Alfred - Step 1: 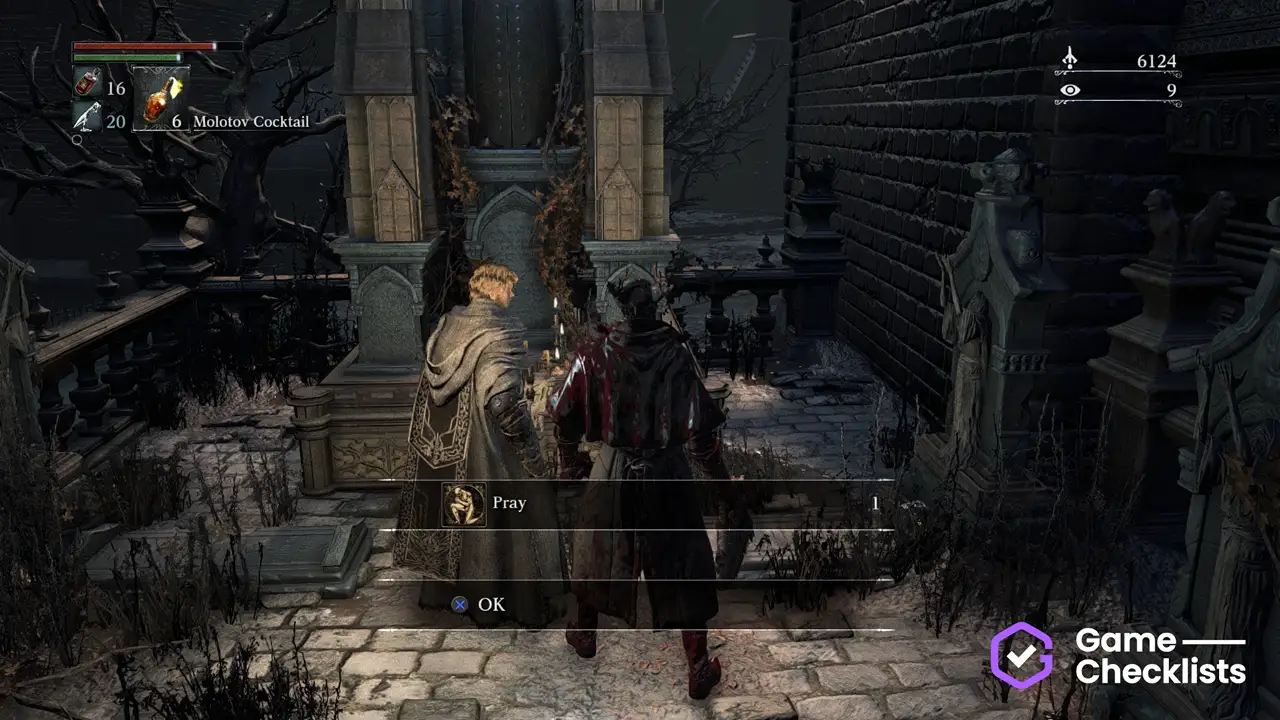 |
|
|
Alfred - Step 2
Cathedral WardQuest Step
|
Alfred can again be encountered on the way to Location of Alfred - Step 2: 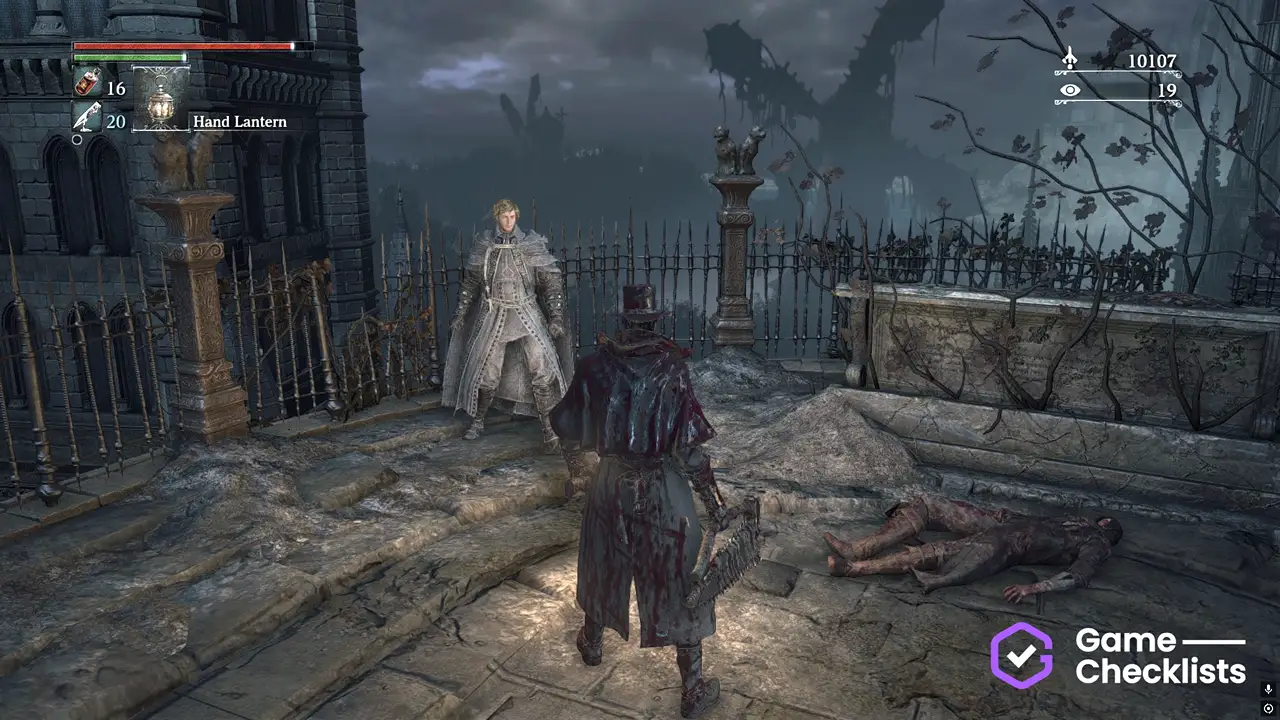 |
|
|
Alfred - Step 3
Altar of DespairQuest Step
|
Defeat Location of Alfred - Step 3: 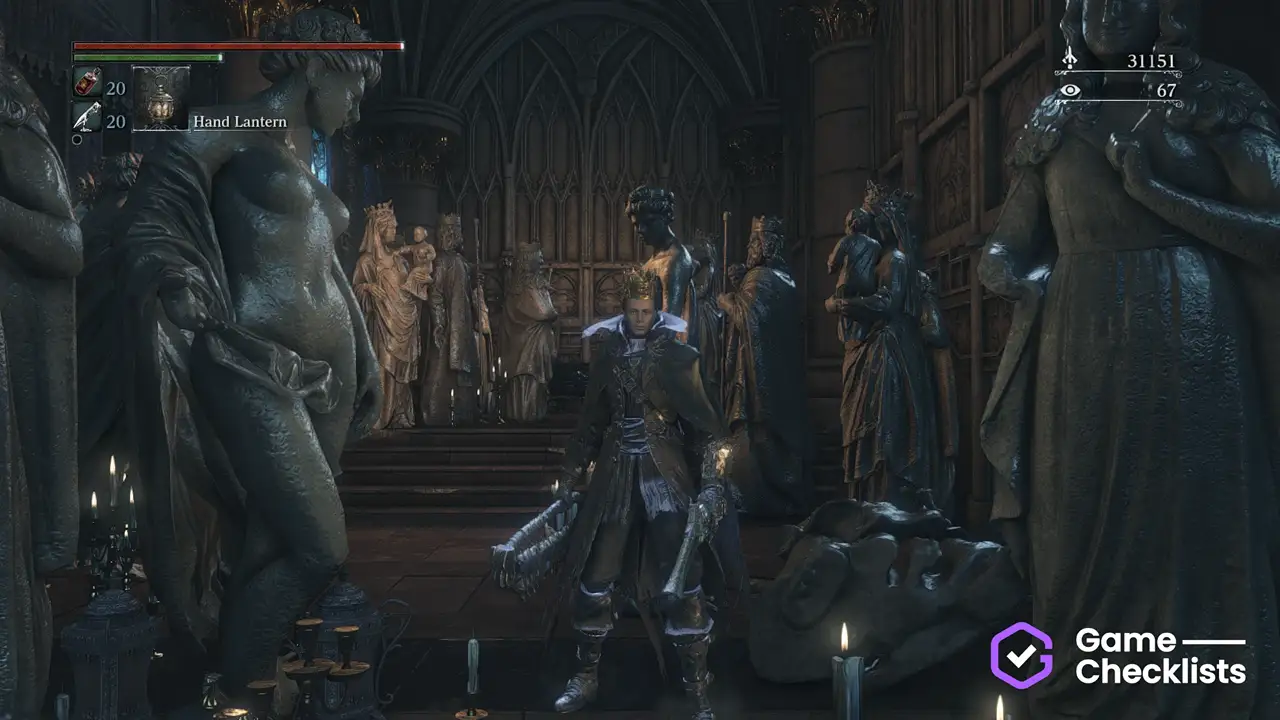 |
|
|
Alfred - Step 4
Cathedral WardQuest Step
|
Deliver the Unopened Summons to Alfred (still at Step 2 location). Location of Alfred - Step 4: 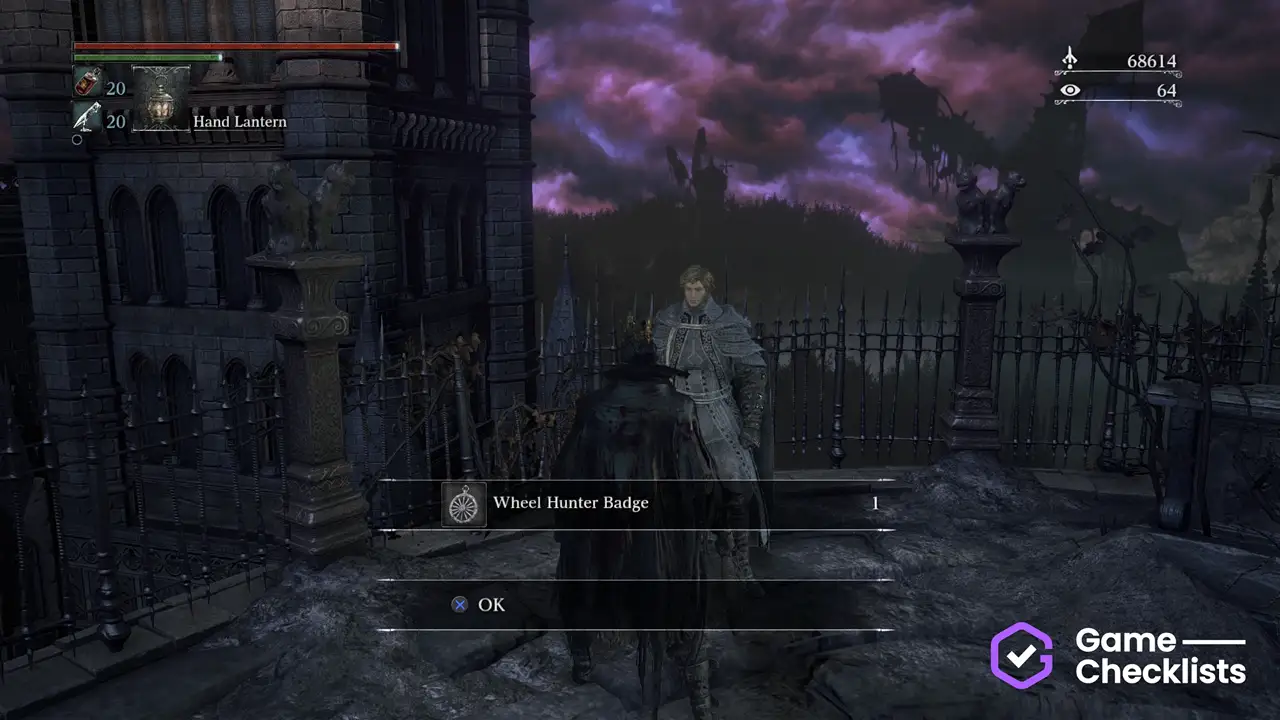 |
|
|
Alfred - Step 5
Vileblood Queen's ChamberQuest Step
|
Alfred has now killed Annalise. Speak to him at the throne room. Location of Alfred - Step 5: 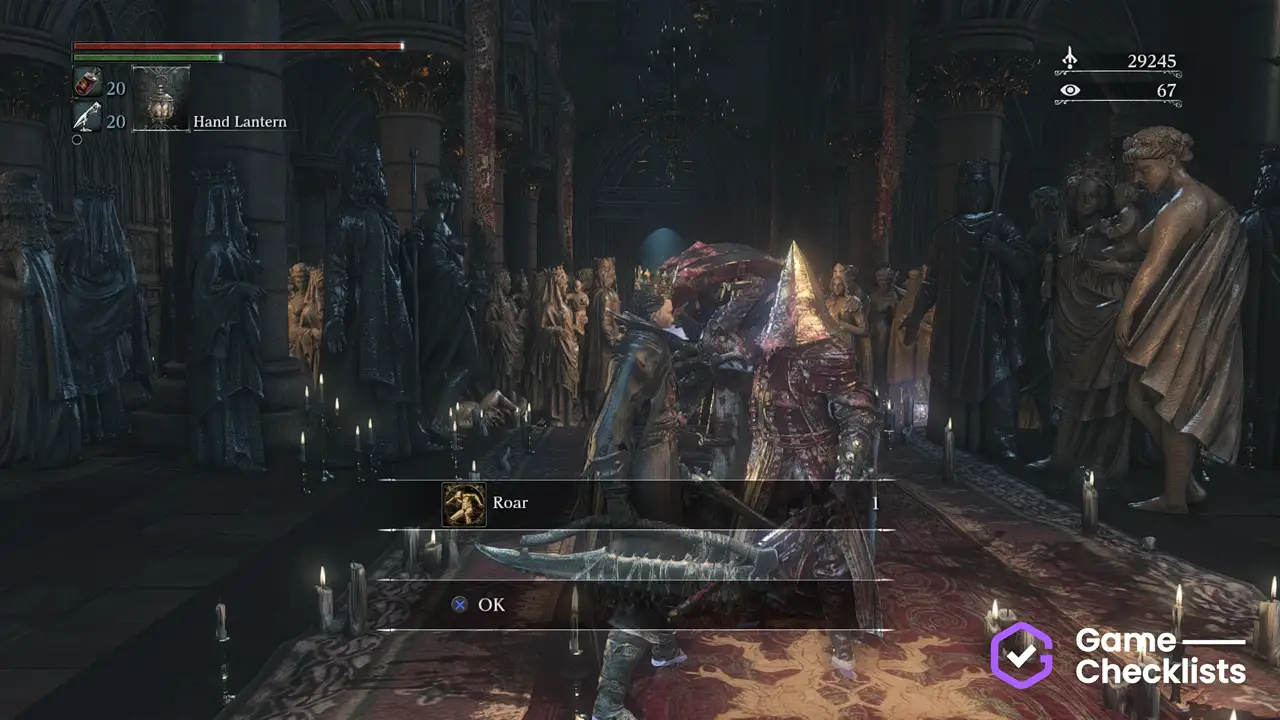 |
|
|
Alfred - Step 6
Cathedral WardQuest Step
|
Reload the area a few times and return back to Alfred's location from Step 1 (Oedon Tomb) to find his dead body. Location of Alfred - Step 6: 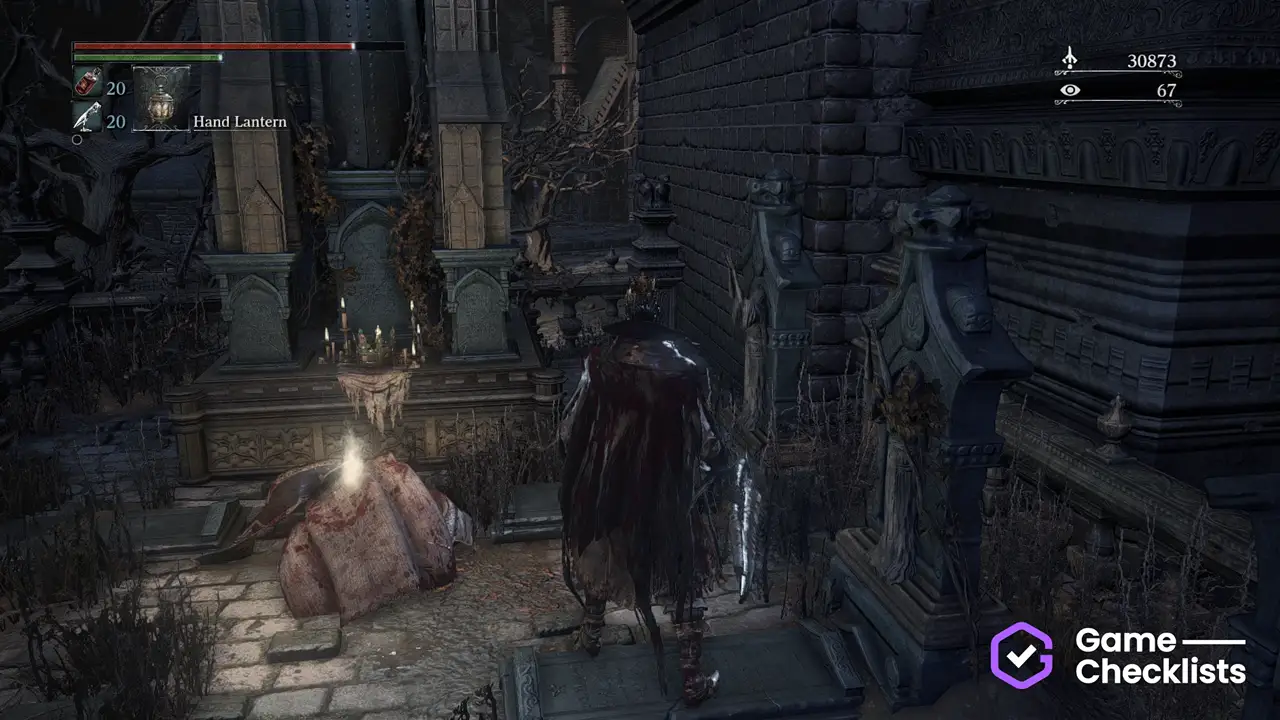 |
Djura
Djura is the gatling gun enemy you encounter in Old Yharnam. You can actually befriend him, but for this, you need to encounter Darkbeast Paarl - and go visit Djura from either Church of the Good Chalice or Darkbeast Paarl's arena, essentially going backwards through Old Yharnam.
Our step-by-step guide recommends NOT killing Darkbeast Paarl at this point, as it is easier. But defeating him and going to Djura from his arena instead of Church of the Good Chalice also work, although is more difficult.
Remember to not unnecessarily attack any NPC. Note that this is not the only way the quest can go - this is the recommended plan of steps to maximize completionist rewards.
There are 3 steps in this questline.
| ✓ | Quest Step | Description | |
|---|---|---|---|
|
Djura - Step 1
Old YharnamQuest Step
|
Important! Cross |
|
|
Djura - Step 2
Hypogean GaolQuest Step
|
Defeat Location of Djura - Step 2: 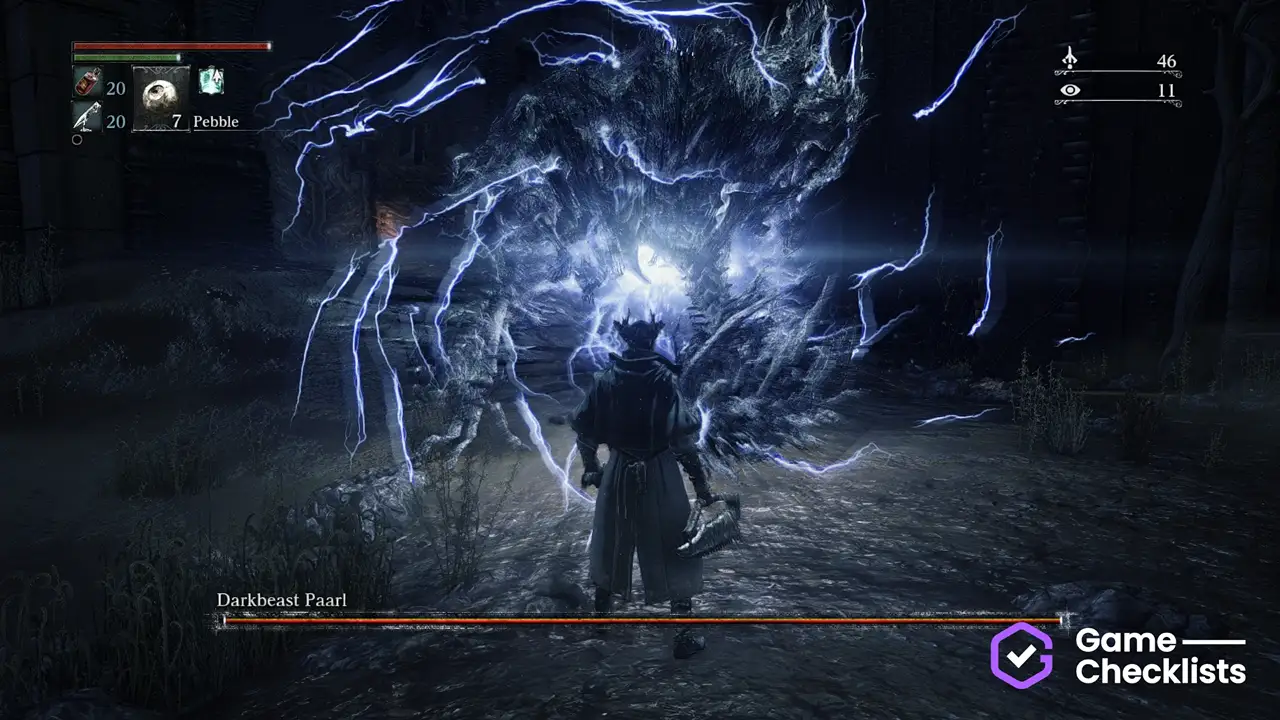 |
|
|
Djura - Step 3
Church of the Good ChaliceQuest Step
|
From Location of Djura - Step 3: 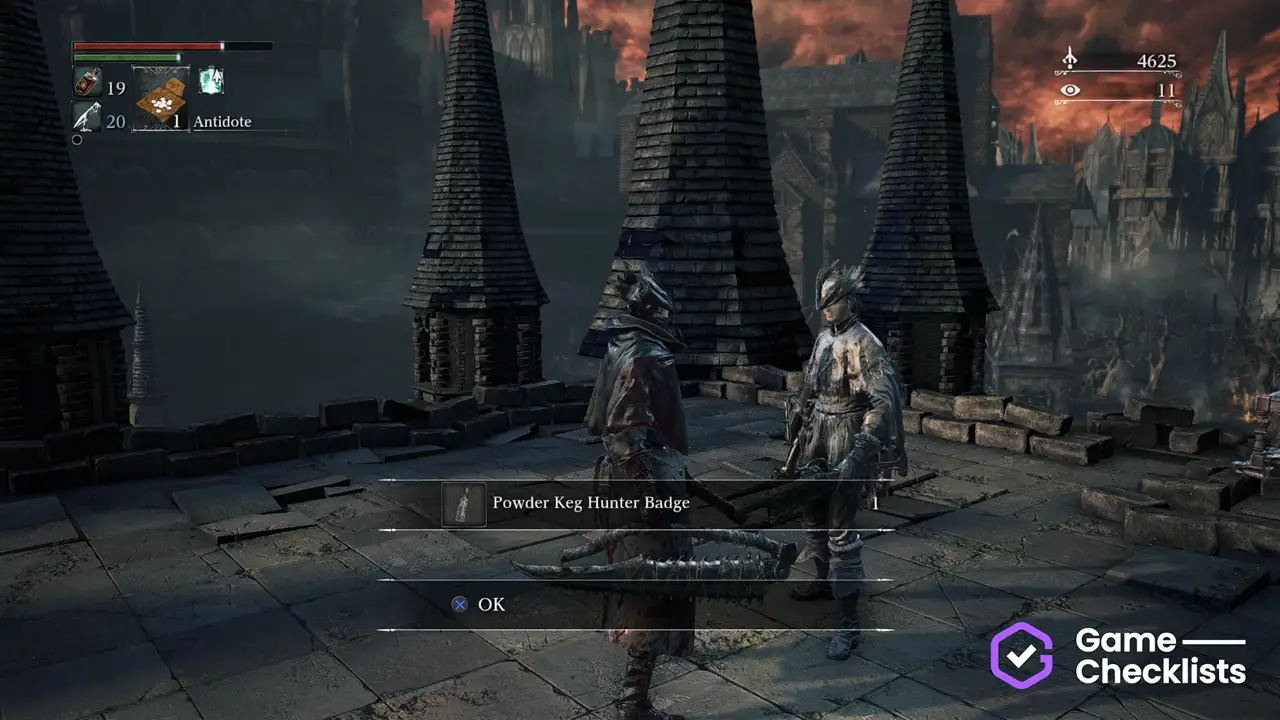 |
Patches the Spider
Patches the Spider is another appearance of the prankster Patches in From Software games. This time however, he is a spider. The laws of these games are truly convoluted. DO fall into his trap to unlock all the rewards at Nightmare Frontier!
Remember to not unnecessarily attack any NPC. Note that this is not the only way the quest can go - this is the recommended plan of steps to maximize completionist rewards.
There are 4 steps in this questline.
| ✓ | Quest Step | Description | |
|---|---|---|---|
|
Patches the Spider - Step 1
Forbidden WoodsQuest Step
|
After reaching |
|
|
Patches the Spider - Step 2
Lecture BuildingQuest Step
|
Go left of the |
|
|
Patches the Spider - Step 3
Nightmare FrontierQuest Step
|
In Location of Patches the Spider - Step 3:  |
|
|
Patches the Spider - Step 4
Lecture Building 2nd FloorQuest Step
|
Spot a dark ladder under the Chapel Giant at the end of the hallway - descend it to confront Patches for all rewards and exhaust the dialogue. Location of Patches the Spider - Step 4: 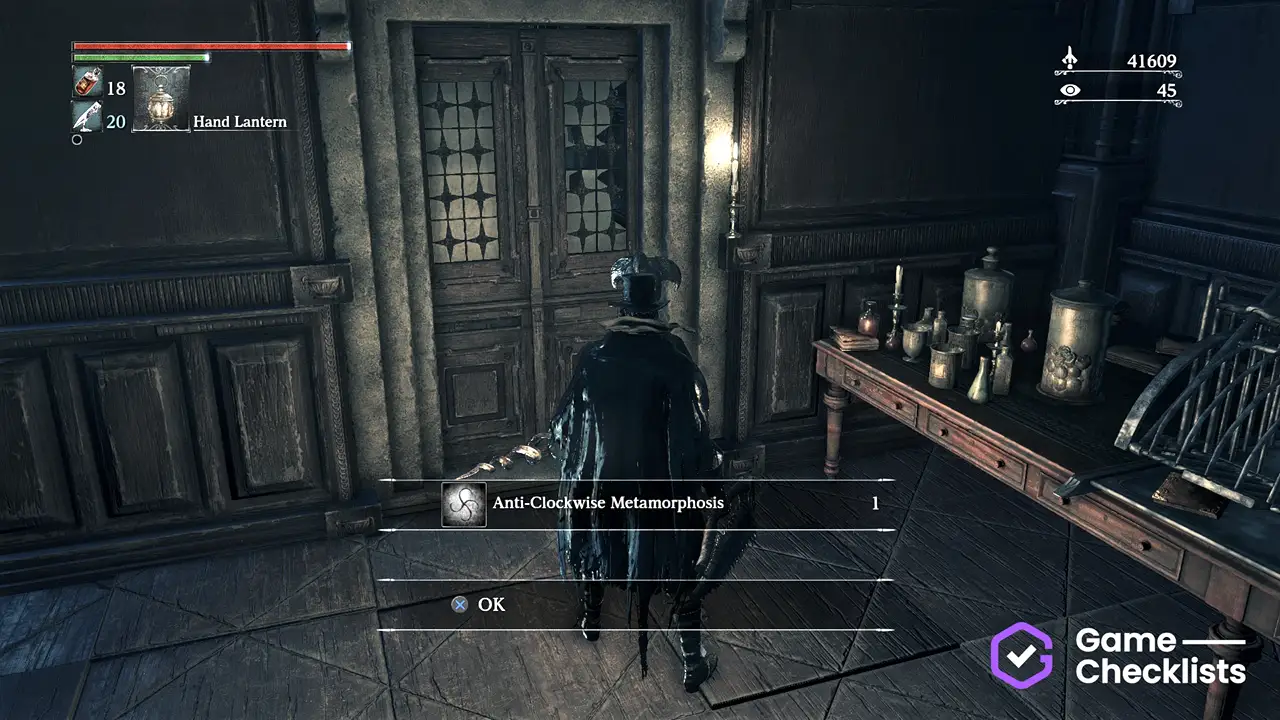 |
FAQ
How many quest steps does this checklist track?
This checklist tracks 42 quest steps across Bloodborne NPC questlines. Each step is one table row.
Can I finish all important quest rewards in one playthrough?
Yes, with careful step tracking. This checklist is built so NPC endings yield every worthy reward in one run, except some consumables that can be found or bought elsewhere.
What is the one quest that needs NG+?
Gascoigne's Daughters. In your main playthrough, send the young sister to Oedon Chapel for the White Messenger Ribbon path. Send her to Iosefka's Clinic in NG+ for the Caryll Rune. That NG+ step is accessible minutes after the opening cutscene.
When do Bloodborne questlines fail?
Several fail permanently if major bosses are defeated before required NPC interactions. Do not attack NPCs unless a guide says to, and do not defeat major bosses such as Rom, the Vacuous Spider until required steps are done.
Does Bloodborne have a quest log?
No. There are no objective markers. Progress is tracked only through NPC dialogue and story progression, which is why a step-by-step checklist matters.
Why do NPCs move around?
Many NPCs relocate after major bosses or Moon Cycle changes. Revisit old areas and exhaust new dialogue whenever story progress unlocks it.
How do I use this checklist?
Check off each item as you obtain it. Progress saves automatically in your browser. We strongly recommend creating a free account to back up your progress across devices.
Where can I see my whole Bloodborne progress?
After syncing with your account, open the Bloodborne Progress Tracker to see completion across every Bloodborne checklist in one place.