 The King's Gambit is the nineteenth main quest in Kingdom Come: Deliverance 2, starting directly after your escape from Maleshov Fortress in Taking French Leave (Taking French Leave).
In this mission, Henry must disguise himself to infiltrate a Kuttenberg Council and eavesdrop on King Sigismund, while the narrative shifts control to Father Godwin to manage the fracturing political alliances at  Raborsch Fortress.
This quest is strictly time-sensitive. It begins around 6 AM after successfully escaping Maleshov and you have 3 full days to gain access to the council, otherwise the quest will fail.
Other online sources incorrectly report you only have one day; this is wrong. At the end of the first day, Henry will comment that he should focus on this quest, but the quest will only fail after three days.
Before you report for duty at the banquet hall, clear as much weight as possible from both your personal inventory and your horse's saddlebags.
Keep your standard battle gear on hand, but clear up everything else. You will have the opportunity to acquire a massive amount of valuable loot during the subsequent quest, but you will be completely blocked from visiting traders or selling items until after Sigismund's feast concludes.
Bringing along a few Artemisia potions to artificially boost your carrying capacity later is highly recommended. Your gear will automatically be returned to you when you step back into Henry's shoes.
Part 1: Infiltration Preparation
Your first objective is to track down Mint Master Vavak to find an entry point into the Kuttenberg City Council.
Head to the city hall during daylight hours and speak with the guard stationed outside. Telling him that you have an appointment will grant you immediate entry into the building.

Negotiating with Vavak
Locate Ulrich Vavak of Neuhaus inside the hall. To protect your reputation, tell him that you respect Sigismund as a king.
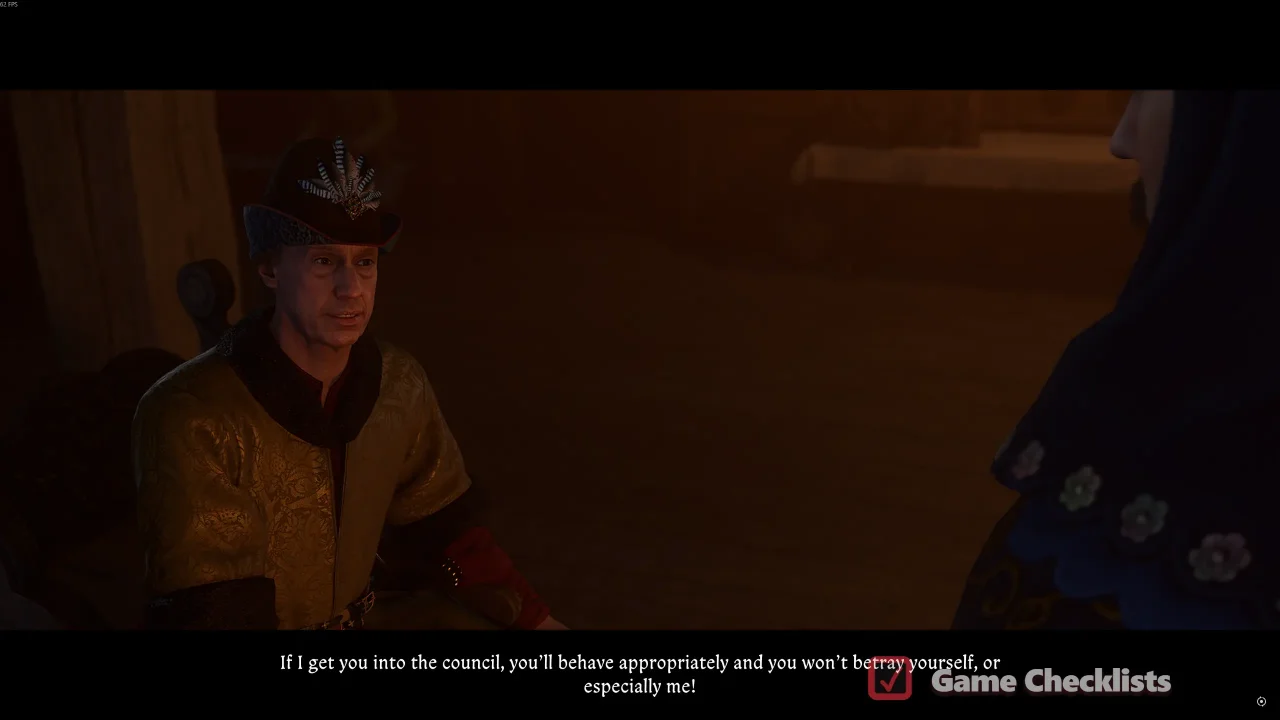
When Vavak demands an end to his standing arrangement with Kunzlin Ruthard, it will trigger a Speech check. The results are inconsequential, but going for the Speech check will net you extra 65 Groschen.
Vavak will reveal that his cook's son, Franta, was scheduled to work the council assembly as a server. He suggests that you take Franta's place, which requires you to acquire his official waiter's certificate and his server livery.
Locating Franta
The game's objectives are confusing here. You will now have a marked area where Franta is supposed to be, but instead go to Objective C and you will find him there.
Put on your highest armor pieces or high-Charisma clothing and save your game before talking to Franta. Exhaust his dialogue and select the line stating that you will do the job.
You can use Chivalry, Speech, or Charisma checks to convince him. Using the Speech phrase "I have important news for the King" tends to pass easily. Alternatively, you can select the bribe dialogue line first, and then follow it up with the Charisma check "Think of it as an investment" to secure the certificate safely.

If you fail these skill checks completely, Franta will demand a massive flat bribe of 1,000 Groschen to look the other way.
Franta will give you both the certificate and the clothes.
Part 2: Infiltrate the Kuttenberg Council
Open your inventory screen and fully equip the required server outfit:
- Head: Royal waiter's hat
- Body: Royal waiter's coat
- Legs: The trousers of a royal waiter
- Shoes: Keep what you have!
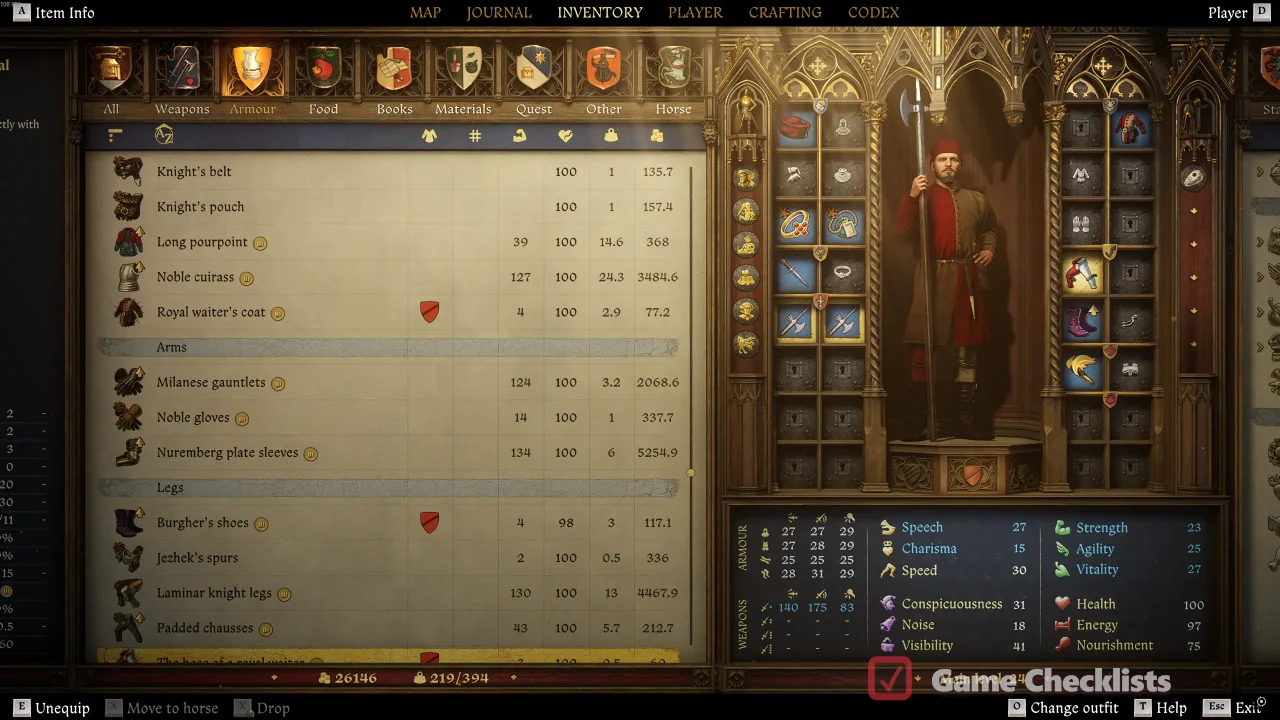
You must unequip absolutely every other piece of gear, paying special attention to remove all weapons, shields, and heavy armor plates.
Walk over to the scribe's office situated in the Kuttenberg Town Hall market to locate the Majordomo.
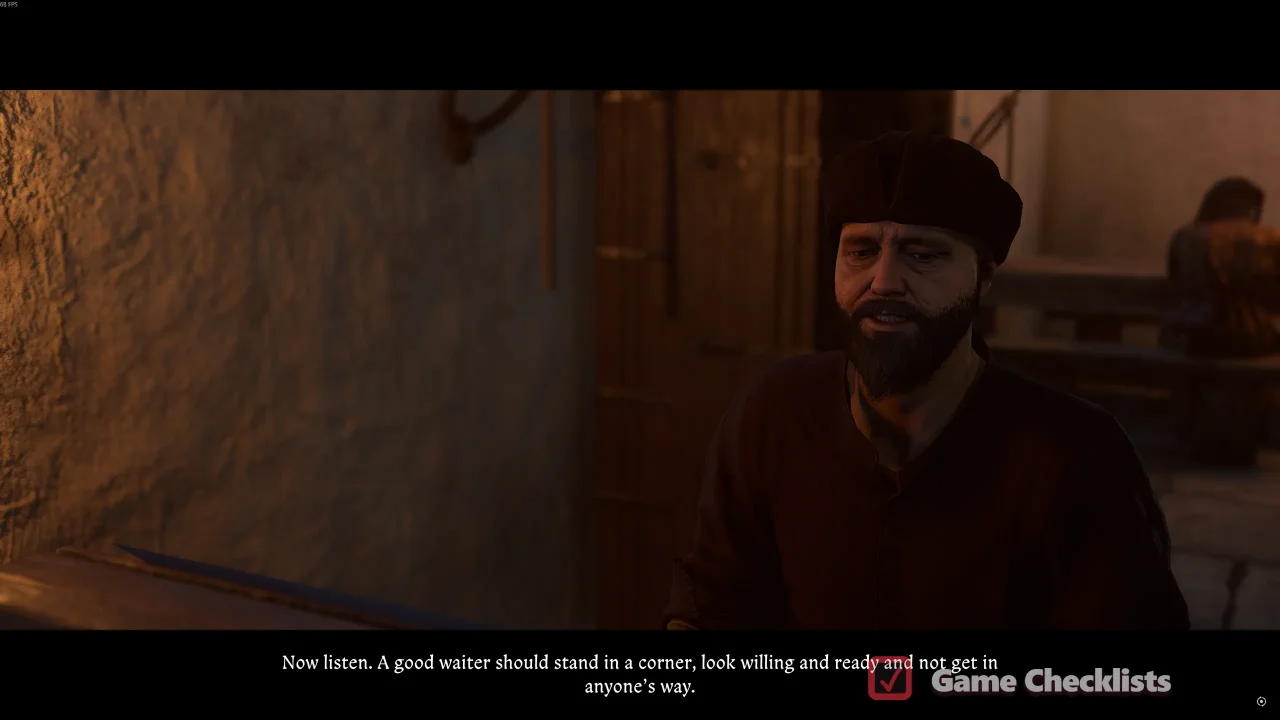
Inform the Majordomo that you are the new royal waiter. When questioned, tell him that Franta cannot make it because he is hurt or heavily drunk. State that you are happy to learn and open to advice, which prompts him to outline the rules of the banquet hall, which we have summarized in the next section.
You can then choose to wait for the council to convene to fast-track directly into the meeting.
Inside the Council: Rules
Your primary job is to stand near the corner where you spawn, monitor the guests, and accurately fulfill their drink and personal requests. Manual saving is entirely disabled throughout this sequence.
If you completely ignore requests, serve the wrong wine types, or serve the forbidden guest, you will accumulate mistakes. If you do too poorly, Henry will state that you must do better to avoid blowing your cover.
Doing too many errors will result in the Majordomo throwing you out of the meeting, failing the quest.
Unique Dialogue Opportunity
The council will first discuss recent developments in the city, which can be affected by completing side quests. If you've helped Menahrd in Ars Dimicatoria, they will blame him for bringing duelling culture to Kuttenberg. And if you've helped Betty in A Good Scrub and Ill Repute side quests, they will discuss the new "clean" tax.

Serving the Council
Keep the following mechanics in mind while serving:
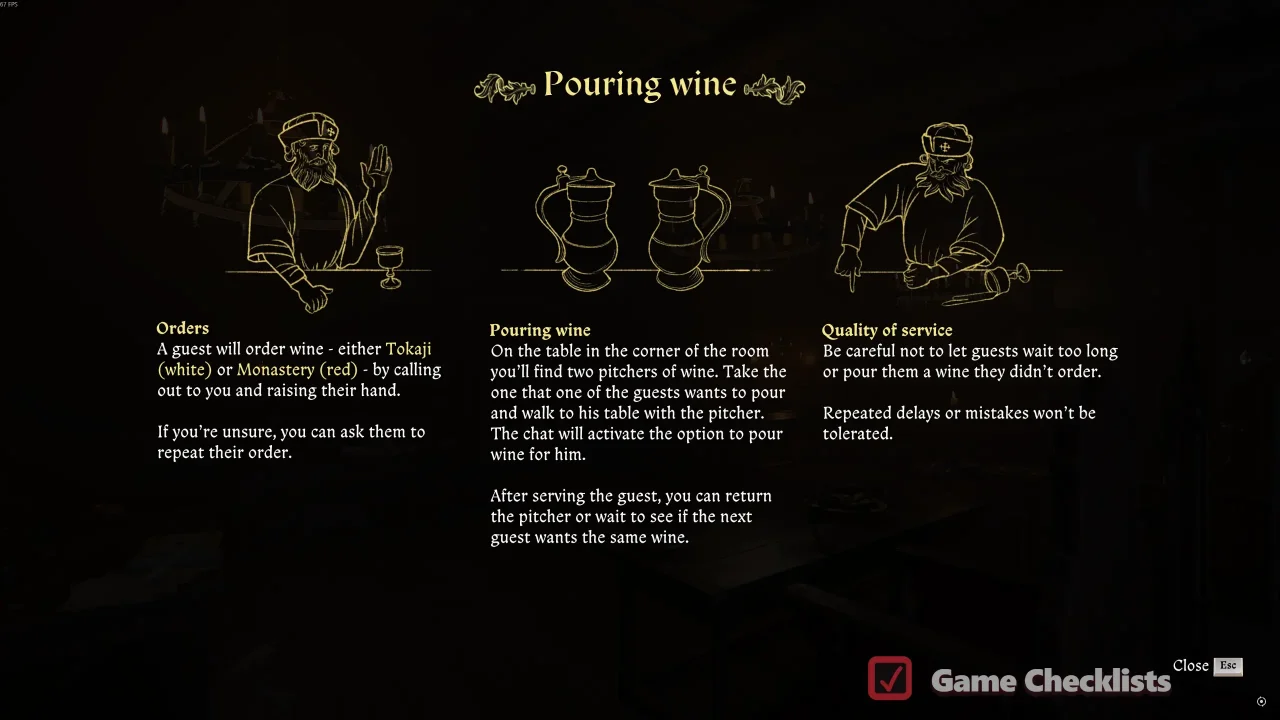
- When a noble calls for a drink, an interaction will appear in the bottom right corner of your screen allowing you to look. Pressing this button zooms your camera directly onto the speaker so you can identify them in the crowded room.
- There are two distinct wine pitchers sitting on the table in your corner: Tokaji represents the white wine, while Monastery (or Monastic) represents the red wine.

Pick up the correct pitcher, walk back to the guest, and hold the target interaction button to pour the drink before returning the pitcher to its corner.

Whenever Sir Adam of Zarzitz demands wine, you must refuse him. Interact with him and select the phrase stating that you are forbidden from serving him. Refusing him keeps your cover intact, and he will eventually end up thrown into a jail cell for a month after shouting at the King.
Special Requests
During the banquet, two specific nobles will call you over for unique, missable side tasks that completionists must fulfill.
Bailiff Andreas Plumel
Bailiff Plumel will call you closer to speak privately. He does not want wine, instead requesting that you quietly retrieve a specific goblet he previously confiscated from a local thief before the other councillors notice its absence.

Walk up the small wooden stairs in the corner of the room to enter the private office space. Locate the Stolen cup resting on the main table and pick it up. Walk back down the stairs and deliver the cup to Plumel to complete the task, then continue serving the councilmen.
Franz Rosenthal
Franz Rosenthal will call you over to help find his missing items. Agree to help him to log the objective.

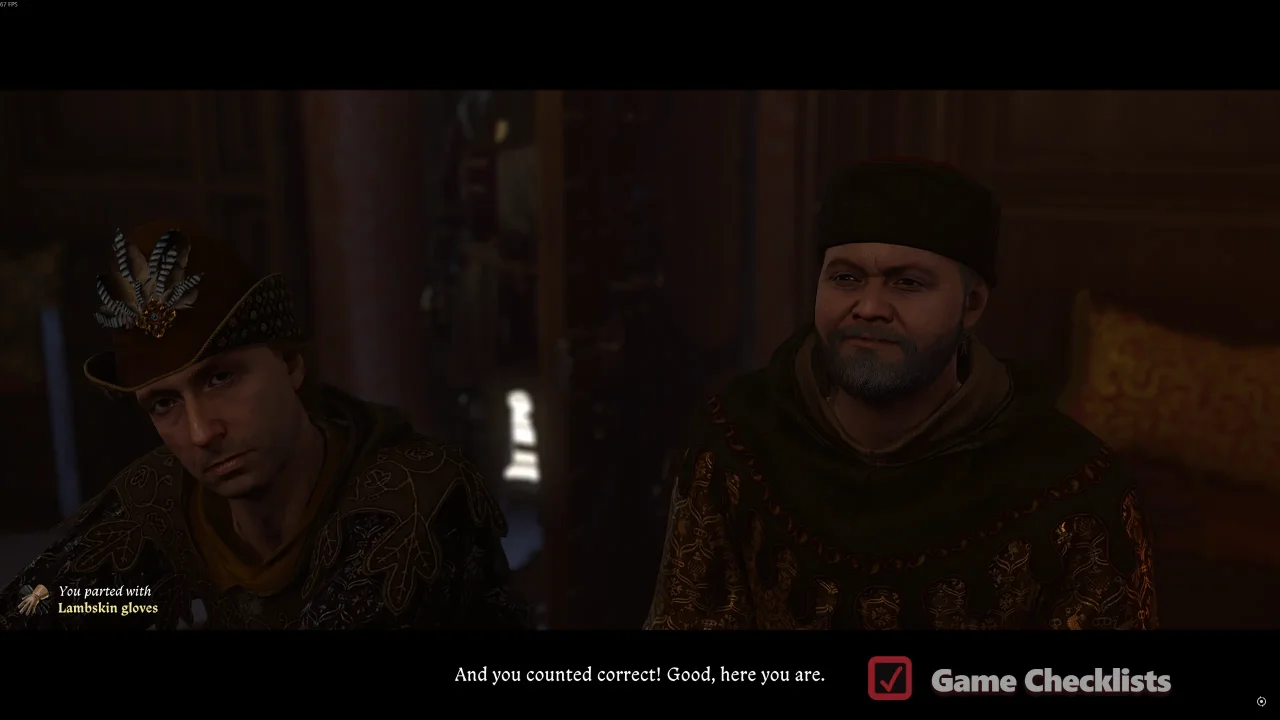
Walk into the adjacent chapel room where the holy shrine is set up. Look closely at the main lectern to find his white Lambskin gloves.

Rosenthal also tasks you with counting exactly how many winged creatures are painted onto the chapel murals. Walk back to Franz and hand over the gloves. He will ask for the count.
Select the precise answer of 24. Giving the correct number surprises him and rewards you with a bonus groschen.
Arrival of King Sigismund
Once these tasks are settled, King Sigismund of Luxembourg will formally arrive at the hall, along with Markvart von Aulitz, triggering a major narrative cutscene that shifts the gameplay perspective over to Father Godwin at Raborsch Fortress.
Despite his menacing presentation, Sigismund is surprisingly friendly to waiter Henry.


Part 3: Father Godwin in Raborsch
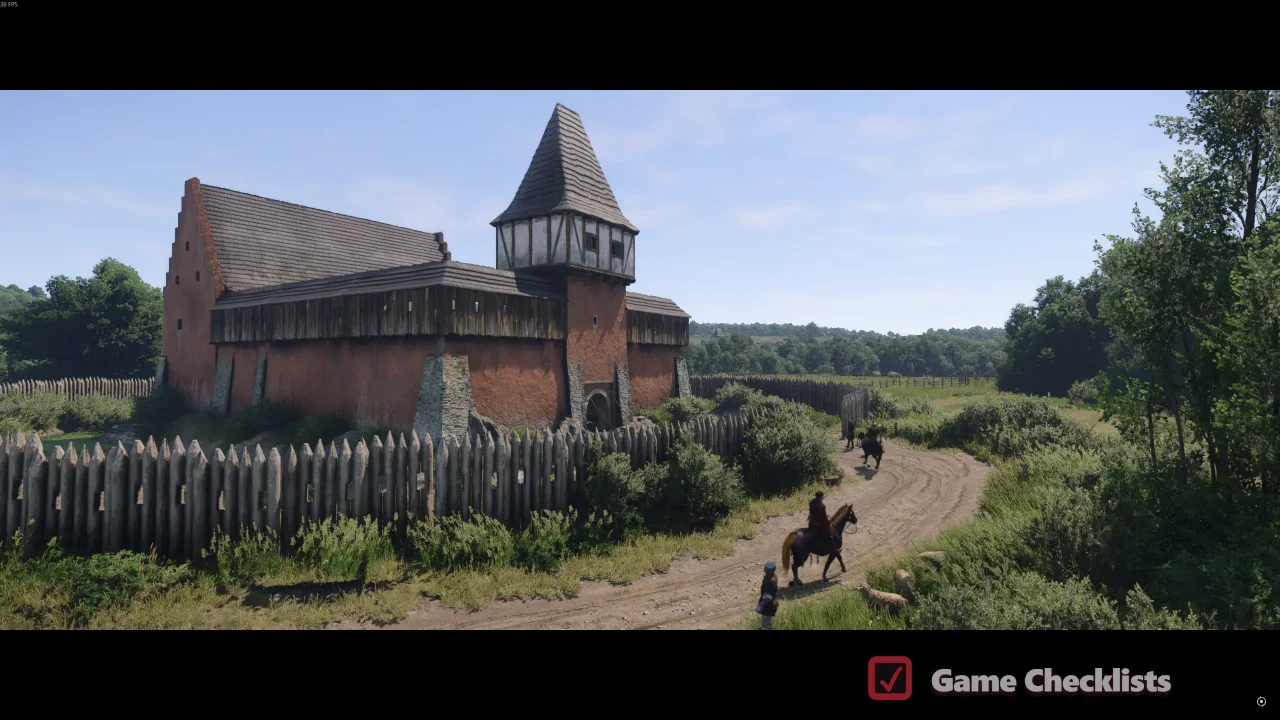
Control switches directly to Father Godwin at Raborsch. Your opening objective is to actively socialize with the high-profile guests in the room to gauge the political landscape.
Speak with Sir Hans Capon first and exhaust all of his conversational options regarding the guests, the mysterious Frenchman Brabant, and his newfound freedom.
Initial Introductions
Vauquelin Brabant: Walk over to the northeast corner of the starting room to find Brabant looking out of a large window. Exhaust all of his dialogue lines to learn his background history.
The Rabbi and Samuel: Move to the south corner of the exact same room to locate Samuel and Rabbi Jehuda. Exhaust your dialogue options with them to understand their motivations for attending the meeting. Asking them if they arrived on business will cost you some reputation.

After completing these introductions, an automatic cutscene triggers where Margrave Jobst of Luxembourg opens the council. The meeting quickly falls apart because the present lords are completely divided on how to proceed against Sigismund's forces, causing Jobst to temporarily adjourn the assembly.
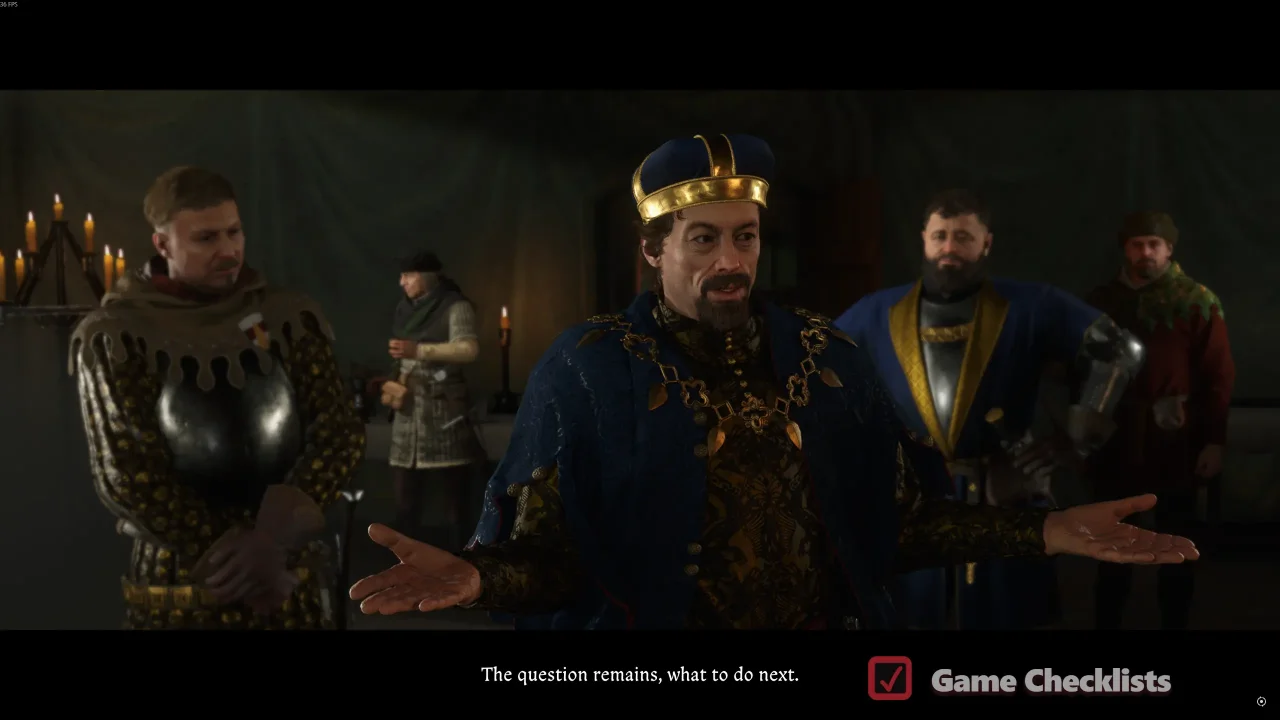
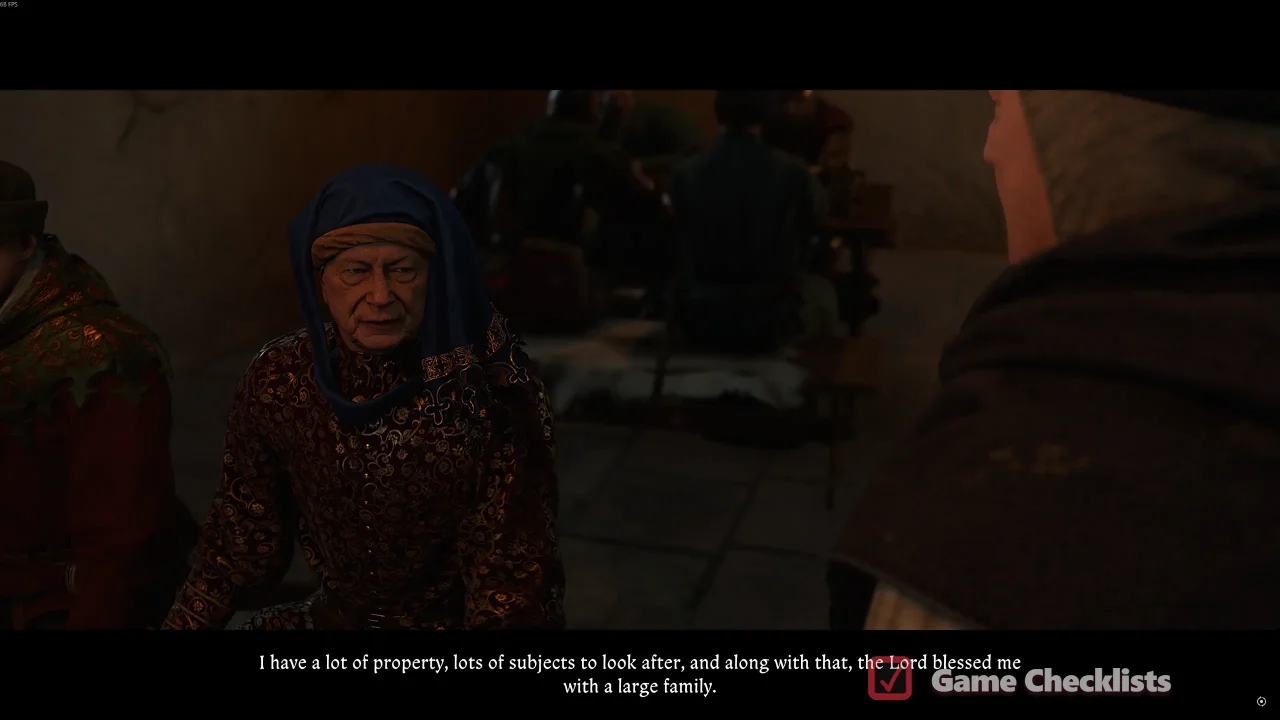
John of Liechtenstein will approach Godwin privately to ask for a large favor. He wants you to use your social standing to secure the political support of three critical, stubborn nobles to swing the vote in Jobst's favor: Haman Alder, Botschek of Kunstadt, and Anna of Waldstein.
You can also talk to other groups of guests, for example with Radzig and Hanush. Radzig will share that Divish of Talmberg from KCD1 now has a child. If you've played KCD1, you know that the actual father of that child is Henry.
Securing Haman Alder
Walk into the adjacent room to find Alderman Haman Alder conversing with Kunzlin Ruthard and Godwin's father, Martin Oderin. Engage them in dialogue.
Regardless of what you choose to say during this tense family reunion, your estranged brother, Christopher, will abruptly arrive and challenge Godwin to an immediate duel.
Whether you win the duel or lose miserably, speak to Christopher immediately after the fight concludes. Exhaust his dialogue, and he will automatically patch things up with Godwin and promise to handle Haman Alder personally, securing the alderman's vote for your alliance.

Securing Anna of Waldstein
Go to the upstairs banquet hall positioned along the southeast corner of the fortress to find the wealthy widow, Anna of Waldstein, sitting near Rabbi Jehuda.
Anna is a sharp negotiator and demands a dangerous favor in exchange for her political backing. She wants you to get some incriminating legal papers that are currently stored inside Haman Alder's personal horse luggage.

Head down into the courtyard and locate the room positioned directly behind the horse stables. A stable master stands guard near the entrance.
You can choose to wait patiently in the courtyard until his patrol route causes him to step away from the door, or you can confront him directly and pass a medium Domination skill check to trick him into letting you explore the shed freely.
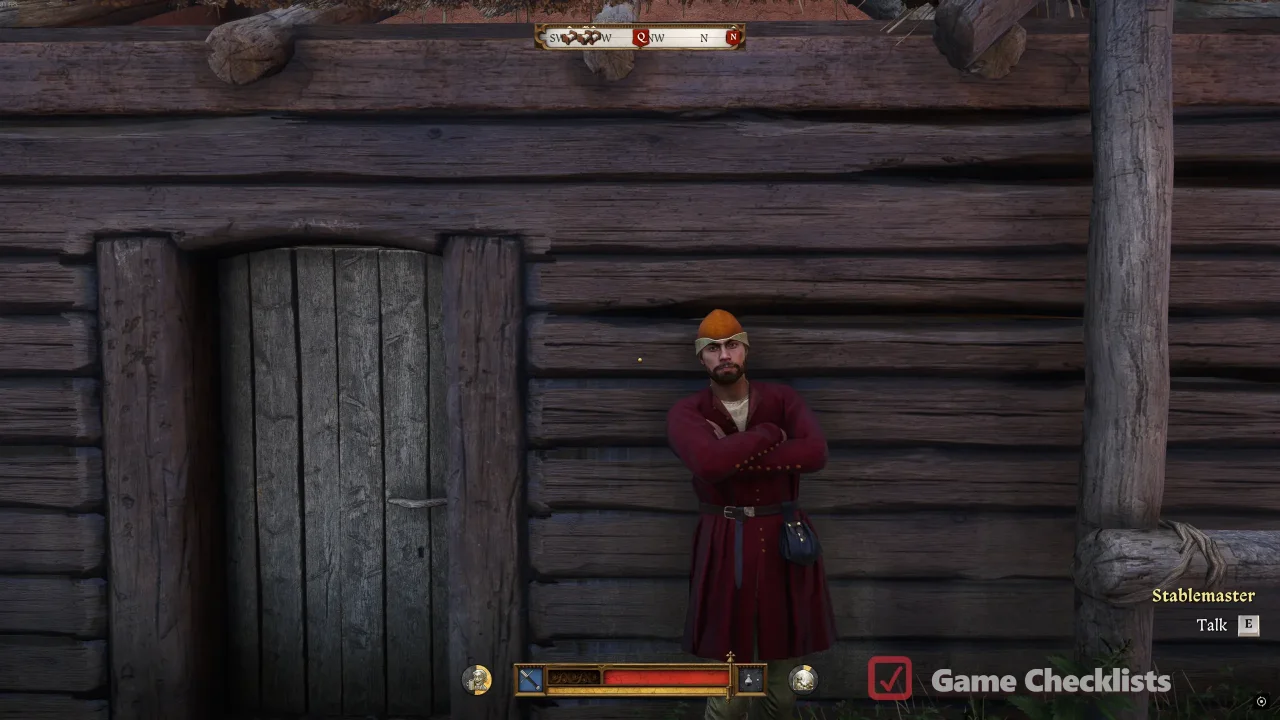
Step inside the room and locate the saddlebags resting on the main table. Interact with the first saddlebag to successfully swap out the incriminating documents. Bring the original papers straight back upstairs to Anna to secure her formal alliance.
Securing Botschek of Kunstadt
Head inside the middle floor, where the pub is, and locate Botschek drinking heavily alongside Jan Zizka. Botschek is highly pragmatic and demands a firm guarantee of long-term security for his private estate before he risks opposing the King.
He explicitly wants to secure a marriage betrothal between his niece, Jitka, and a powerful noble house.
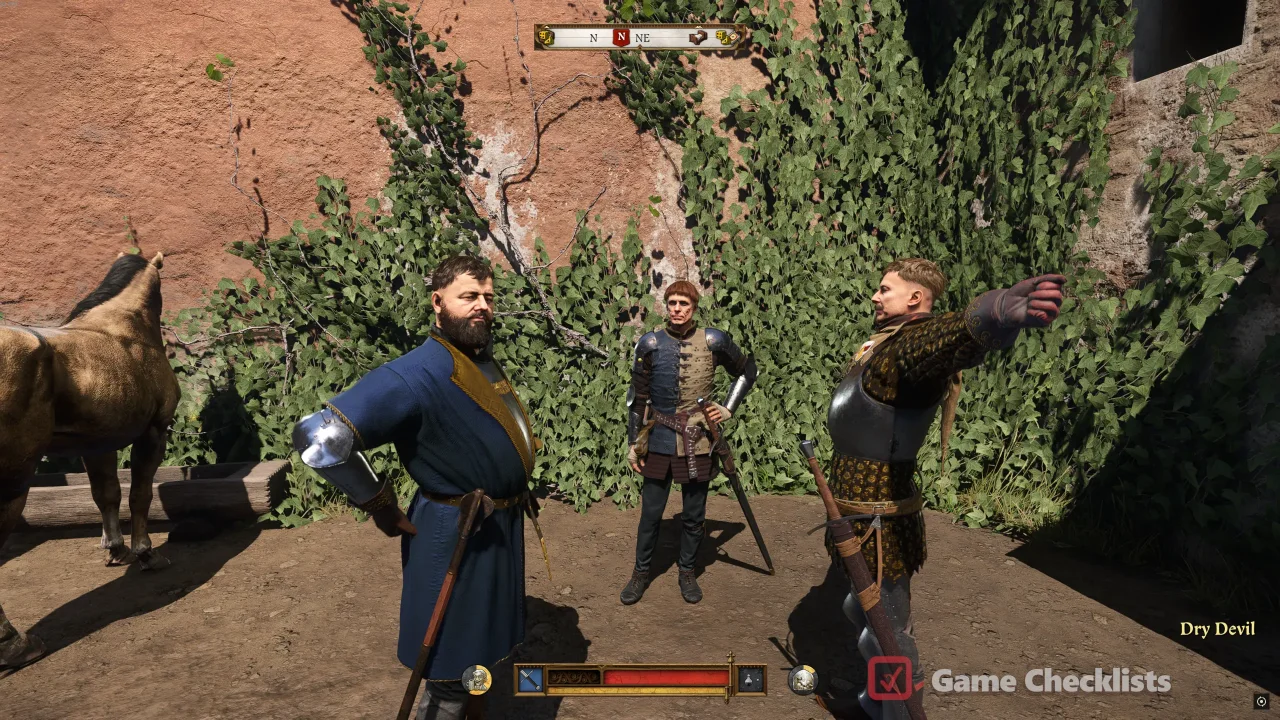
Go through the dialogue tree and recommend Sir Hans Capon as the ideal groom. Botschek will agree to the terms, provided you can secure the official blessing of Capon's guardian. Walk back out into the central courtyard to locate Hanush of Leipa. Inform him of the arrangement, and Hanush will become absolutely overjoyed and give his formal blessing.
However, Hanush strictly forbids you from telling Hans about the betrothal, as he wishes to break the marriage news to his squire personally. Walk back downstairs to Botschek and inform him that the marriage is fully agreed upon to lock in his political support.
With all three nobles on board, return to John of Liechtenstein in the main room to report your success.
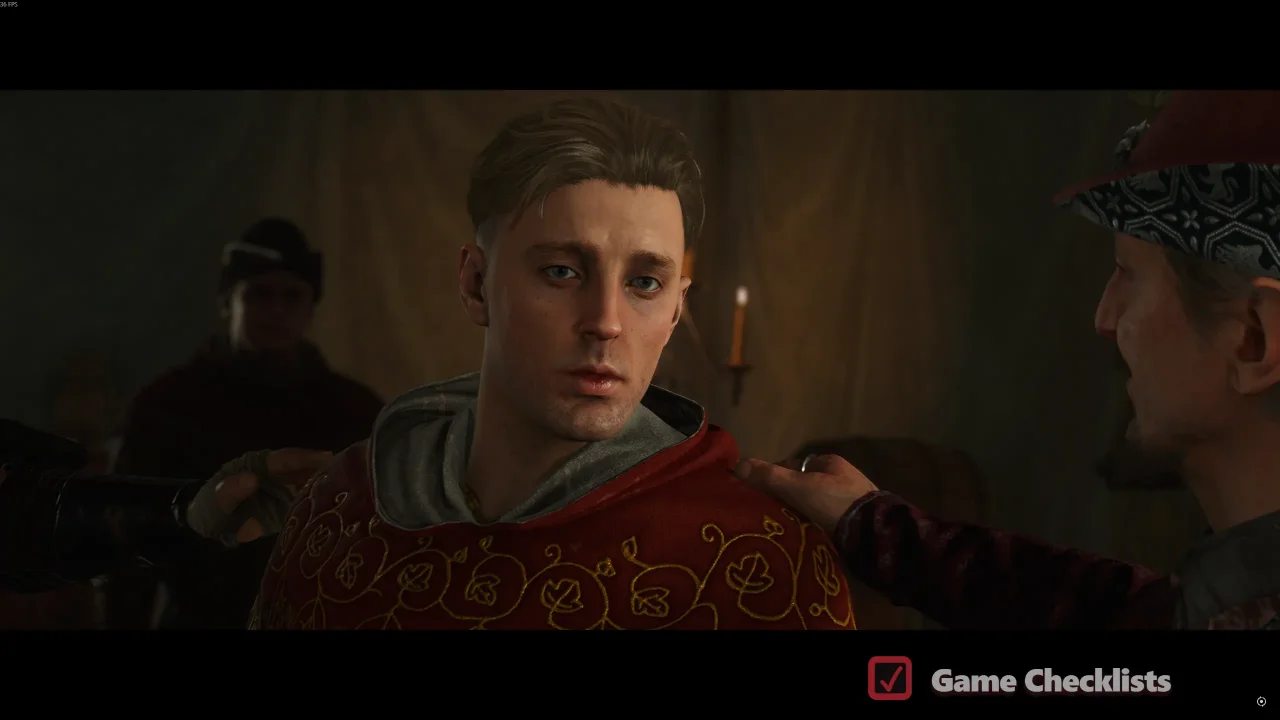
This triggers another major cutscene where Jobst reconstitutes the meeting with highly successful results, leaving a thoroughly miserable Sir Hans Capon to find out about his surprise marriage contract.
Part 4: Back to King Sigismund
The perspective cuts back to Henry in the Kuttenberg banquet hall. The council has been dismissed, and Henry is left entirely alone in the room with King Sigismund and Markvart von Aulitz.
Sigismund places the city council directly under Markvart's authority, and the two men begin a highly classified, private discussion regarding their military strategy for the region. Sigismund demands that you remain in the room to serve them wine throughout the meeting.

You will need to complete three drink orders again, for red, red and white wine. Fully ignore Markvart's order; only listen to King Sigismund.

Sigismund will turn to toast with you a final time, allowing you to select the dialogue response "To victory!" to cement your cover perfectly.
A major story cutscene will trigger, concluding the chapter and automatically starting the next main quest line: The Feast. See our feast guide for optional guests, Die Another Day, and post-battle looting.
This finishes The King's Gambit main quest in Kingdom Come: Deliverance 2.
The King's Gambit FAQ

How long until The King's Gambit fails?
You have 3 full in-game days after Maleshov escape, not one day. Henry warns on day one; failure happens after day three.
How do you get Franta's waiter outfit?
Find him at Objective C, not the misleading marker. Speech ("important news for the King") or Charisma after bribe line avoids the 1,000 Groschen fail fee.
Should you serve Sir Adam of Zarzitz?
No. Refuse him every time. Serving him blows cover; refusing keeps you safe and he is jailed after shouting at the King.
What missable tasks are in the council?
Plumel: stolen cup upstairs office. Rosenthal: chapel gloves and mural count 24.
How do you secure all three Raborsch votes?
Alder: Christopher duel. Anna: swap papers in Alder's saddlebags. Botschek: Capon betrothal via Hanush, do not tell Hans.