The Ringed City Checklist Overview
The checklist is located below this introductory text.
This checklist tracks every item required for 100% Completion in the The Ringed City location in Dark Souls 3. There are 72 items here.
Items in this checklist are in chronological order, like you find them in the game. It is best used on fresh runs, directly alongside the game.
Questline steps that play out in The Ringed City are listed in their own table.
This location is part of The Ringed City DLC. DLC rows use a lilac color.
100% Completion Tools
- Use the Dark Souls 3 Item Checklists to compare your inventory
- Use the Dark Souls 3 Location Checklists to clear the game location by location
- Use the Dark Souls 3 Progress Tracker to display your progress across the whole game and every checklist
- Use the Dark Souls 3 Run Strategy Guide to plan your runs and learn when is the best time to collect which missable or exclusive item and how to plan endings
Checking a row in this checklist will automatically mark off its twin in the checklist for the items of that category.
To view all Location Checklists, visit the Dark Souls 3 100% Completion Hub.
Ringed City: Start
The second area in  The Ringed City DLC for Dark Souls 3.
Mausoleum Lookout Bonfire and the first grand bridge.
These items are best reached from the Mausoleum Lookout bonfire.
There are 6 items in this group.
| ✓ | Item | Description | |
|---|---|---|---|
|
The first bonfire in Location of Mausoleum Lookout: 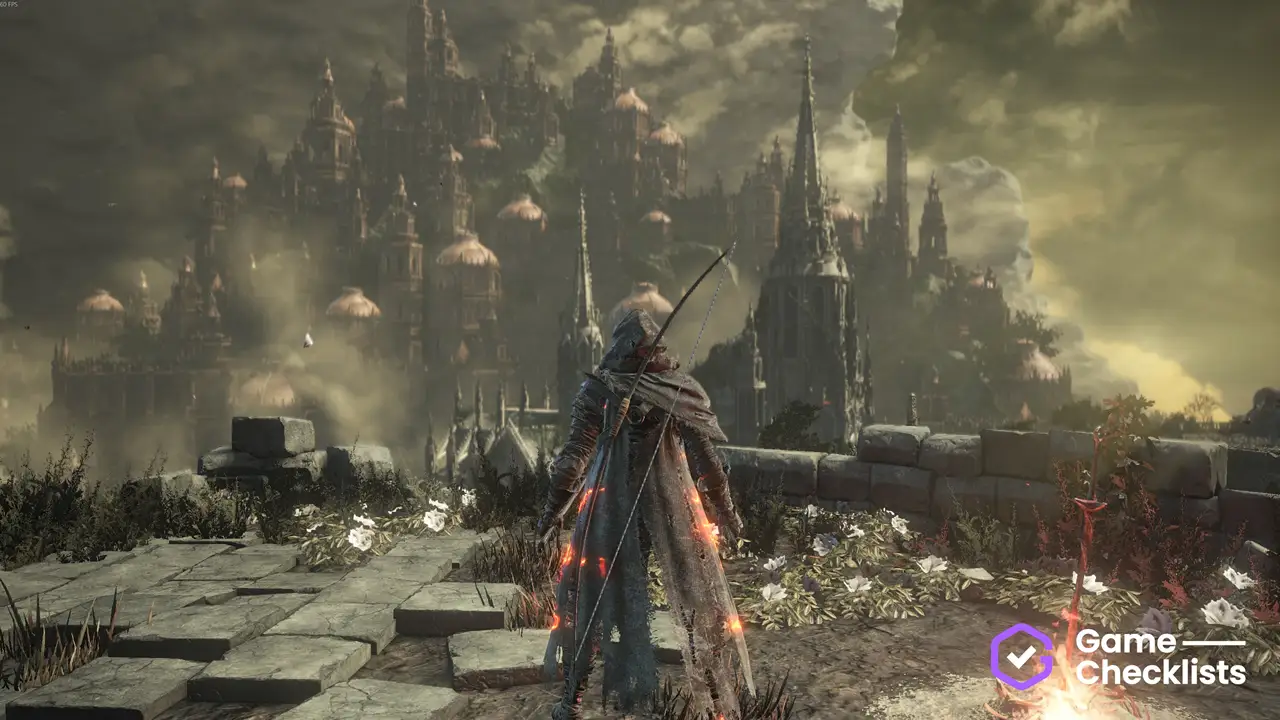 |
||
 |
Go down the stairs and immediately to the right alcove to pick up the Ruin set. Location of Ruin Helm:  |
||
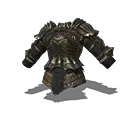 |
Go down the stairs and immediately to the right alcove to pick up the Ruin set. Location of Ruin Armor: |
||
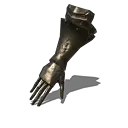 |
Go down the stairs and immediately to the right alcove to pick up the Ruin set. Location of Ruin Gauntlets: |
||
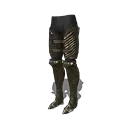 |
Go down the stairs and immediately to the right alcove to pick up the Ruin set. Location of Ruin Leggings: |
||
 |
Mid-way through the bridge drop on the right. Drops a Twinkling Titanite and a Titanite Scale. Location of Crystal Lizard: 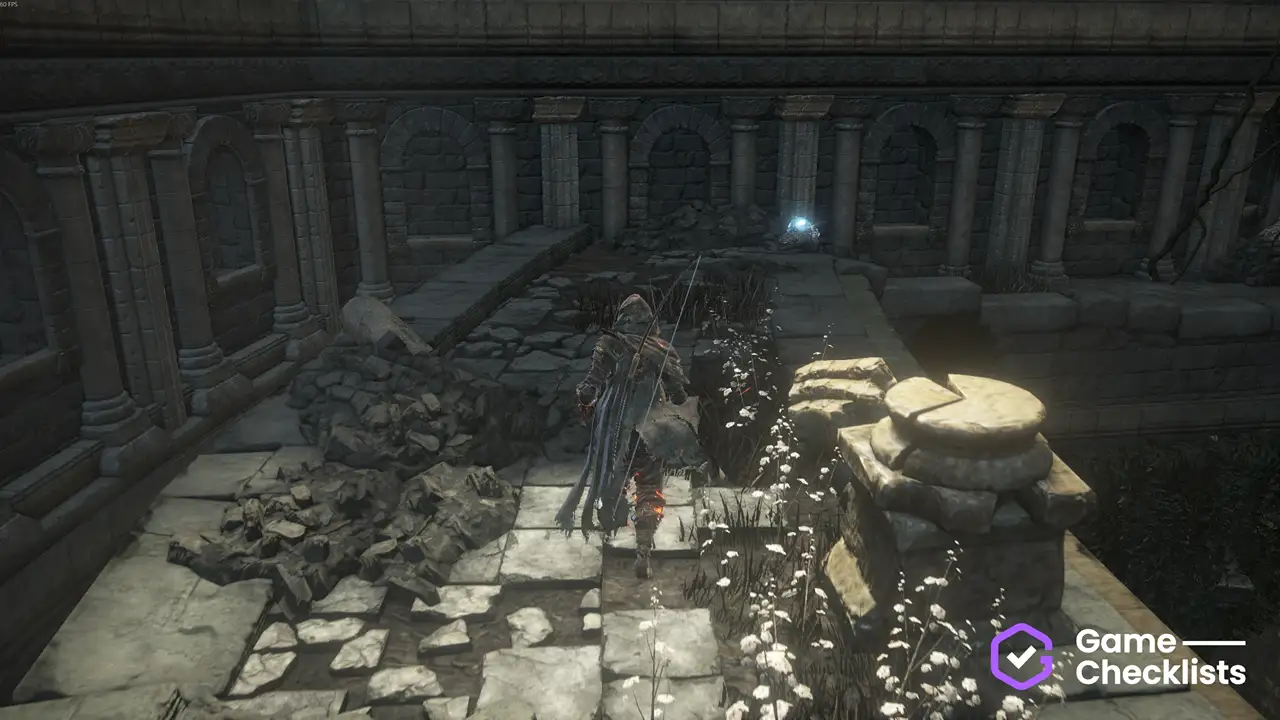 |
Ringed City: Main Street
The main street with Harald Knights.
These items are best reached from the Ringed Inner Wall bonfire.
There are 8 items in this group.
| ✓ | Item | Description | |
|---|---|---|---|
|
Past the first judicator. Location of Ringed Inner Wall: 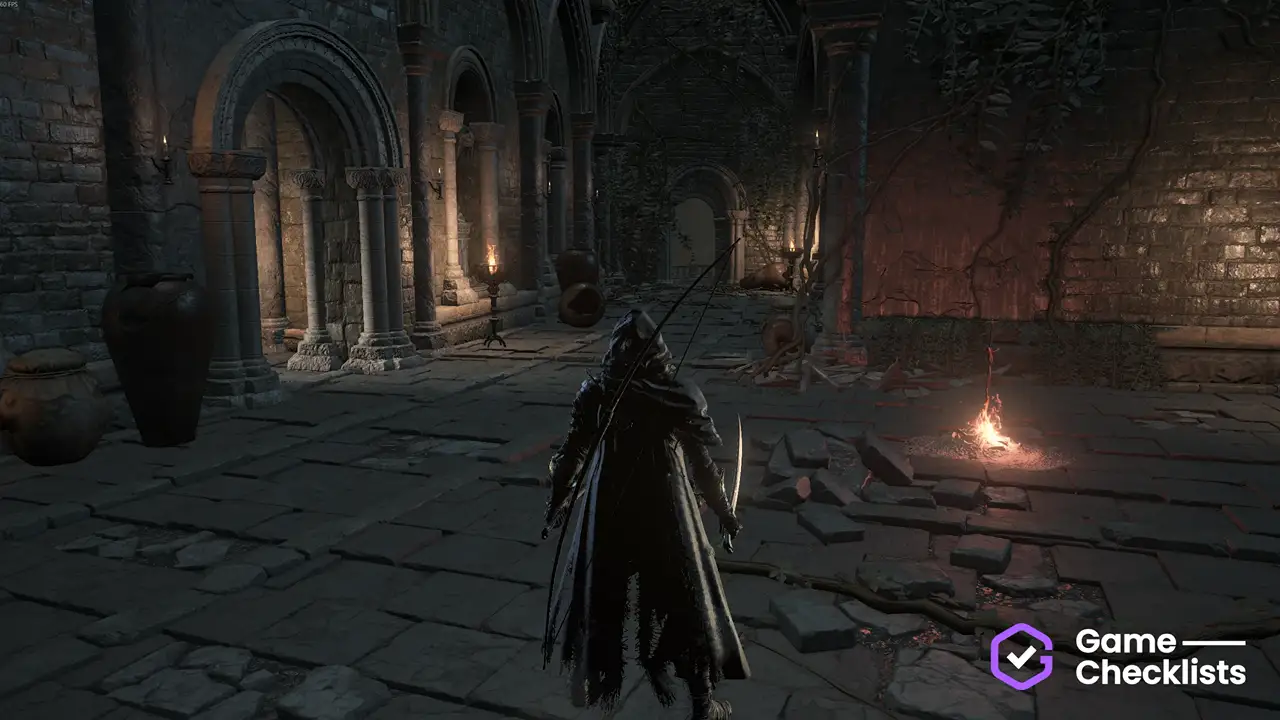 |
||
 |
Follow the main path until you drop down a circular room, then go outside and up the stairs with three Harald Knights. Speak to Location of Sacred Chime of Filianore: 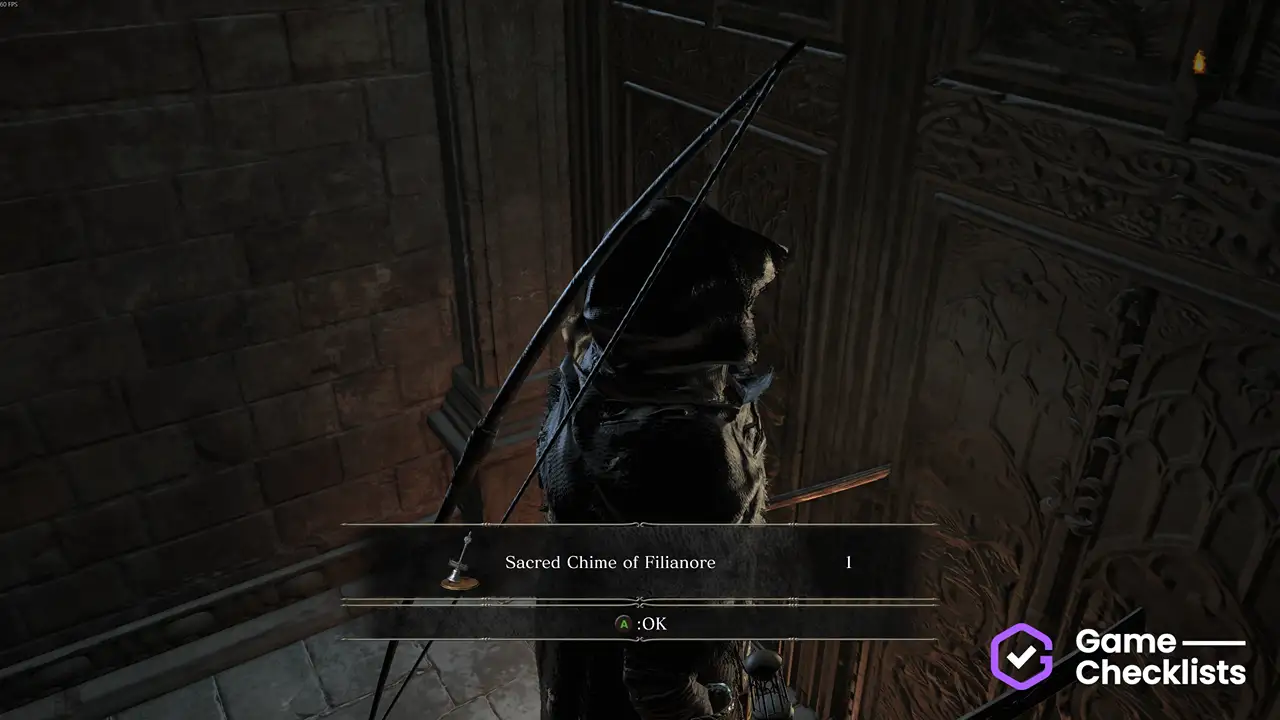 |
||
 |
From the staircase with three Harald Knights, get on the first bridge and cross it into a garden. Follow the only path to get invaded by a Seeker of the Spurned. You DON'T have to be embered for this. He'll drop the Location of Wolf Ring +3: 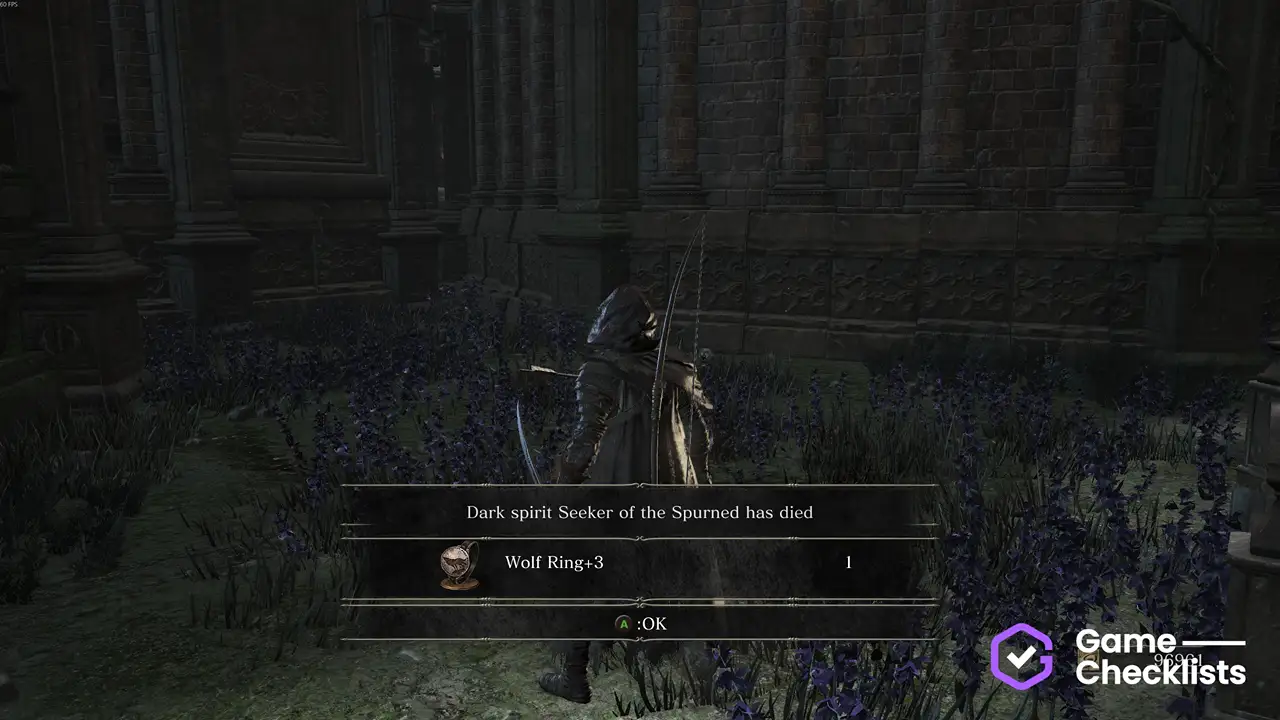 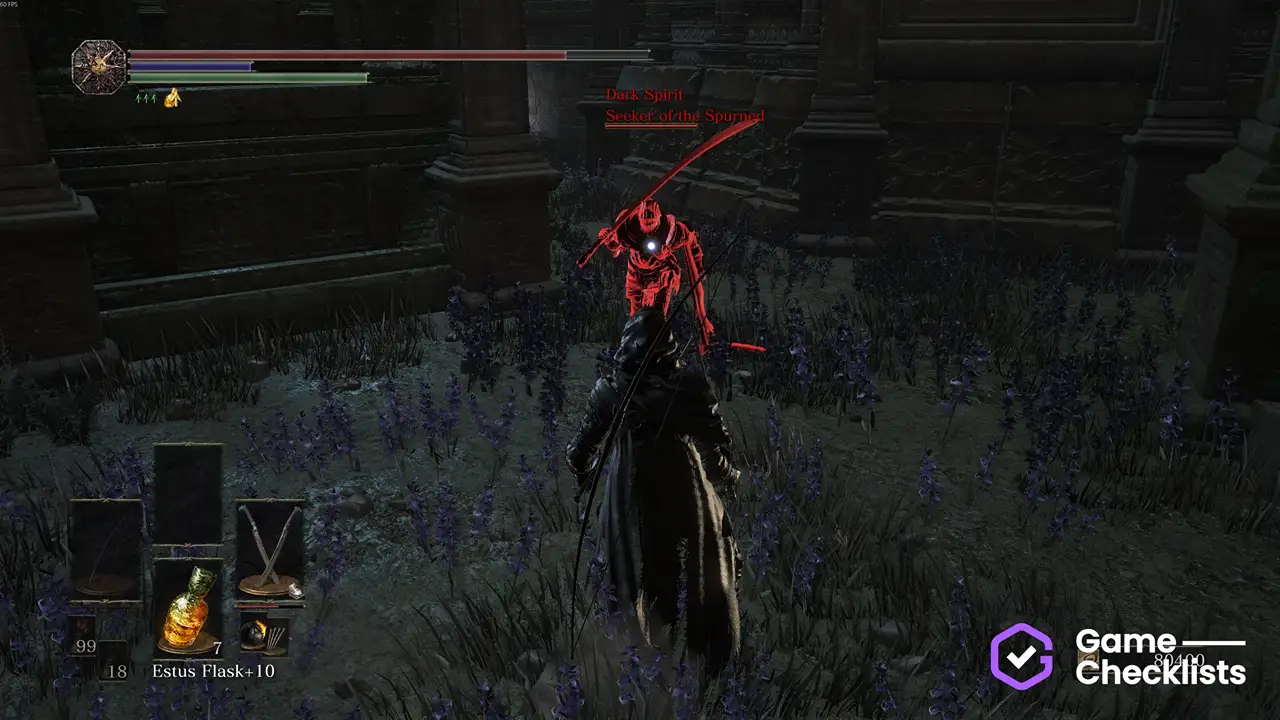 |
||
 |
From the staircase with three Harald Knights, get on the first bridge and cross it into a garden. Follow the only path and search in the very last corner for the Black Witch armor set. Location of Black Witch Hat: 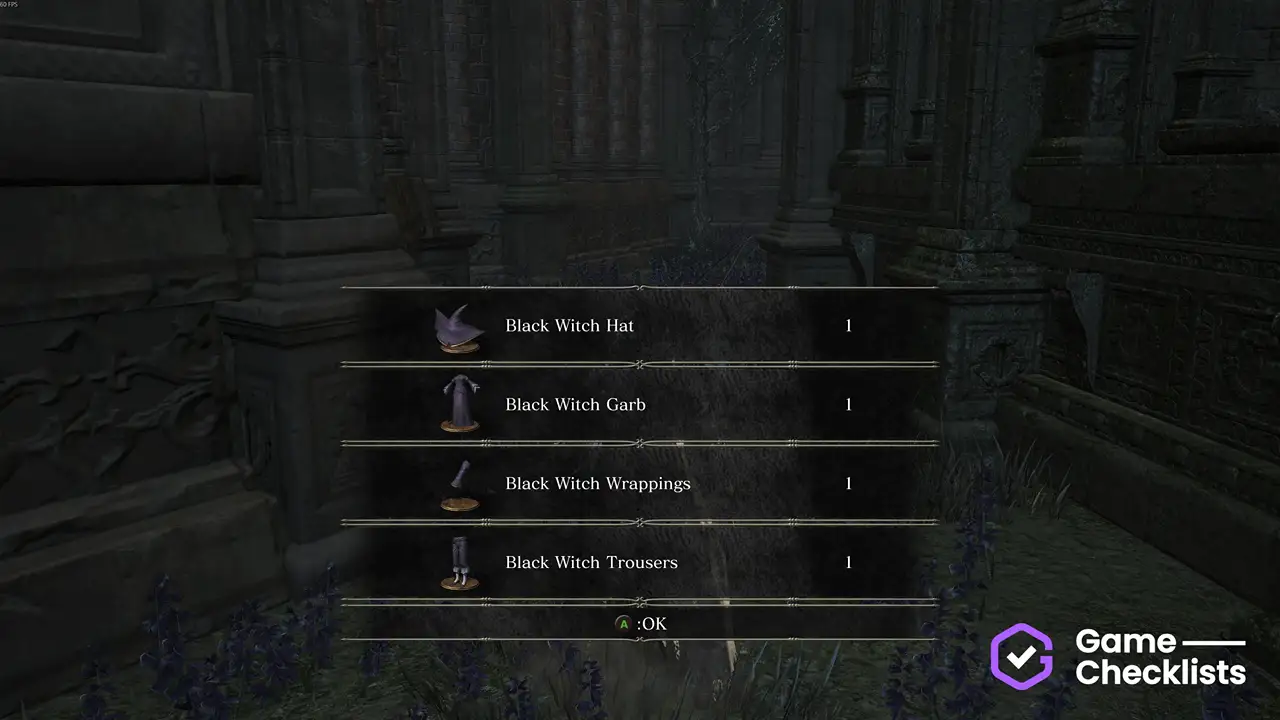 |
||
 |
From the staircase with three Harald Knights, get on the first bridge and cross it into a garden. Follow the only path and search in the very last corner for the Black Witch armor set. Location of Black Witch Garb: |
||
 |
From the staircase with three Harald Knights, get on the first bridge and cross it into a garden. Follow the only path and search in the very last corner for the Black Witch armor set. Location of Black Witch Wrappings: |
||
 |
From the staircase with three Harald Knights, get on the first bridge and cross it into a garden. Follow the only path and search in the very last corner for the Black Witch armor set. Location of Black Witch Trousers: |
||
 |
From the staircase with three Harald Knights, go into the narrow passage on the right just before the swamp and follow it to the end. Location of Ringed Knight Spear: 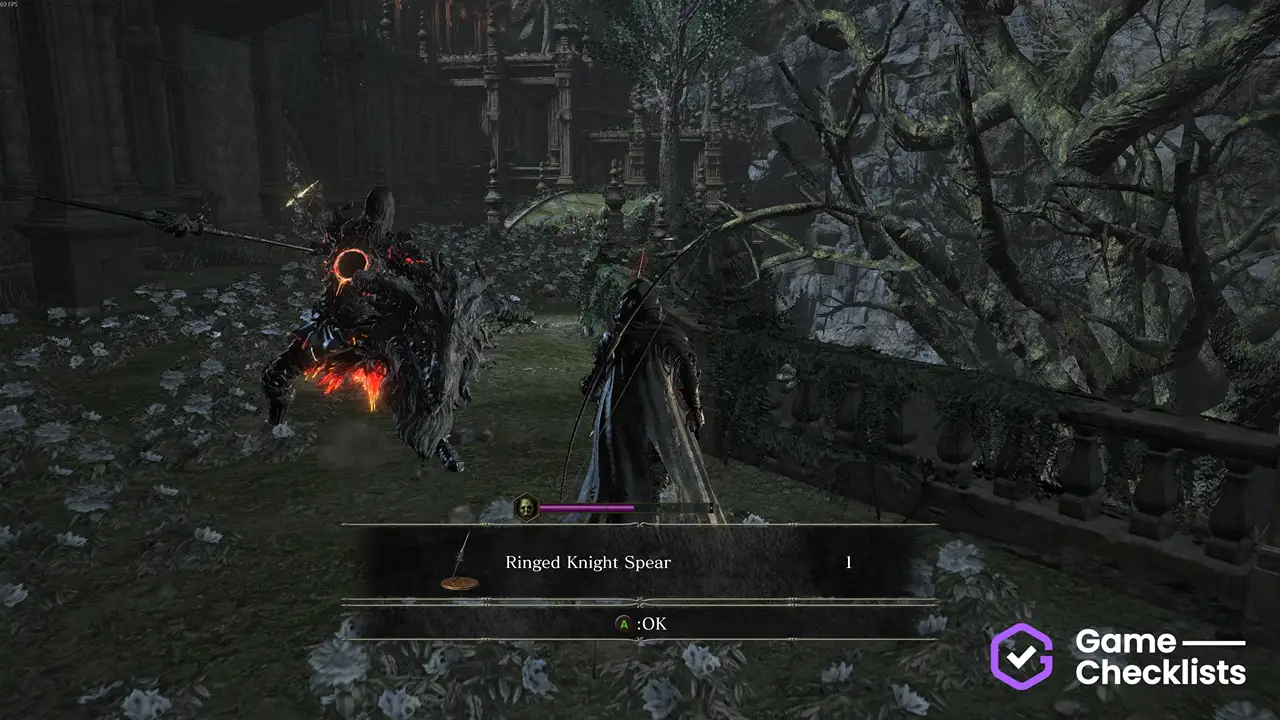 |
Ringed City: Swamp
Everything in the swamp area of The Ringed City.
These items are best reached from the Ringed City Streets bonfire.
There are 19 items in this group.
| ✓ | Item | Description | |
|---|---|---|---|
|
From the staircase with three Harald Knights, head into the swamp and then right and up the stairs to reach. Location of Ringed City Streets:  |
||
 |
Go outside and behind the fountain on your left. Location of White Preacher Head: 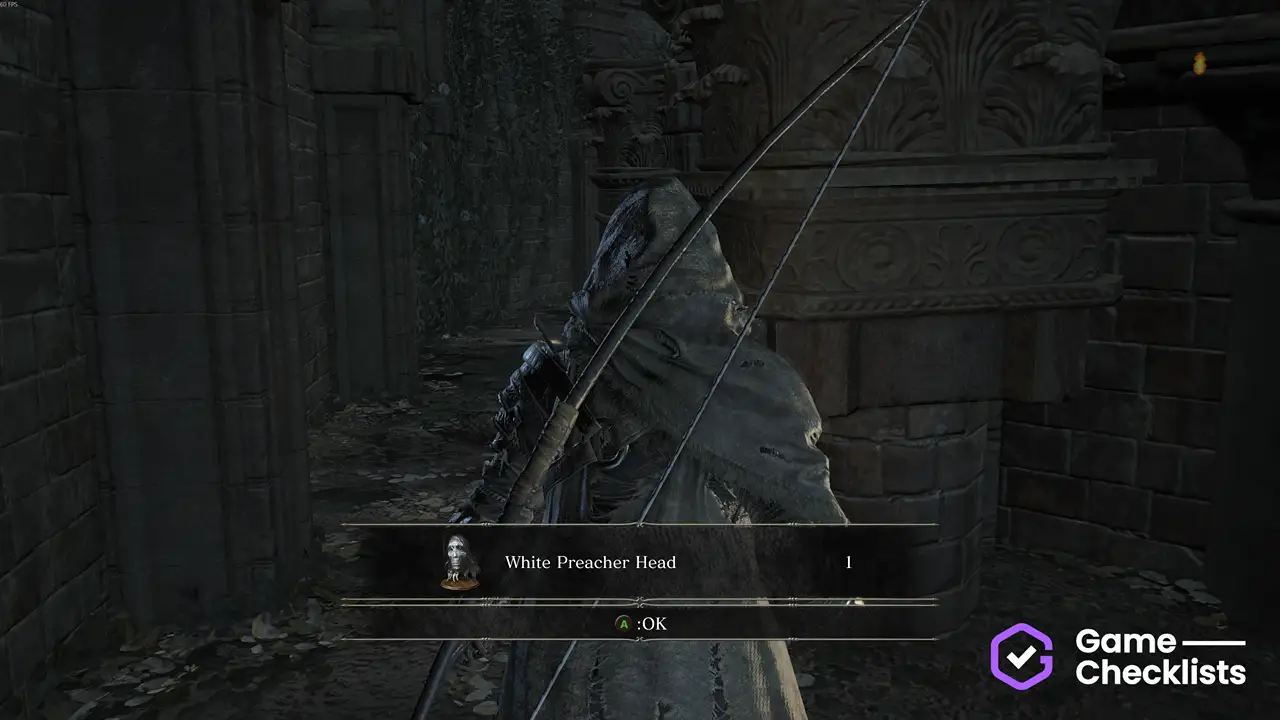 |
||
|
At the start of the swamp below the staircase with 3 Harald Knights, head left into the corner and climb a ladder and you'll spot it. Drops 2x Twinkling Titanite. Location of Crystal Lizard:  |
||
 |
At the start of the swamp below the staircase with 3 Harald Knights, head left into the corner and climb a ladder. Cross the bridge, go around the circular building with two Ringed Knights and enter the next archway to pick it up. Location of Covetous Gold Serpent Ring +3: 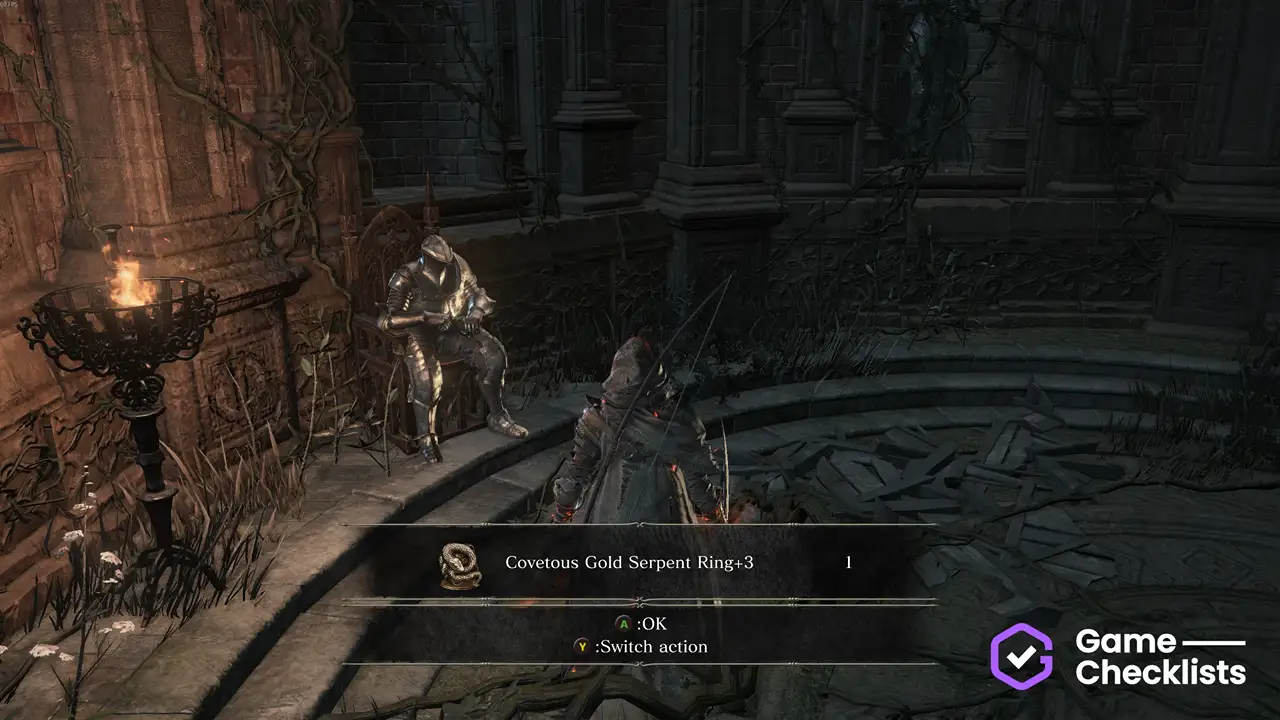 |
||
 |
At the start of the swamp below the staircase with 3 Harald Knights, head left into the corner and climb a ladder, small stairs and then jump to the rocky path on your right. Climb it and the Silver Knight Ledo will invade you. Defeat him for the hammer. You don't have to be embered for this. Location of Ledo's Great Hammer: 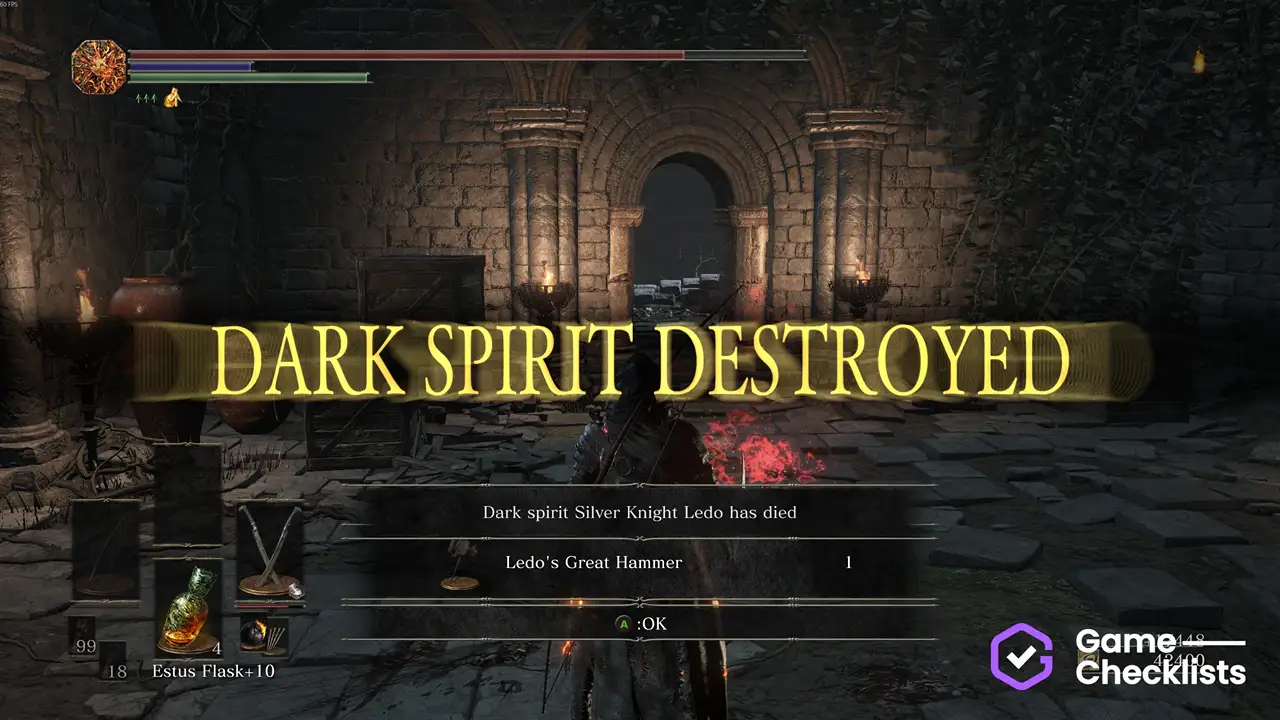 |
||
 |
At the start of the swamp below the staircase with 3 Harald Knights, head left into the corner and climb a ladder, small stairs and then jump to the rocky path on your right. Follow it right until the entrance, but before the archway look below to the cliff. Carefully jump down the platforms to pick up the ring. Location of Havel's Ring +3: 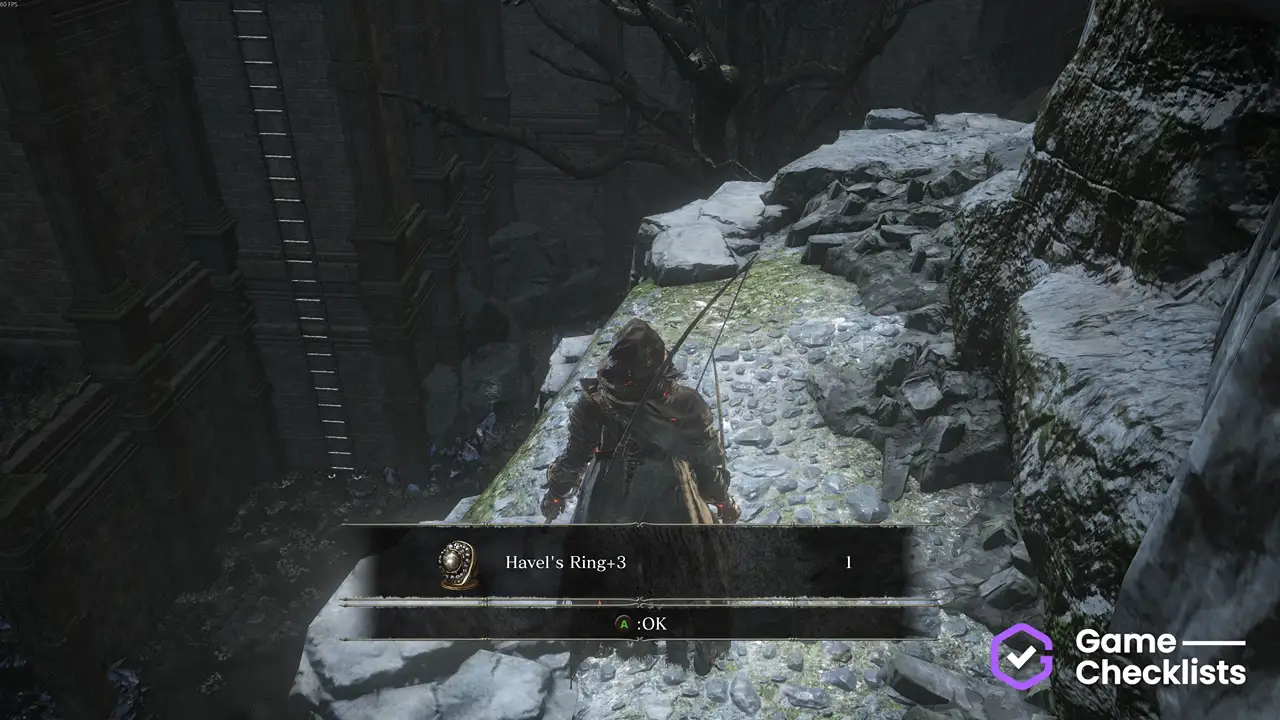 |
||
 |
You need to get to an area leading to the Purging Monument, which takes a while. Read Location of Dragonhead Shield:  |
||
 |
Go outside and kill the Judicator in the swamp. Then head right and climb a small hill to get to a fountain. The sword is behind it. Location of Ringed Knight Straight Sword: 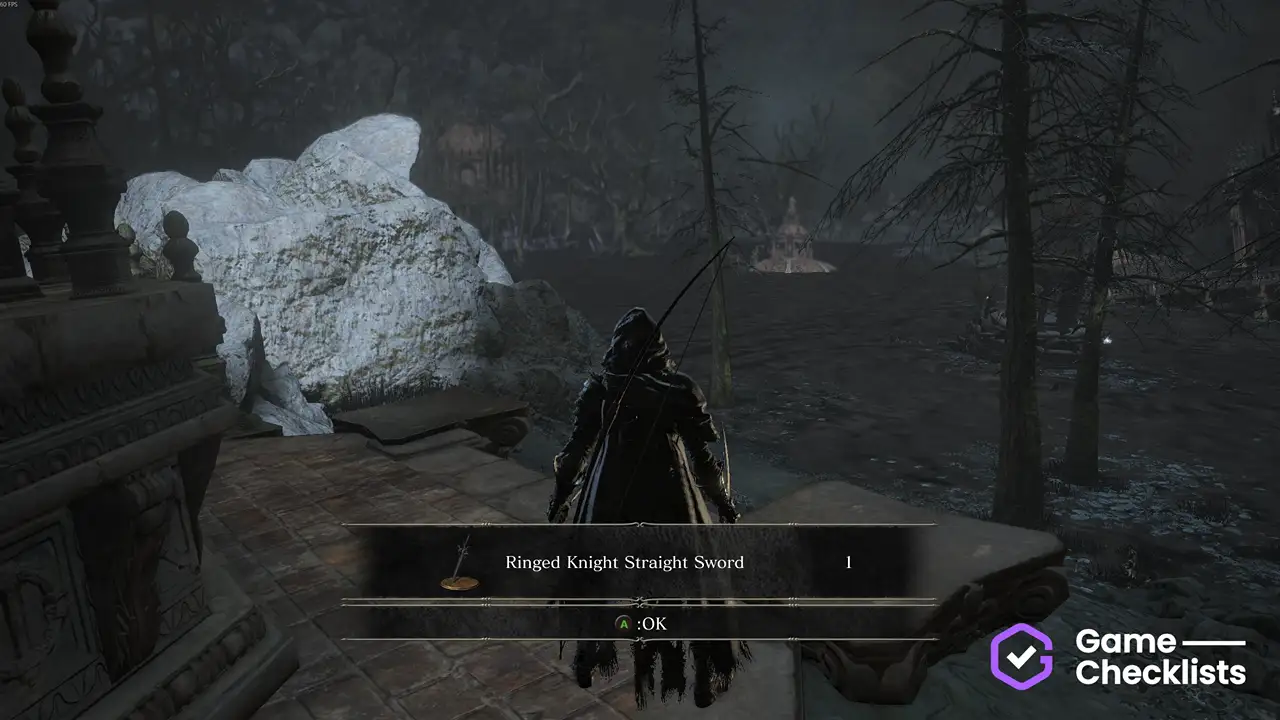 |
||
 |
Go outside and kill the Judicator. Nearby is a tip of the tower sticking out of the water, it has this staff. Location of Preacher's Right Arm:  |
||
 |
Past the swamp, to the left of the church with four Ringed Knights. Location of Black Witch Veil: 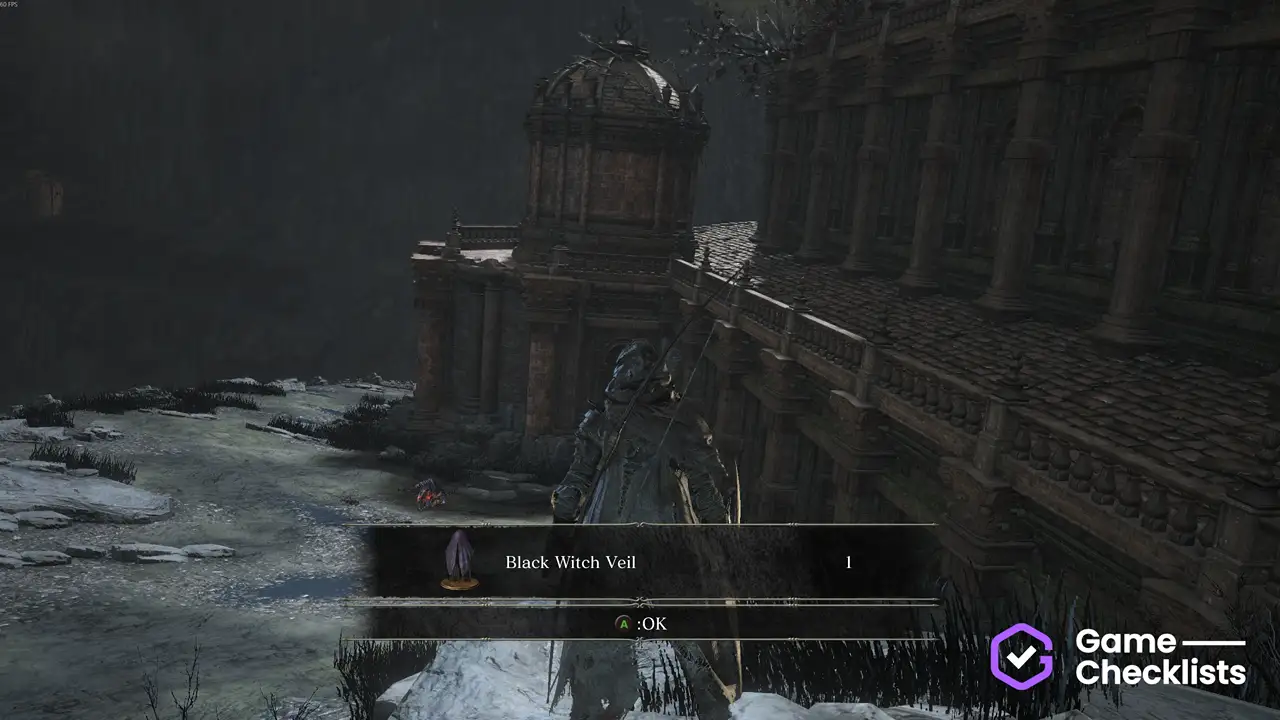 |
||
 |
Opposite the sunken church you can find another tower under the cliffs with a hill behind it. Climb it to pick up this bow. Location of White Birch Bow:  |
||
 |
From the sunken church you can see a large crystal. Behind it is a third tower - inside it is this tool, which is an unlimited consumable, similar to Bloodborne's Tools. Location of Church Guardian Shiv: 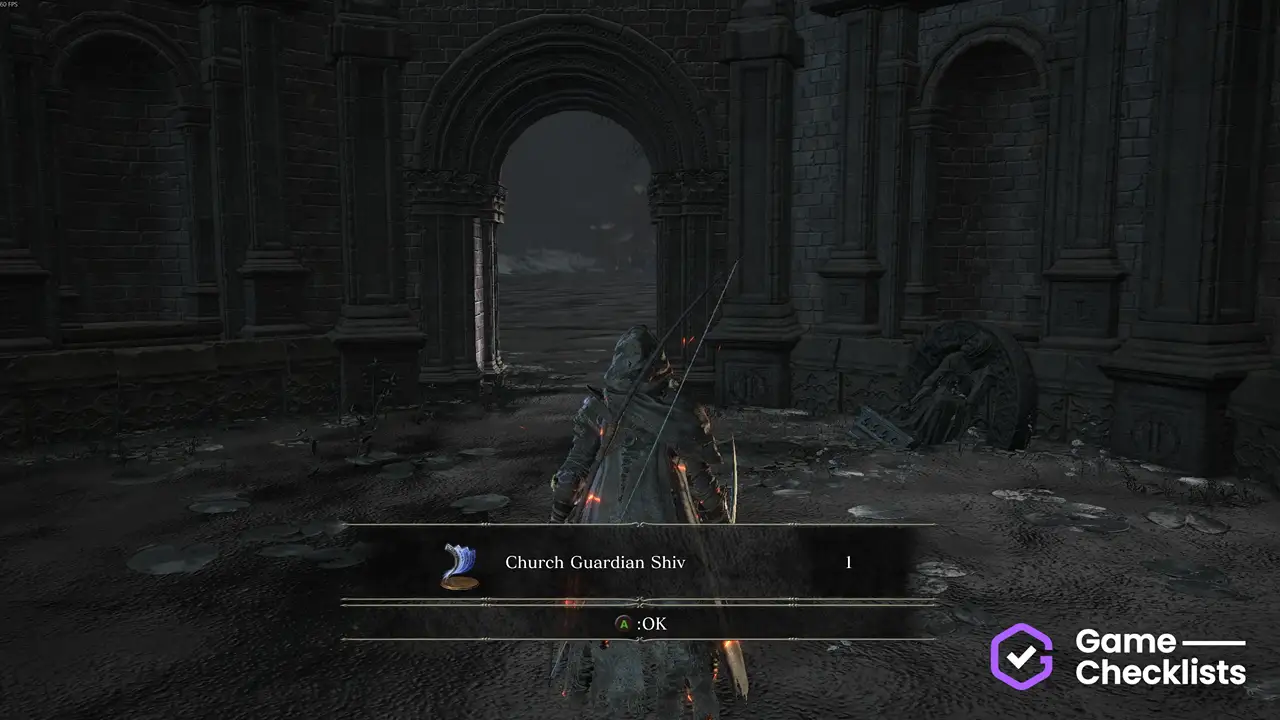 |
||
 |
At the very back of the swamp, left from the sunken church, is a lesser Armour you have to defeat for this set. Location of Iron Dragonslayer Helm:  |
||
 |
At the very back of the swamp, left from the sunken church, is a lesser Armour you have to defeat for this set. Location of Iron Dragonslayer Armor: |
||
 |
At the very back of the swamp, left from the sunken church, is a lesser Armour you have to defeat for this set. Location of Iron Dragonslayer Gauntlets: |
||
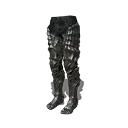 |
At the very back of the swamp, left from the sunken church, is a lesser Armour you have to defeat for this set. Location of Iron Dragonslayer Leggings: |
||
 |
At the start of the dragonfire bridge (near the church), carefully drop down onto a ledge to pick up this shield. Location of Dragonhead Greatshield: 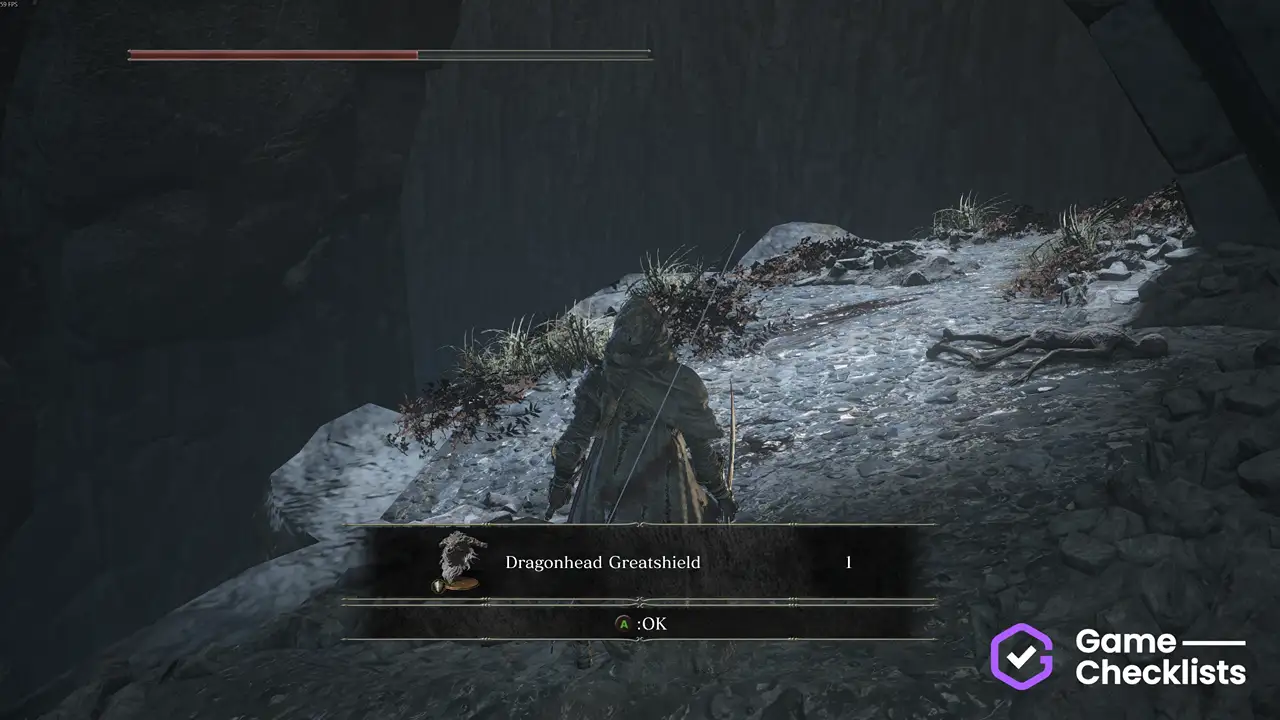 |
||
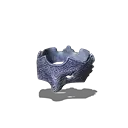 |
Cross the dragonfire bridge to enter the graveyard tower. You'll get invaded by the Moaning Knight and he'll drop the mask. You don't have to be embered for this. Location of Blindfold Mask:  |
||
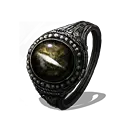 |
Cross the dragonfire bridge to enter the graveyard tower. Immediately head right and drop down near the purple cloth. Head upstairs and in the left cell is a Mimic that drops this ring. Location of Ring of the Evil Eye +3: 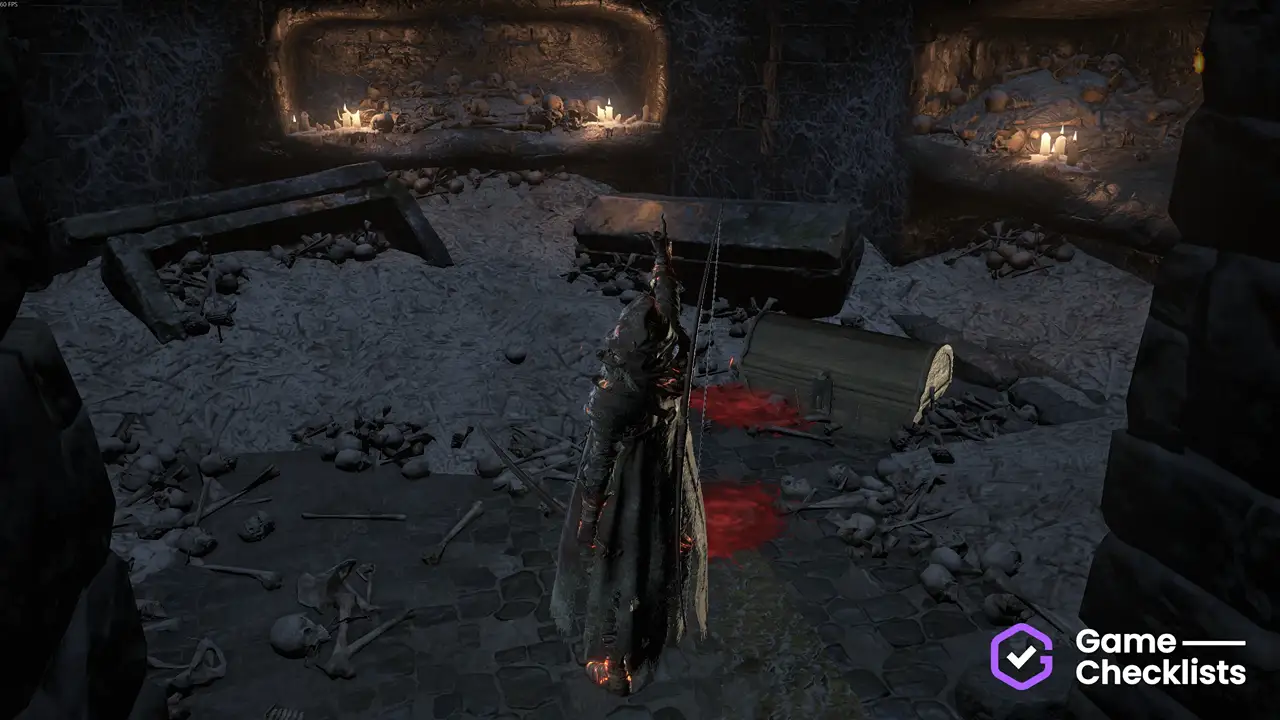 |
Ringed City: Shared Grave
Everything in the graveyard tower of The Ringed City, past the dragonfire bridge.
These items are best reached from the Shared Grave bonfire.
There are 8 items in this group.
| ✓ | Item | Description | |
|---|---|---|---|
|
Cross the dragonfire bridge to enter the graveyard tower. Immediately head right and drop down near the purple cloth. Head upstairs and when you can, head left past the skeletons to reach. Location of Shared Grave:  |
||
|
Spawns very close to the bonfire. If you're just coming from the swamp, he would have despawned in the meantime, so reload the area. Drops a Twinkling Titanite and a TItanite Scale. Location of Crystal Lizard: 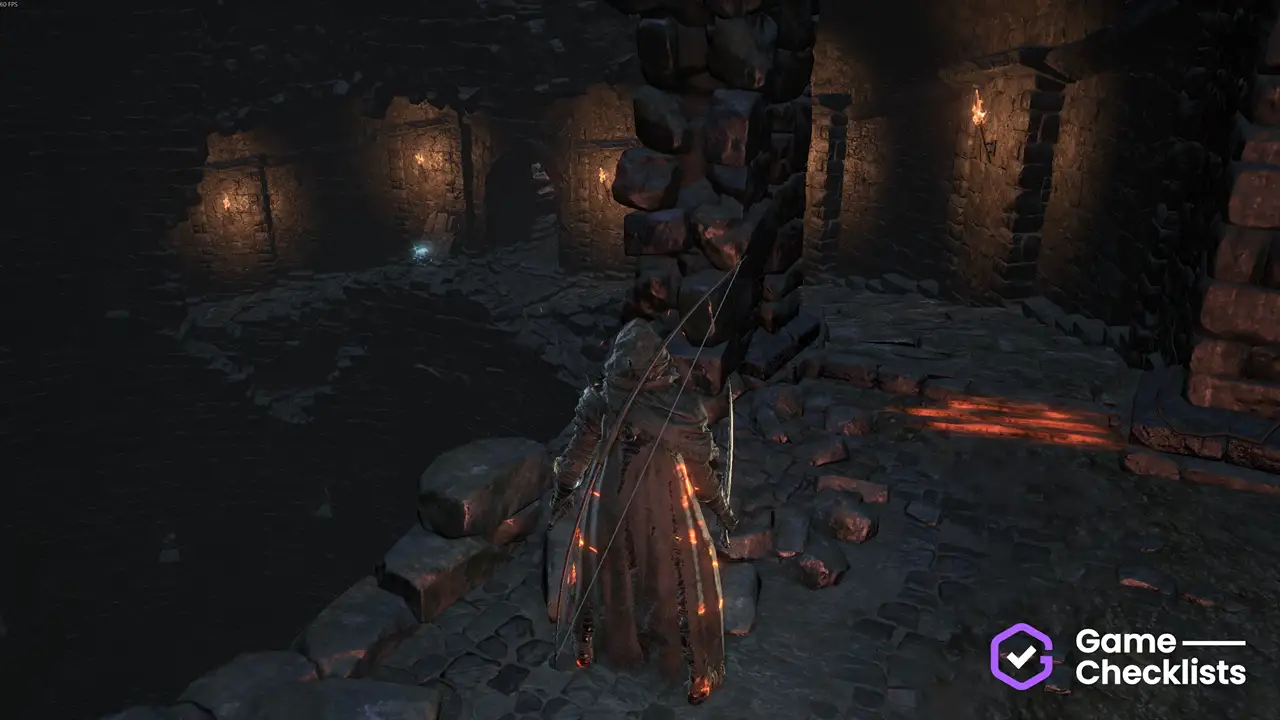 |
||
 |
After Location of Lapp's Helm: 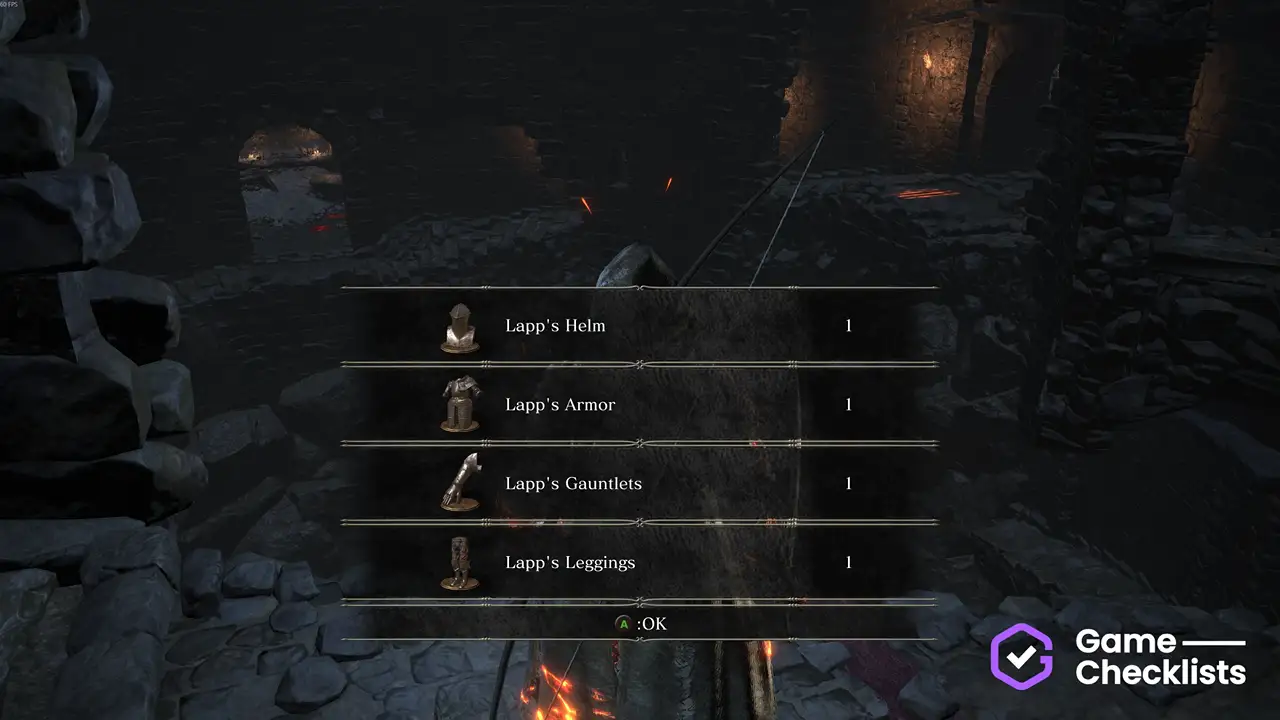 |
||
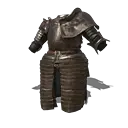 |
After Location of Lapp's Armor: |
||
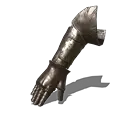 |
After Location of Lapp's Gauntlets: |
||
 |
After Location of Lapp's Leggings: |
||
 |
Go outside, through the dragon bridge and inside hit three illusory walls in the row (on the left) to reach this spell. Location of Lightning Arrow: 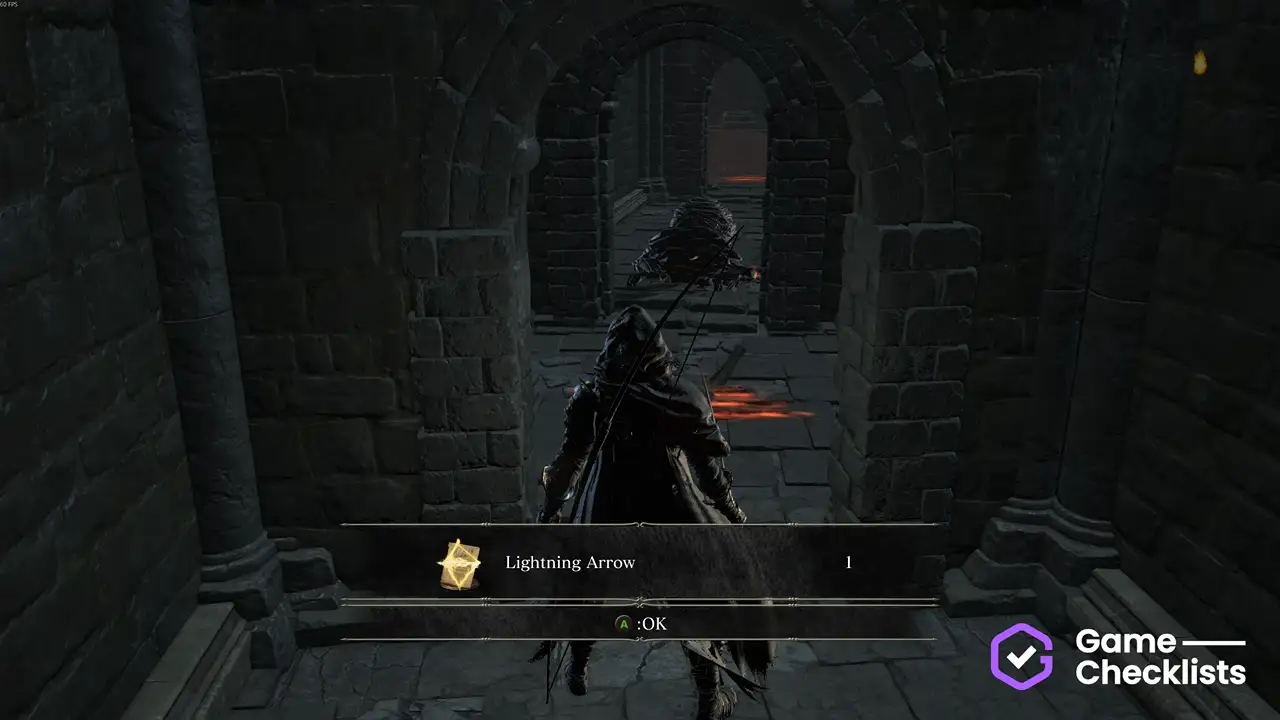 |
||
|
Go outside, through the dragon bridge and inside turn up the stairs to spot the lizard. Drops 2x Titanite Scale. Location of Crystal Lizard: 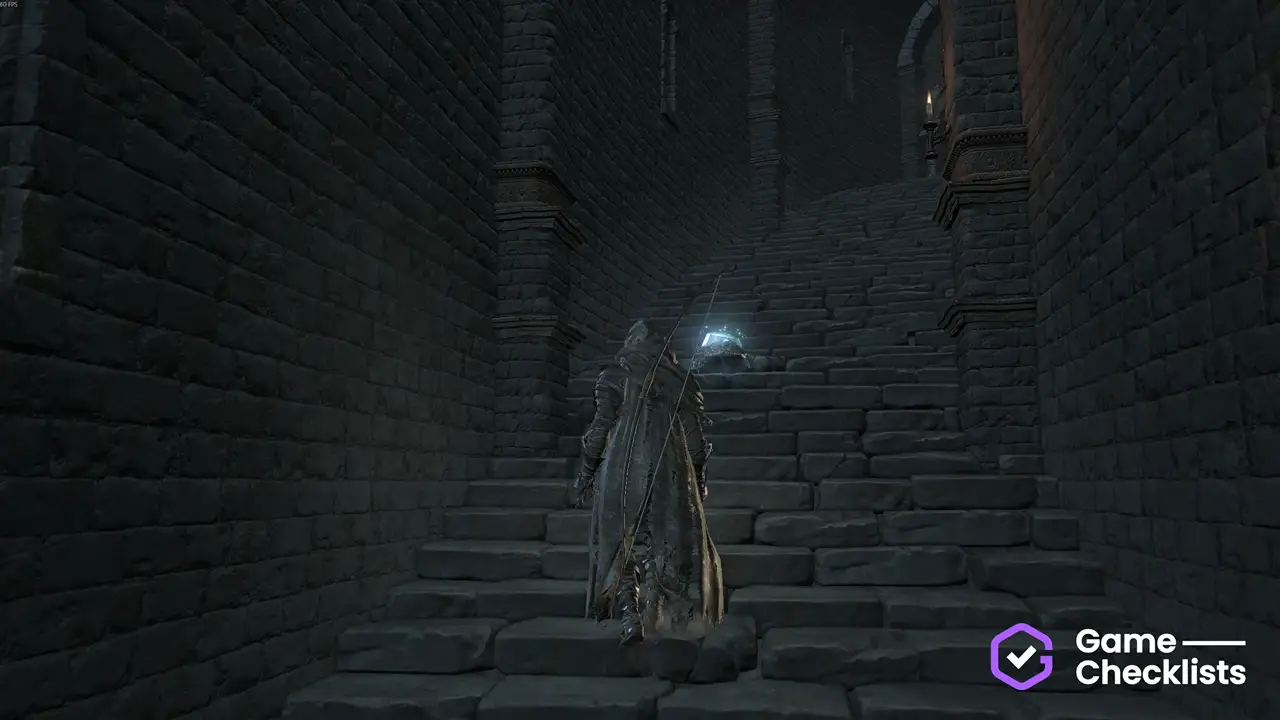 |
Ringed City: Midir
Every item on the way to Darkeater Midis boss.
These items are best reached from the Ringed Inner Wall bonfire.
There are 8 items in this group.
| ✓ | Item | Description | |
|---|---|---|---|
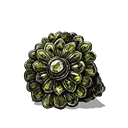 |
After the shortcut elevator, hop on it and jump off mid-way. At the fork, go right. Jump into the hole and pick the ring up from the statue you've seen previously. Location of Chloranthy Ring +3: 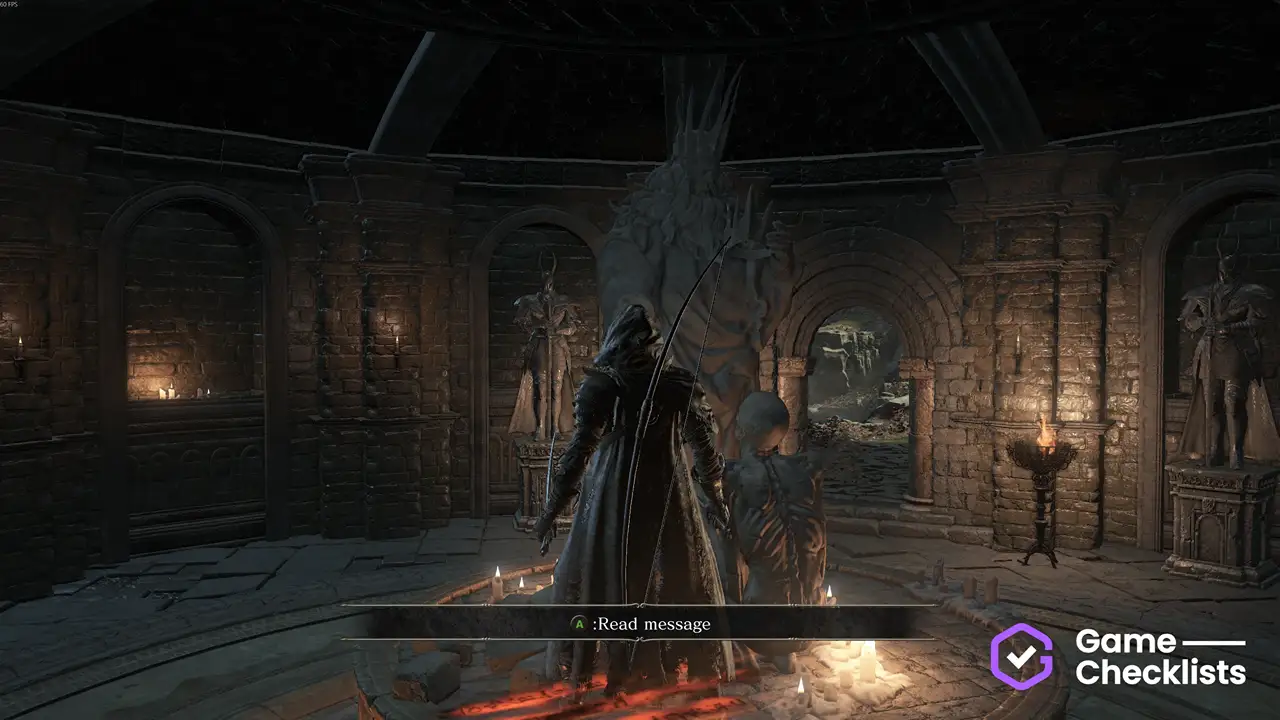 |
||
 |
After the shortcut elevator, hop on it and jump off mid-way. At the fork, go left. In the room with Ember, find an illusory wall and jump behind the ladder to pick this up. Location of Filianore's Spear Ornament: 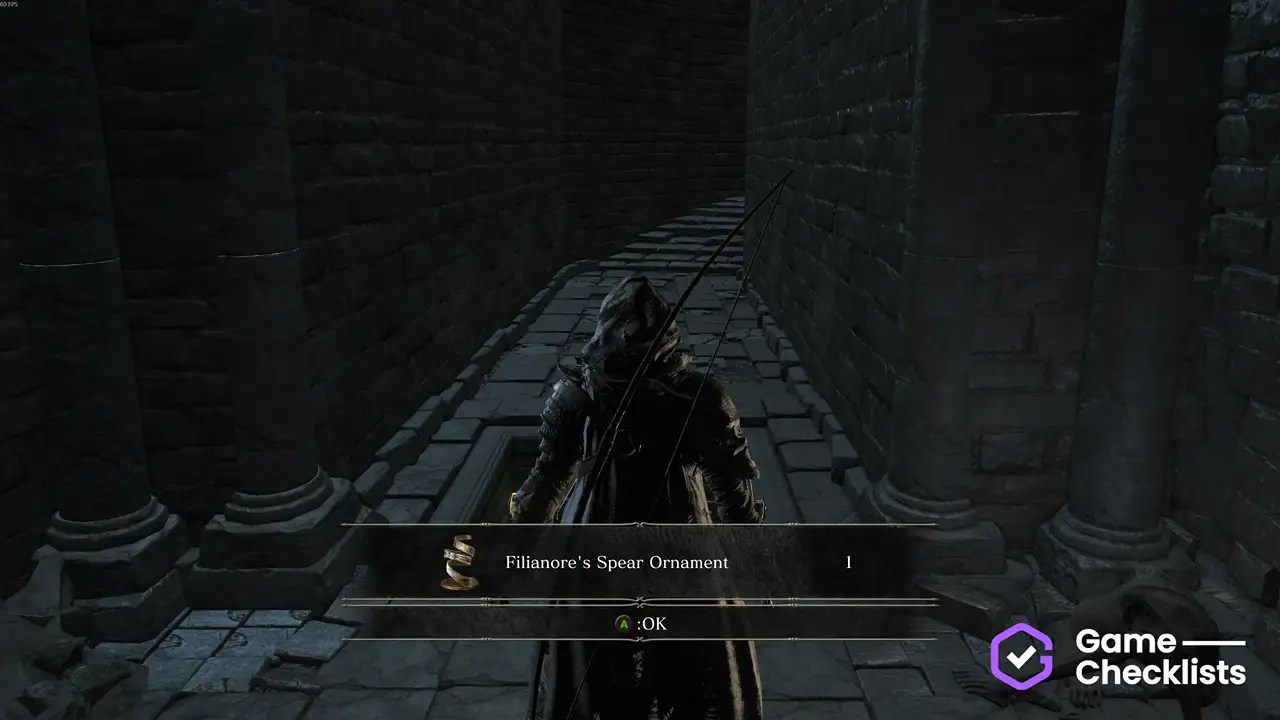 |
||
 |
After the shortcut elevator, hop on it and jump off mid-way. At the fork, go left. In the room with Ember, find an illusory wall and go down the ladder to pick this set up. Location of Antiquated Plain Garb: 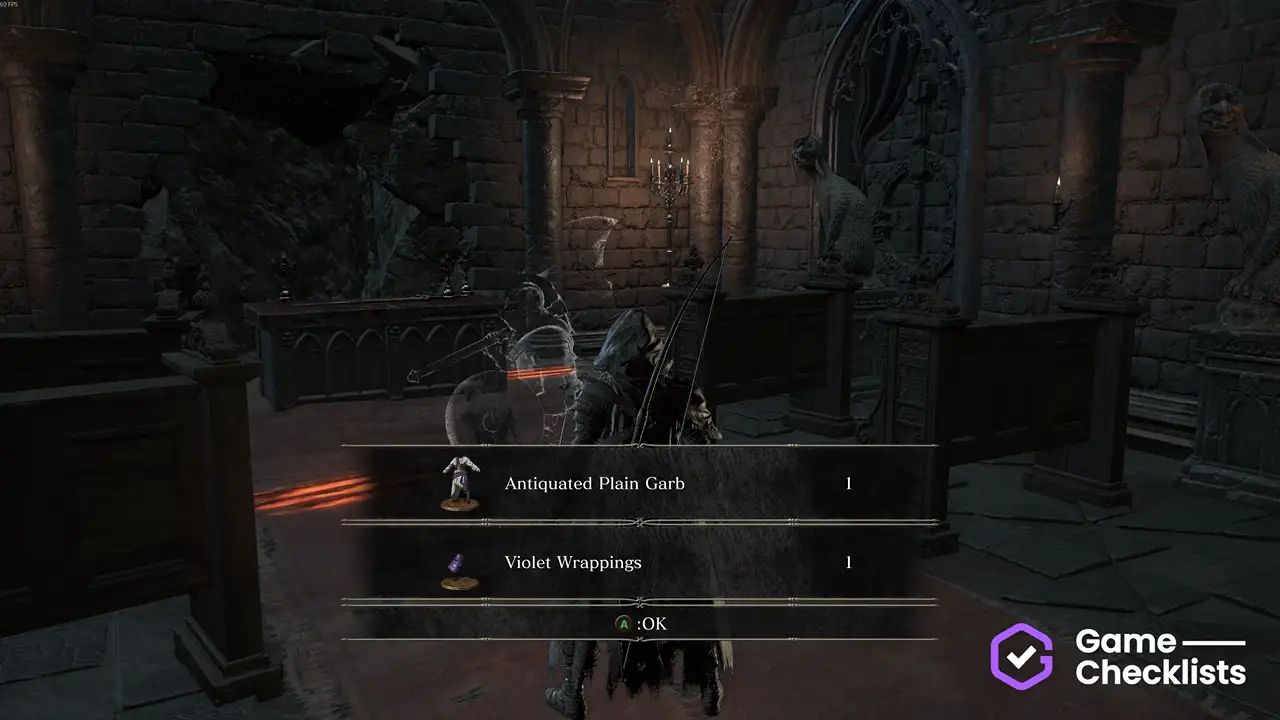 |
||
 |
After the shortcut elevator, hop on it and jump off mid-way. At the fork, go left. In the room with Ember, find an illusory wall and go down the ladder to pick this set up. Location of Violet Wrappings: |
||
 |
Optional boss. To reach: After the shortcut elevator, hop on it and jump off mid-way. At the fork, go left. In the room with Ember, find an illusory wall and go down the ladder, then into a hole. Drops the Soul of Darkeater Midir and Boss fight: 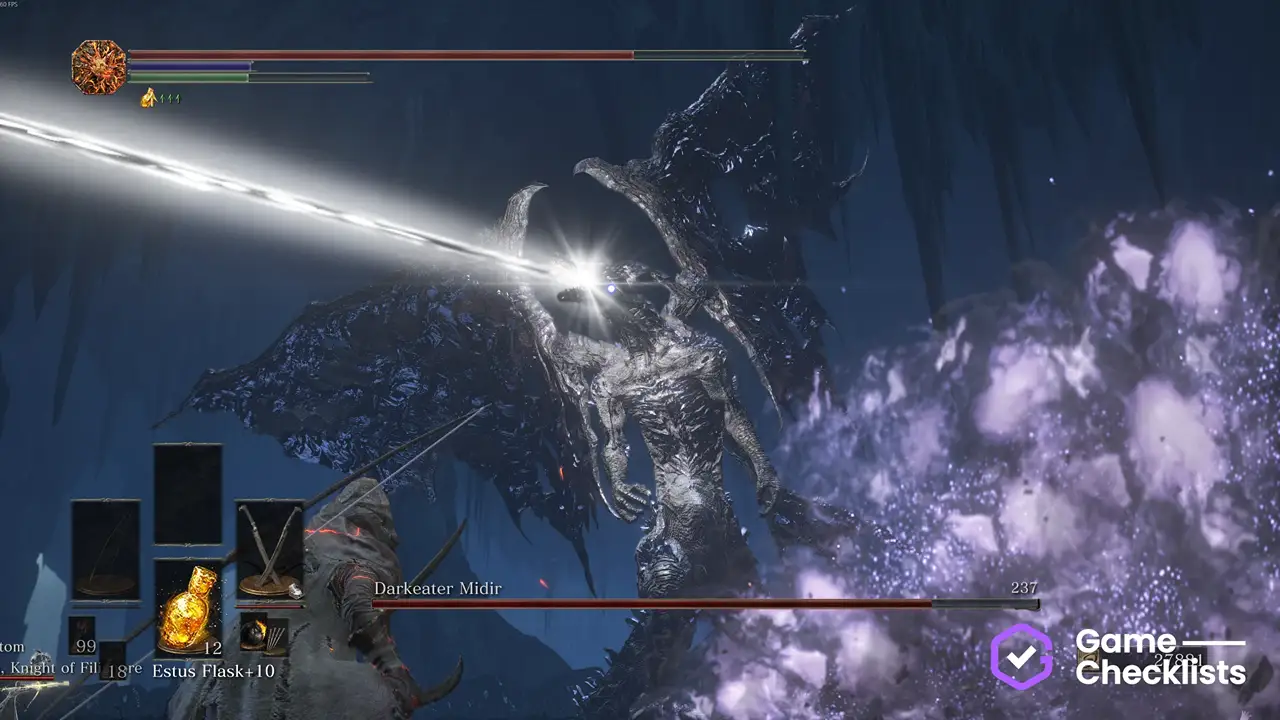 |
||
 |
Dropped by the Location of Spears of the Church: 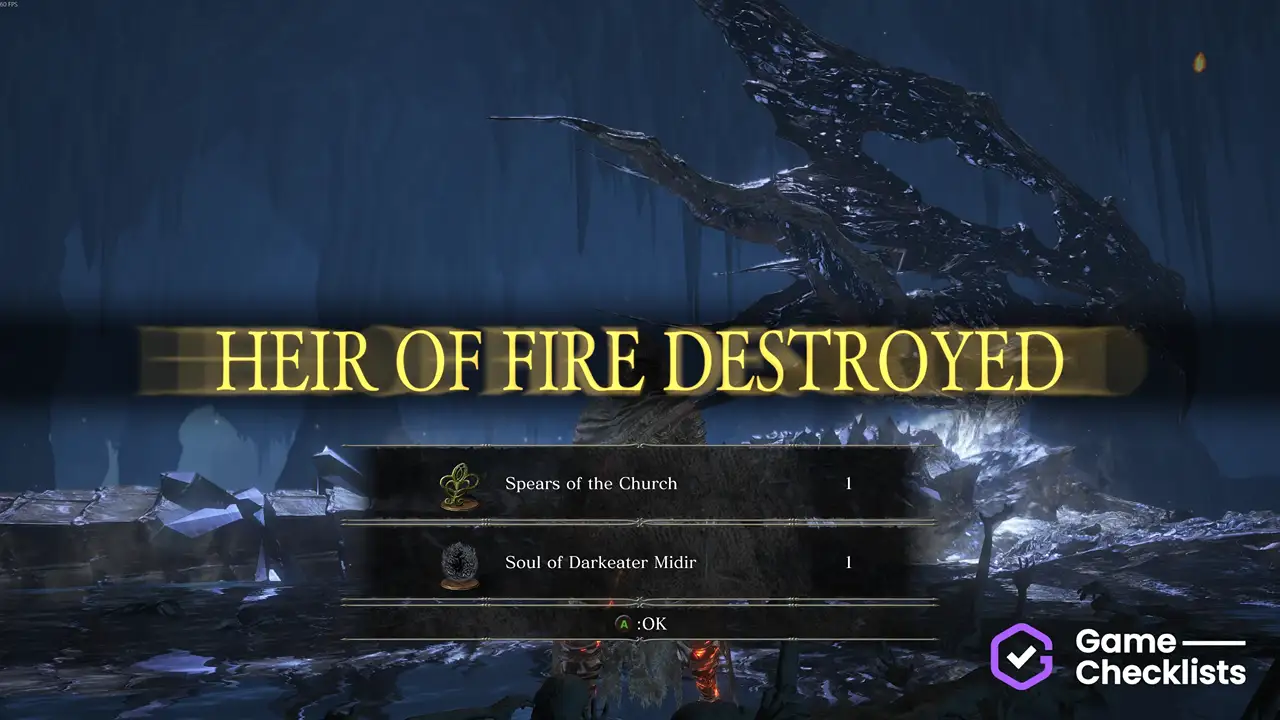 |
||
|
Unlocks after defeating the Location of Darkeater Midir: 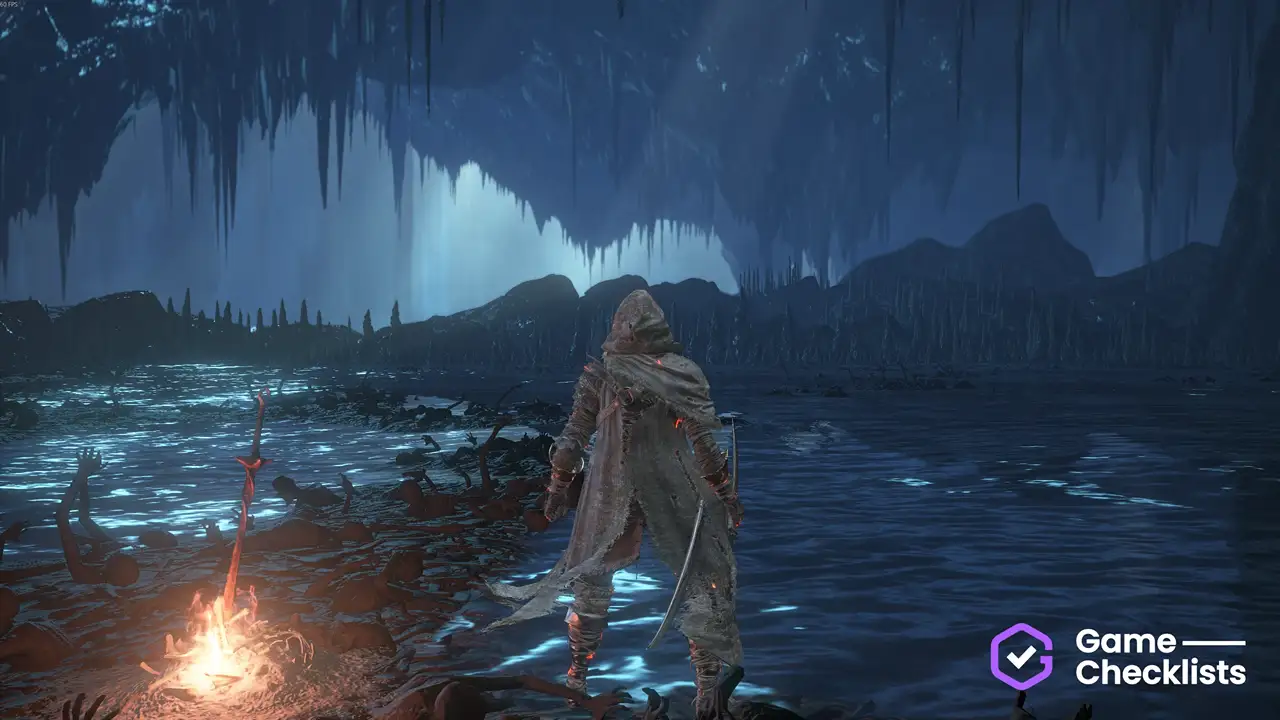 |
||
 |
Part of Location of Titanite Slab - Midir: 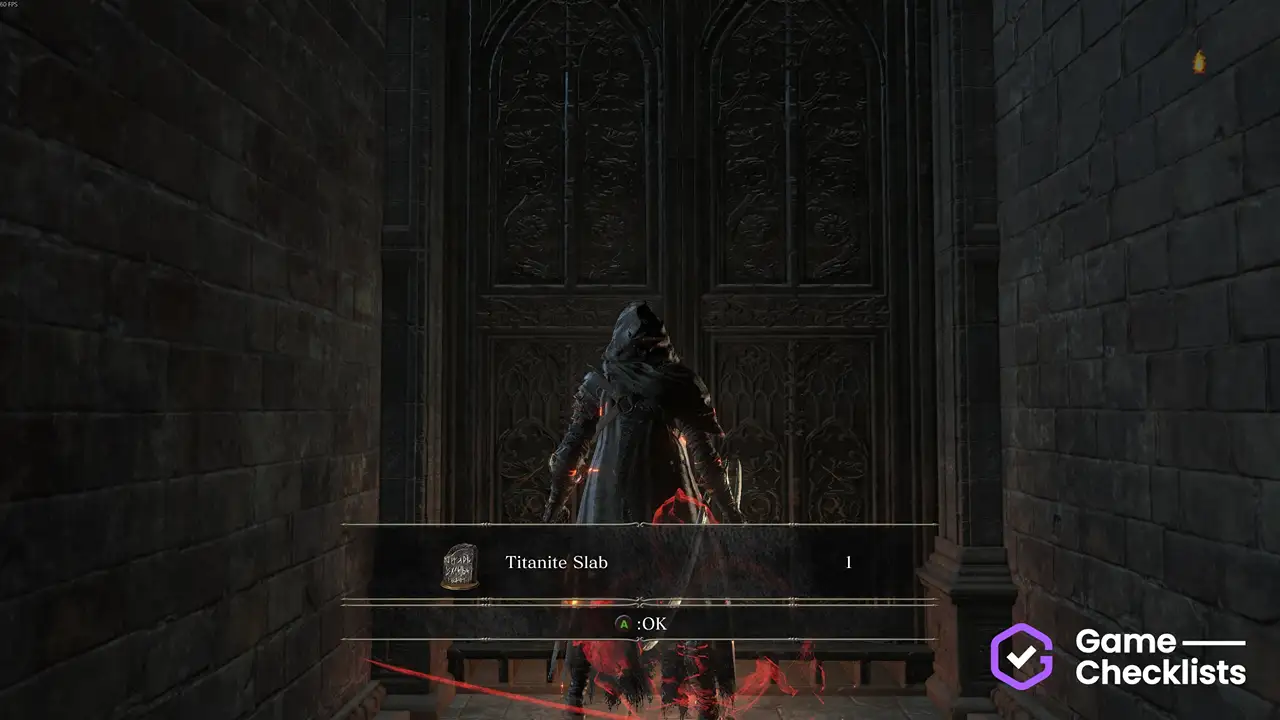 |
Ringed City: Halflight
Every item on the way on the main path towards the ending.
These items are best reached from the Ringed Inner Wall bonfire.
There are 4 items in this group.
| ✓ | Item | Description | |
|---|---|---|---|
 |
Take the shortcut elevator down and defeat the Ringed Knight outside. Location of Ringed Knight Paired Greatsword:  |
||
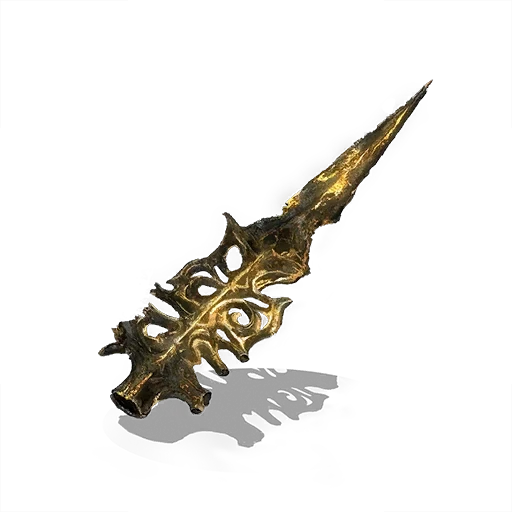 |
Take the shortcut elevator down and go outside. Search on the right side near the Ringed Knight. This is a consumable with unlimited uses, akin to Bloodborne tools. Location of Ritual Spear Fragment: 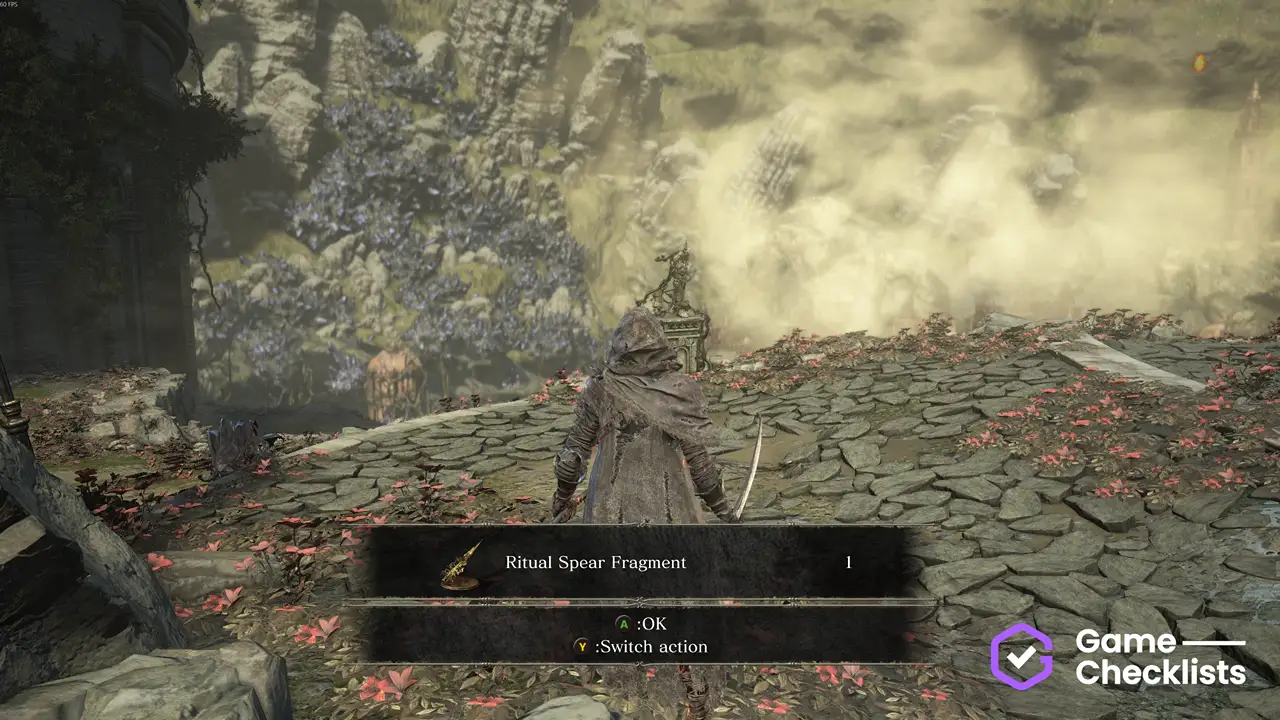 |
||
|
Boss down the shortcut elevator. Drops a Boss fight: 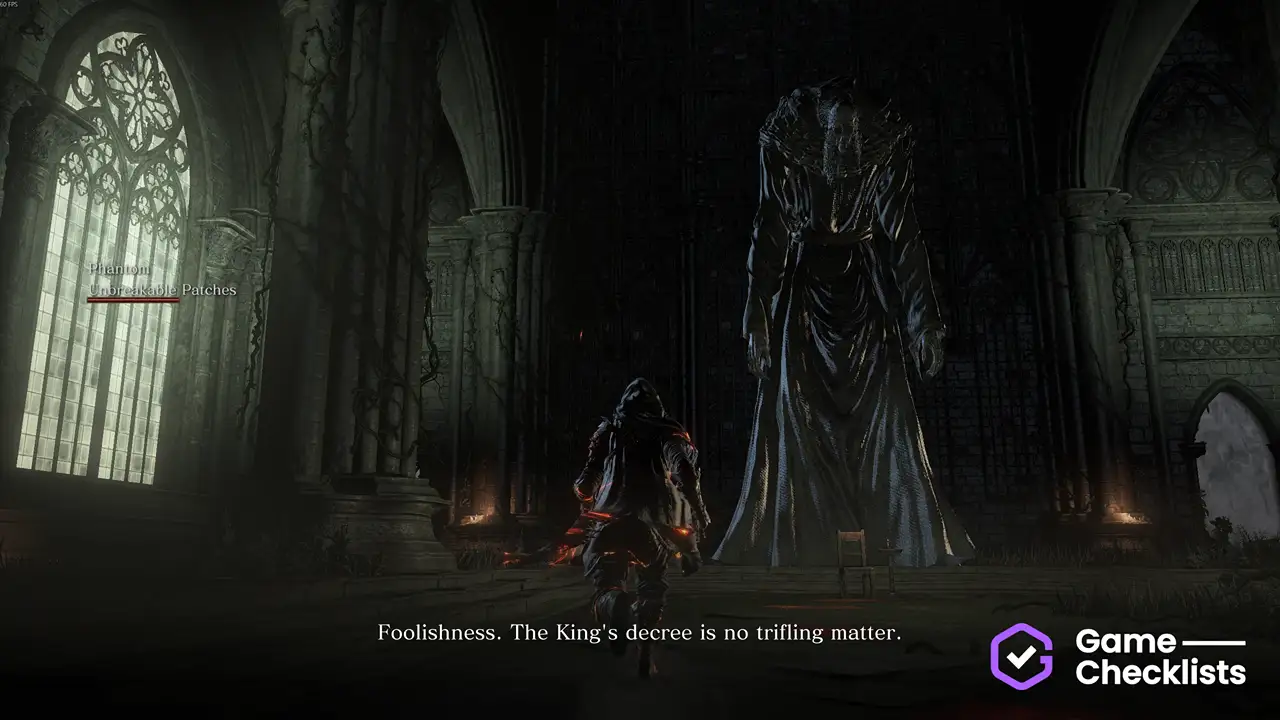 |
||
|
Drops from the Location of Titanite Slab - Halflight: 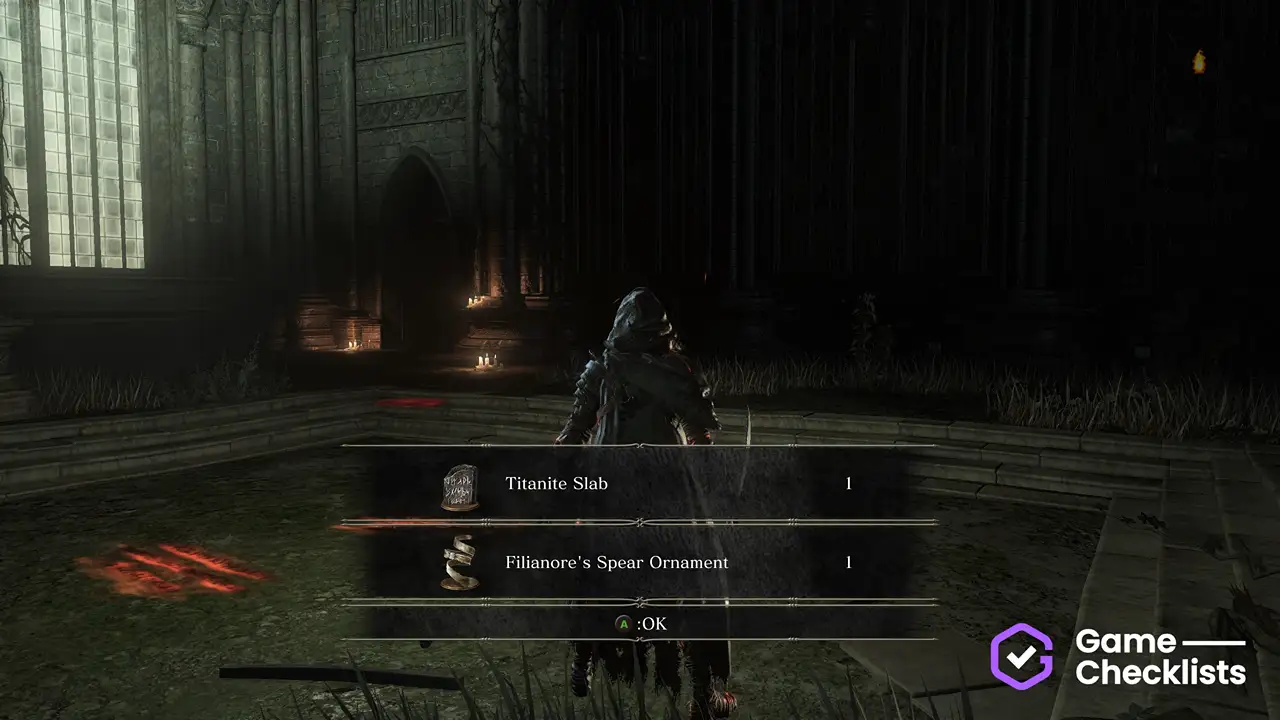 |
Ringed City: Ending
Every item in Filianore's Rest and on the way to Slave Knight Gael.
These items are best reached from the Ringed Inner Wall bonfire.
There are 10 items in this group.
| ✓ | Item | Description | |
|---|---|---|---|
|
Behind the Location of Church of Filianore: 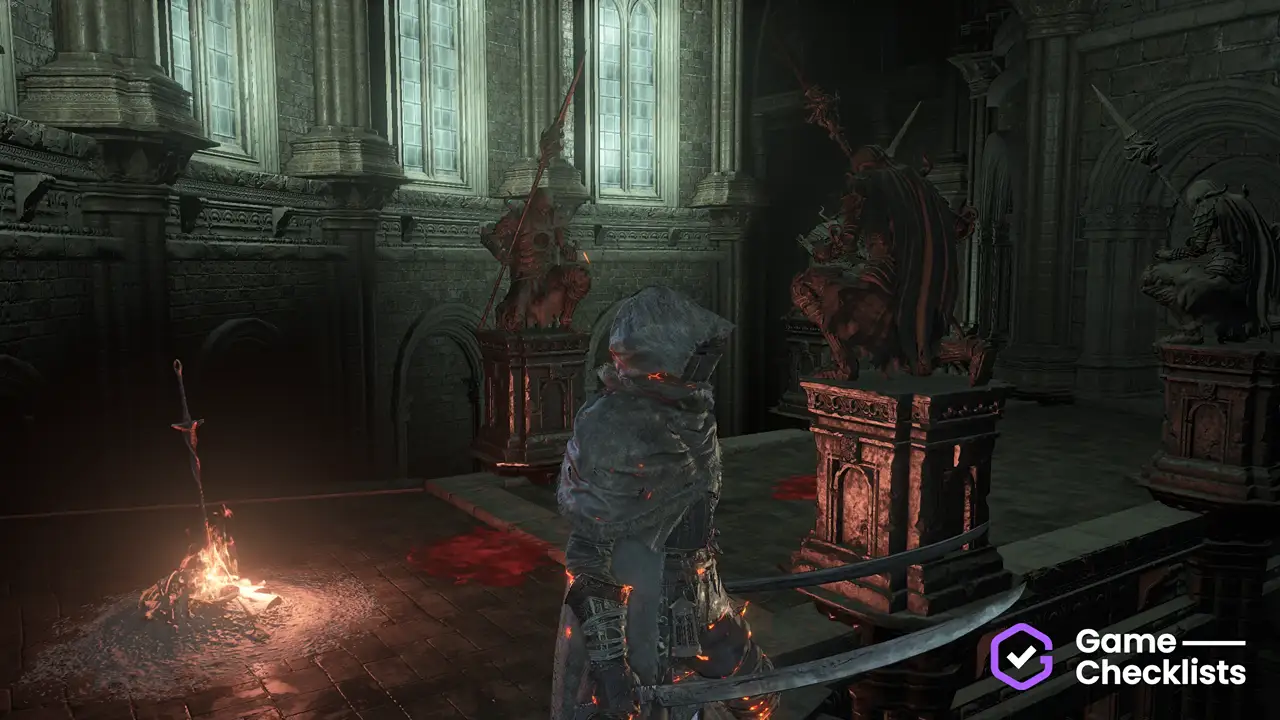 |
||
|
Interact with the princess. Location of Filianore's Rest:  |
||
 |
Part of Location of Crucifix of the Mad King: 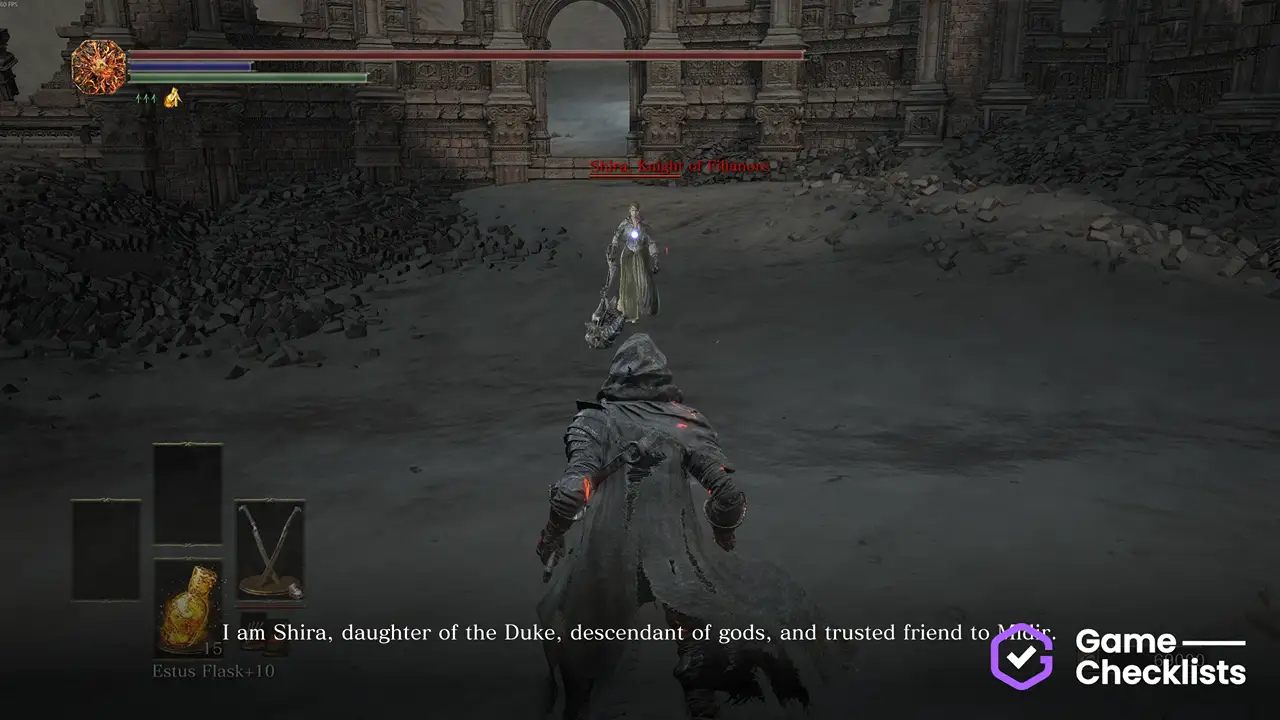  |
||
|
Final boss of Boss fight: 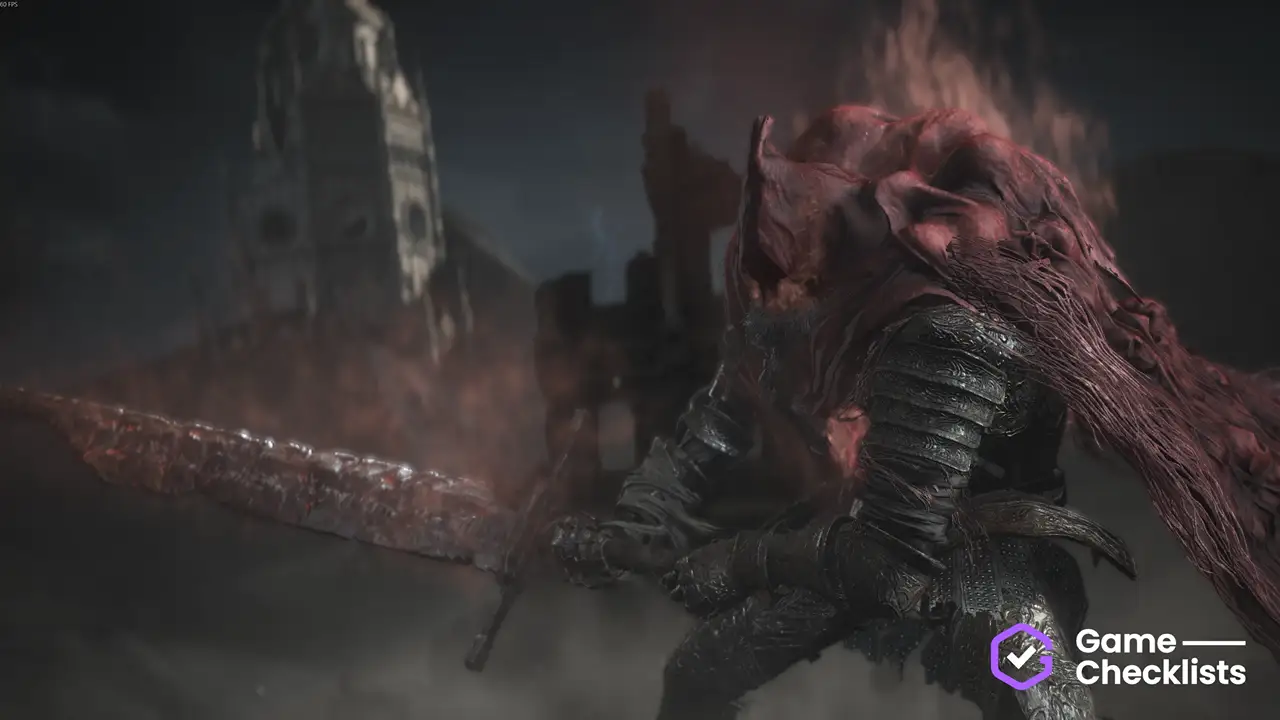 |
||
 |
Defeat the Location of Blood of the Dark Soul: 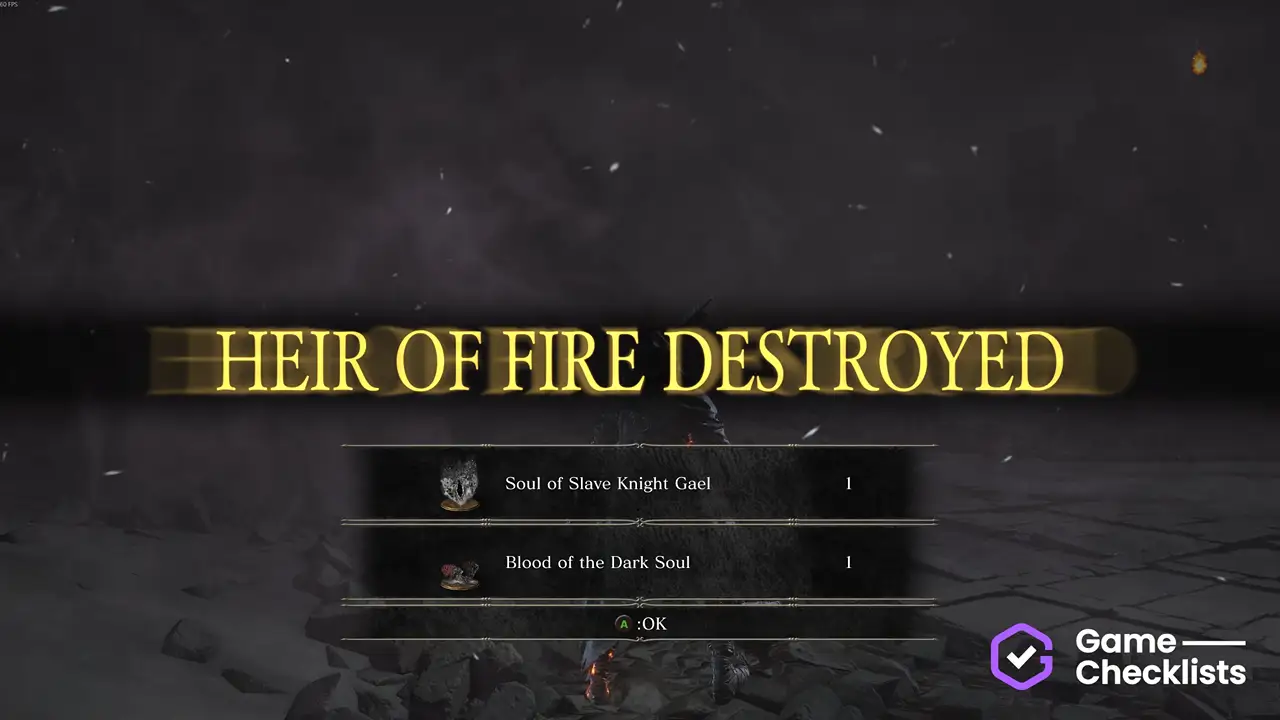  |
||
|
Unlocks after the Location of Slave Knight Gael (Bonfire): 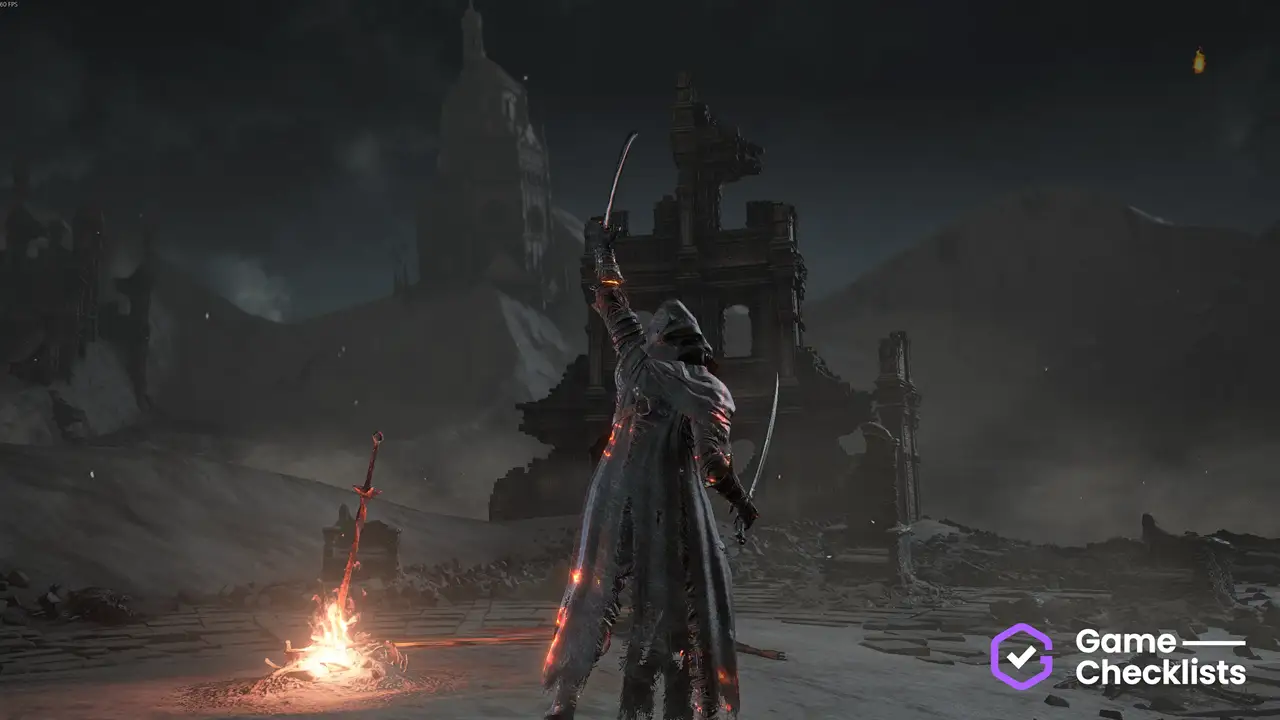 |
||
 |
Location of Shira's Crown: 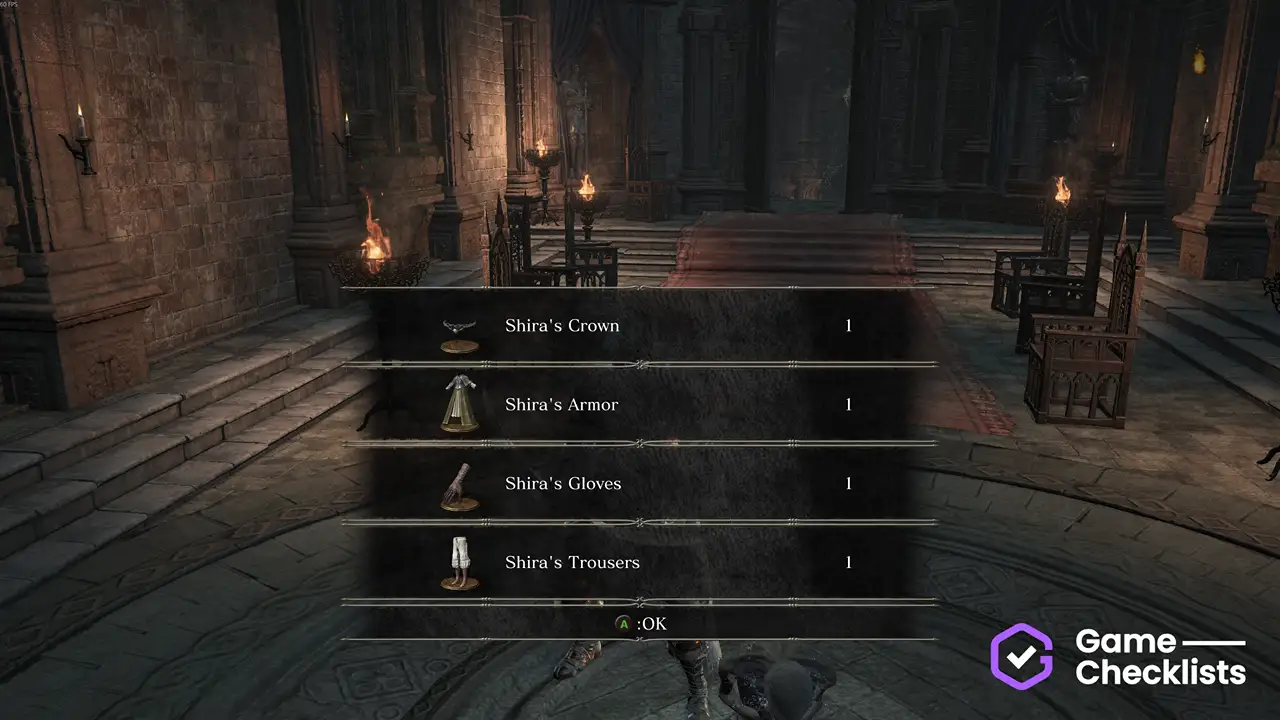 |
||
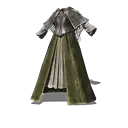 |
Location of Shira's Armor: |
||
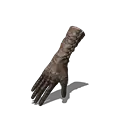 |
Location of Shira's Gloves: |
||
 |
Location of Shira's Trousers: |
Questline Steps in The Ringed City
These questline steps play out in The Ringed City.
Full  Lapp's questline here.
Full Shira's questline here.
There are 9 questline steps in this table.
| ✓ | Quest Step | Description | |
|---|---|---|---|
|
Speak to Lapp on a balcony near the Location of Lapp - Step 4: 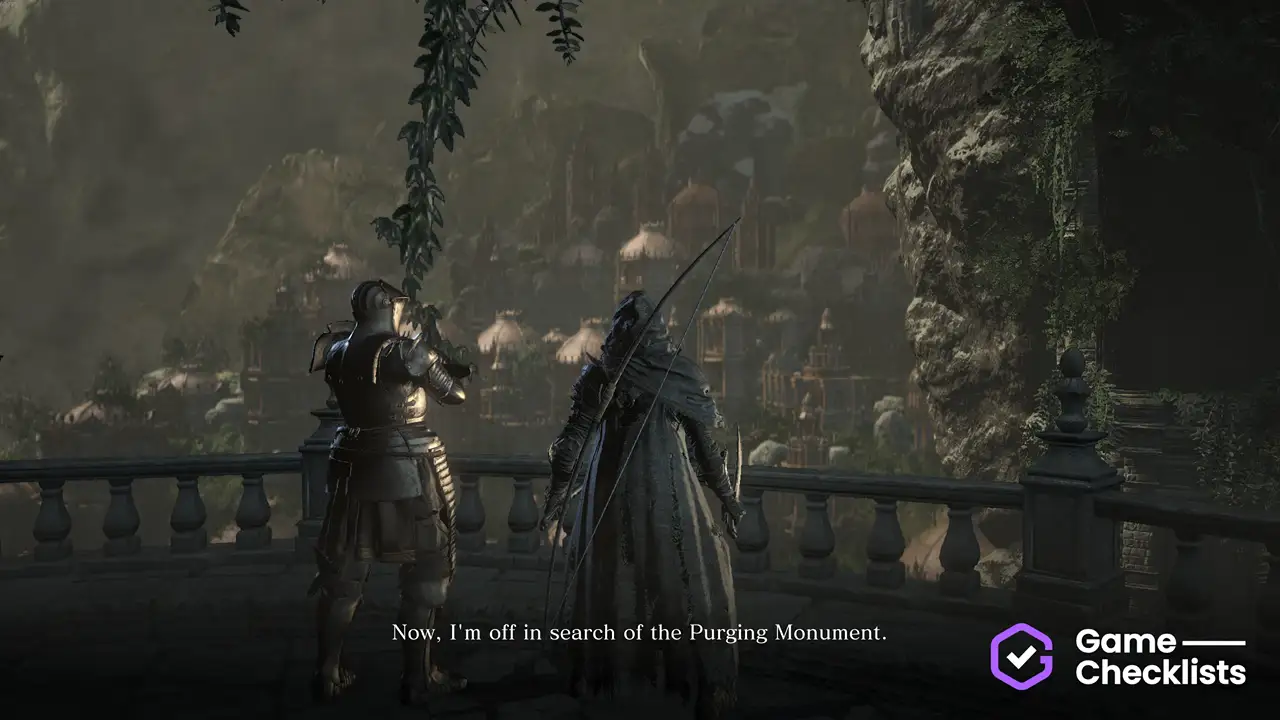 |
||
|
Now something incredible to find the Purging Monument. From Once you've done it, head out to the nearest swamp (first path) and use Young White Branch as many times as needed, until you are transformed into a Humanity (looks like a ghost, but if you've played Dark Souls 1, you'll recognize it). If you try to roll, attack or sprint, you'll be transported back, so avoid doing that. Slowly walk back past the bonfire into the shortcut room. Head into the right corner with writing on the wall now appeared and a ladder will appear. Climb it. Now the actually harder part. You'll end up in a garden with two Ringed Knights and one Judicator. Tip: Take out the left Ringed Knight asap with stunlocking before the Judicator causes much trouble. After you're done here, climb a ladder down and cross the bridge to arrive at the Purging Monument. Simply interact with it, no need to request absolution. Now to find Lapp again - immediately follow the next step. Location of Lapp - Step 5: 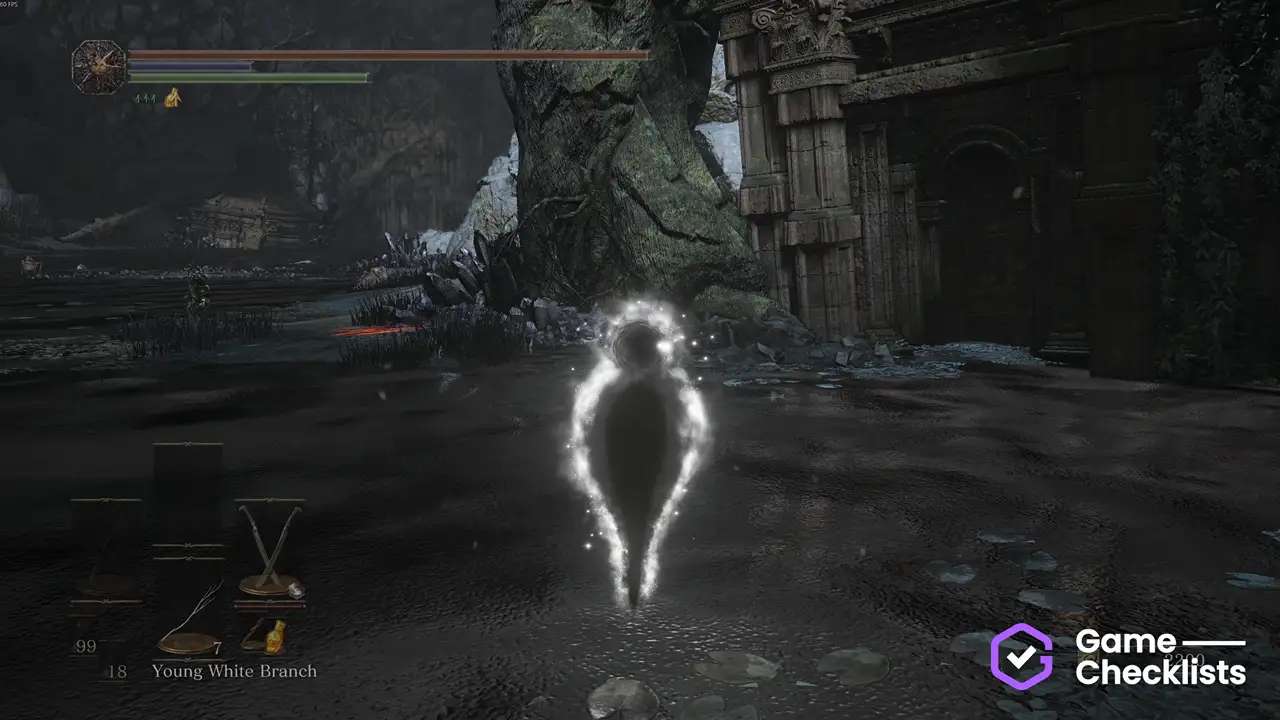 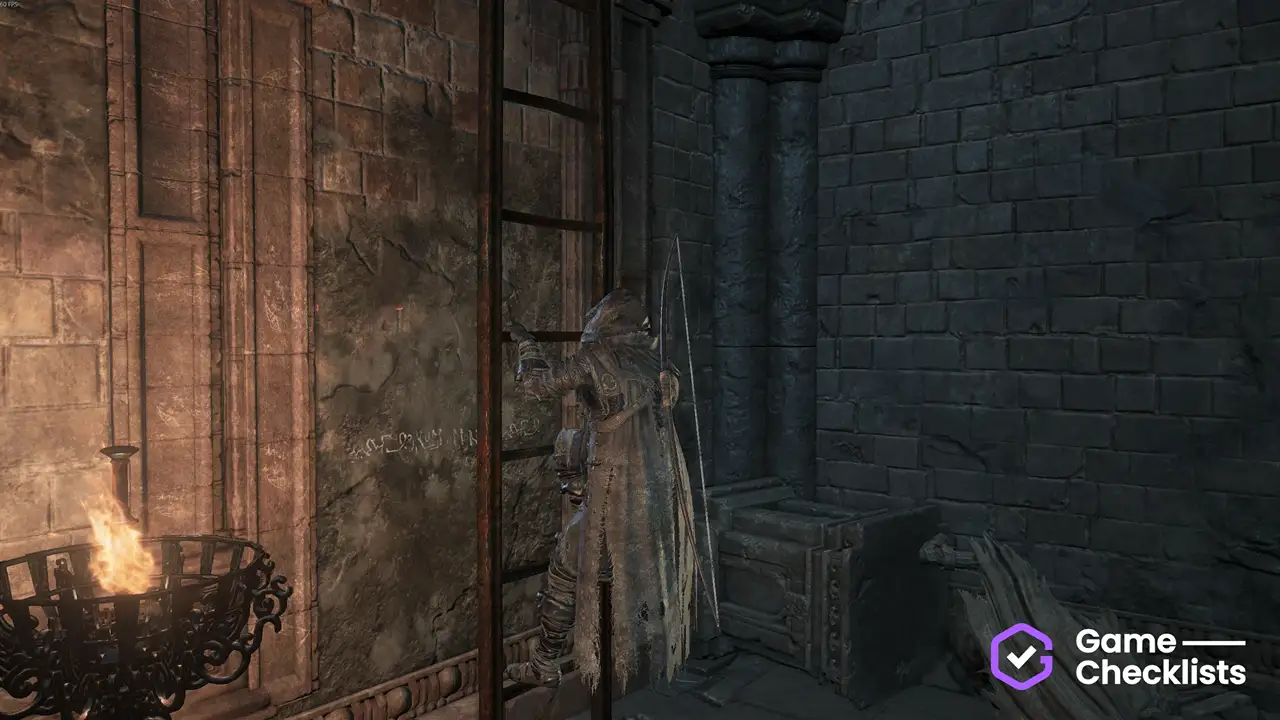  |
||
|
Do this step right after Lapp 5. From the Purging Monument, head back but don't go up the ladder - continue through the ledge. At the end, carefully drop down one level and head right into the doorway. Tell Lapp about the Purging Monument. The area is alternatively reached by going at the bottom of the staircase with three Harald Knights and then left and onto a ladder tucked in a corner. Cross the bridge, go around the circular building with two Ringed Knights and into the next archway. Location of Lapp - Step 6:  |
||
|
Walk into the Simply go downstairs from the bonfire until you reach it, making one long jump at the start. Location of Lapp - Step 7: |
||
|
Follow the main path until you drop down a circular room, then go outside and up the stairs with 3 Harald Knights. Speak to Shira at the door, answer "Gwyn" and "Accept the request" to get the Location of Shira - Step 1: |
||
|
After the shortcut elevator, hop on it and jump off mid-way. At the fork, go left. In the room with Ember, find an illusory wall and go down the ladder. In this room, you can summon Shira. It is not needed however it hints greatly at Shira's true allegiance. Location of Shira - Step 2: 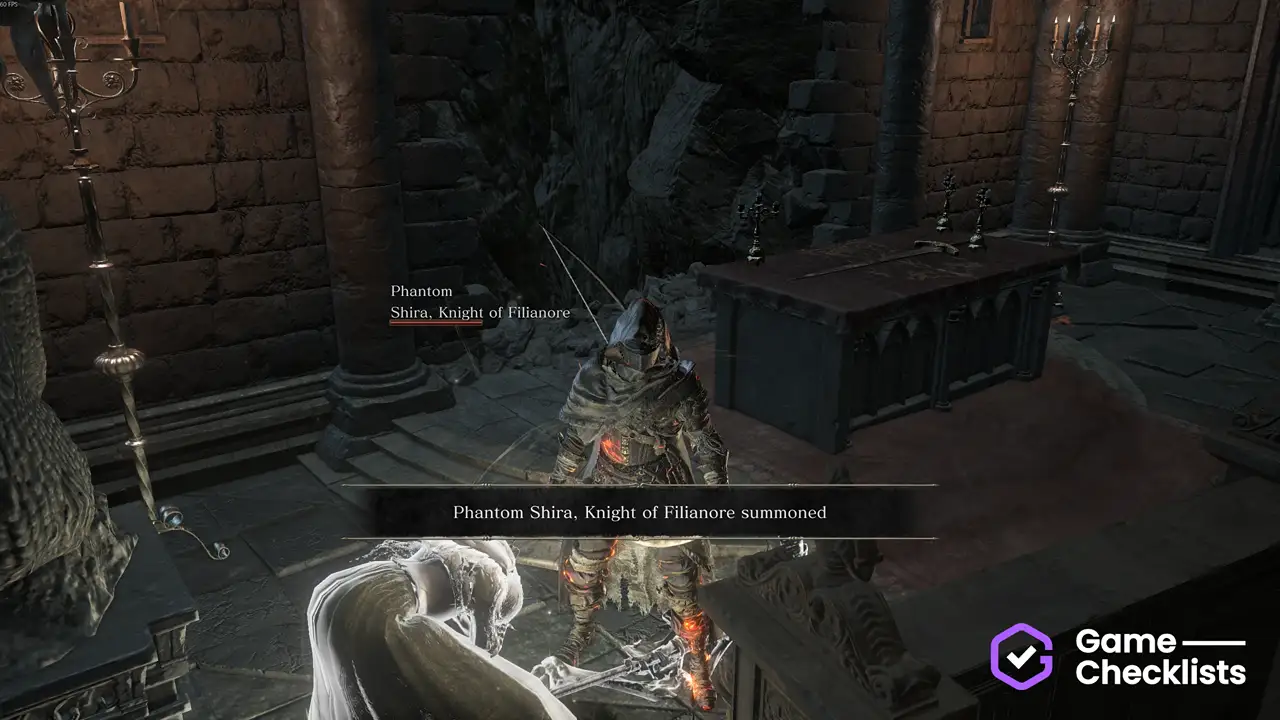 |
||
|
After Location of Shira - Step 3: |
||
|
From the bonfire, head to the right and over the dune. Walk into the structure and Shira will invade you. Defeat her for the Location of Shira - Step 4: |
||
|
After you slay Shira, return back to her door to find the room open. Loot Shira's Set from the room. Location of Shira - Step 5: |
FAQ
How many items are in The Ringed City?
There are 72 items in The Ringed City. This checklist tracks them all, with the closest bonfire and a description and screenshot of its location.
Do I need an account to save progress?
No. Progress auto-saves in your browser by default. However we strongly recommend creating a free account, so you can save your progress more reliably in the cloud with us. An account is also recommended so the Dark Souls 3 Progress Tracker can work properly.
Do you track all items?
Yes, all worthy items. We only don't track Soul items (used as money), multiplayer items or upgrade materials. Visit the Dark Souls 3 100% Completion Hub to see all checklists.
Who built this?
Team of completionists and achievement hunters over 4 weeks of work.
What missable items are there?
Missable or exclusive items are marked as such. We recommend reading through our Missables & Run Strategy guide to prepare in advance.