Painted World of Ariandel Checklist Overview
The checklist is located below this introductory text.
This checklist tracks every item required for 100% Completion in the Painted World of Ariandel location in Dark Souls 3. There are 50 items here.
Items in this checklist are in chronological order, like you find them in the game. It is best used on fresh runs, directly alongside the game.
This is an Ashes of Ariandel DLC location. DLC rows use a snowy blue color.
100% Completion Tools
- Use the Dark Souls 3 Item Checklists to compare your inventory
- Use the Dark Souls 3 Location Checklists to clear the game location by location
- Use the Dark Souls 3 Progress Tracker to display your progress across the whole game and every checklist
- Use the Dark Souls 3 Run Strategy Guide to plan your runs and learn when is the best time to collect which missable or exclusive item and how to plan endings
Checking a row in this checklist will automatically mark off its twin in the checklist for the items of that category.
To view all Location Checklists, visit the Dark Souls 3 100% Completion Hub.
Snowfield section
The only area of The Ashes of Ariandel DLC for Dark Souls 3.
The starting section of the DLC + around the first tower.
These items are best reached from the  Snowfield bonfire.
There are 8 items in this group.
| ✓ | Item | Description | |
|---|---|---|---|
|
Bonfire at the start of the DLC area. Location of Snowfield:  |
||
 |
Take the main path and after the snow breaks under you, keep on the right side of the open area. Soon you will reach a Wolf with a side path on your right going uphill with a group of soldiers and cursed trees. At the end of this path is the weapon. Location of Follower Javelin: 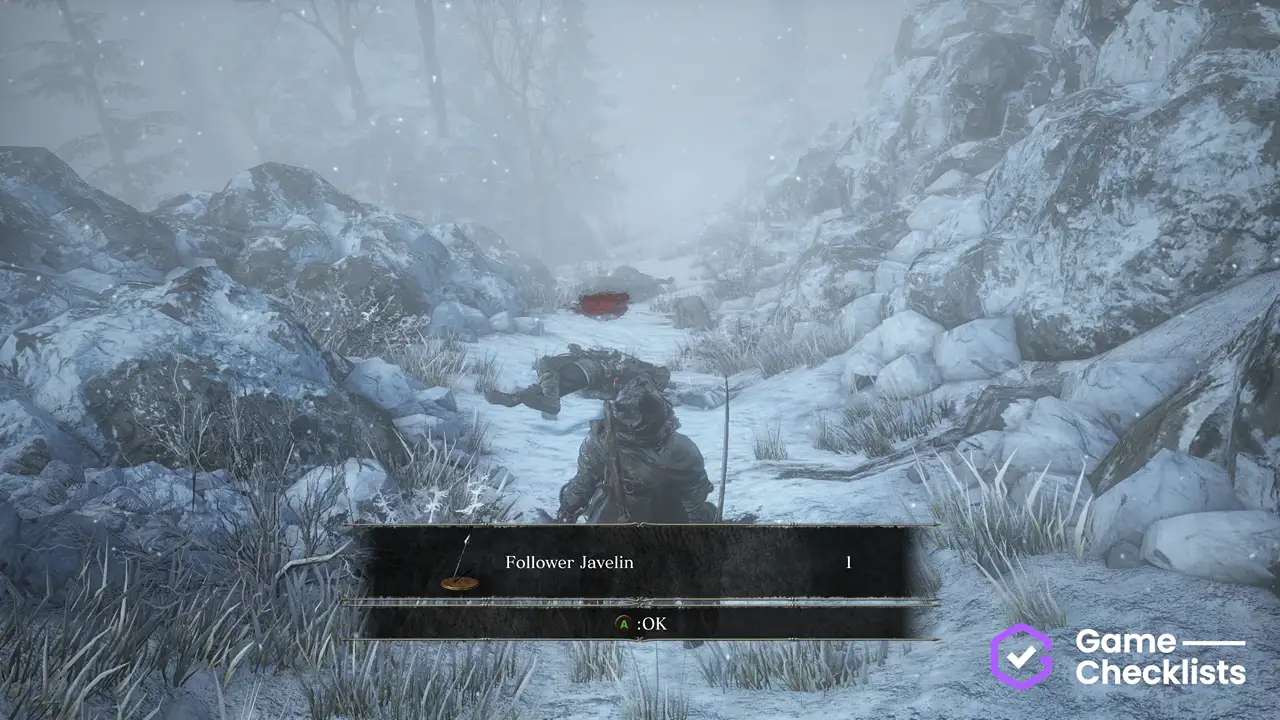 |
||
 |
Inside the Location of Crystal Lizard:  |
||
 |
Inside the Location of Ethereal Oak Shield: 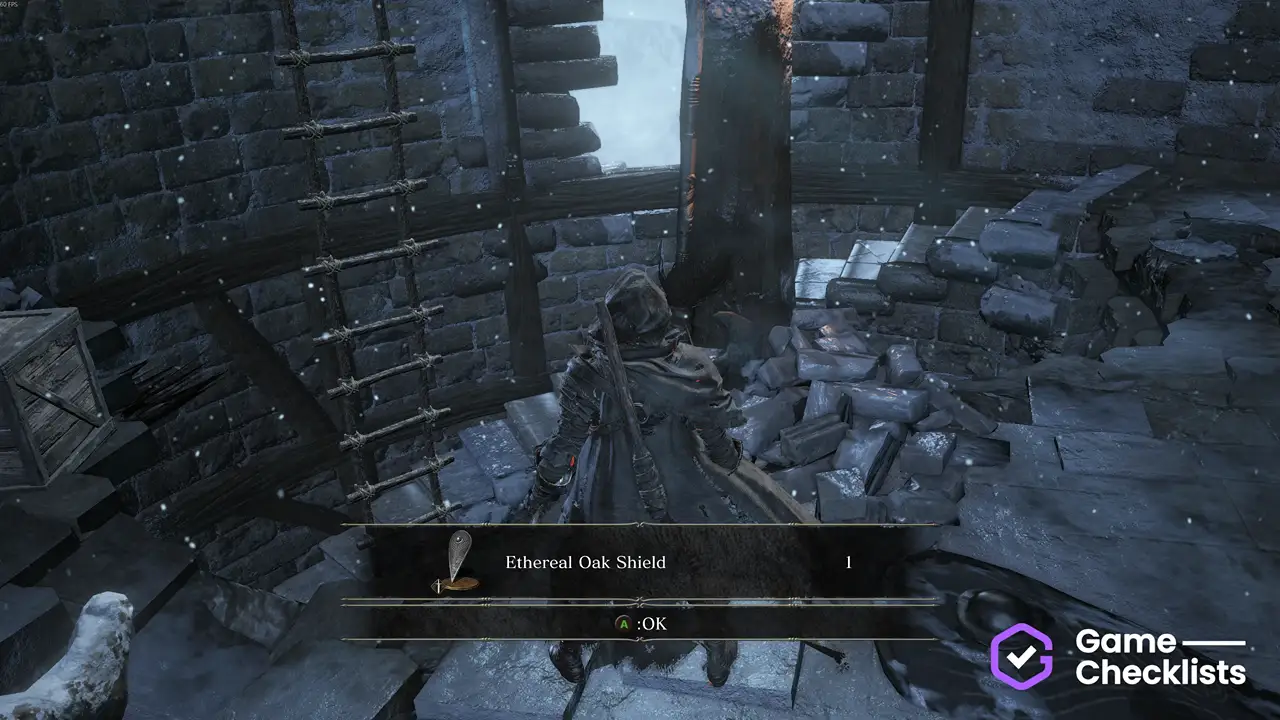 |
||
 |
On a corpse at the top of the Location of Millwood Battle Axe: 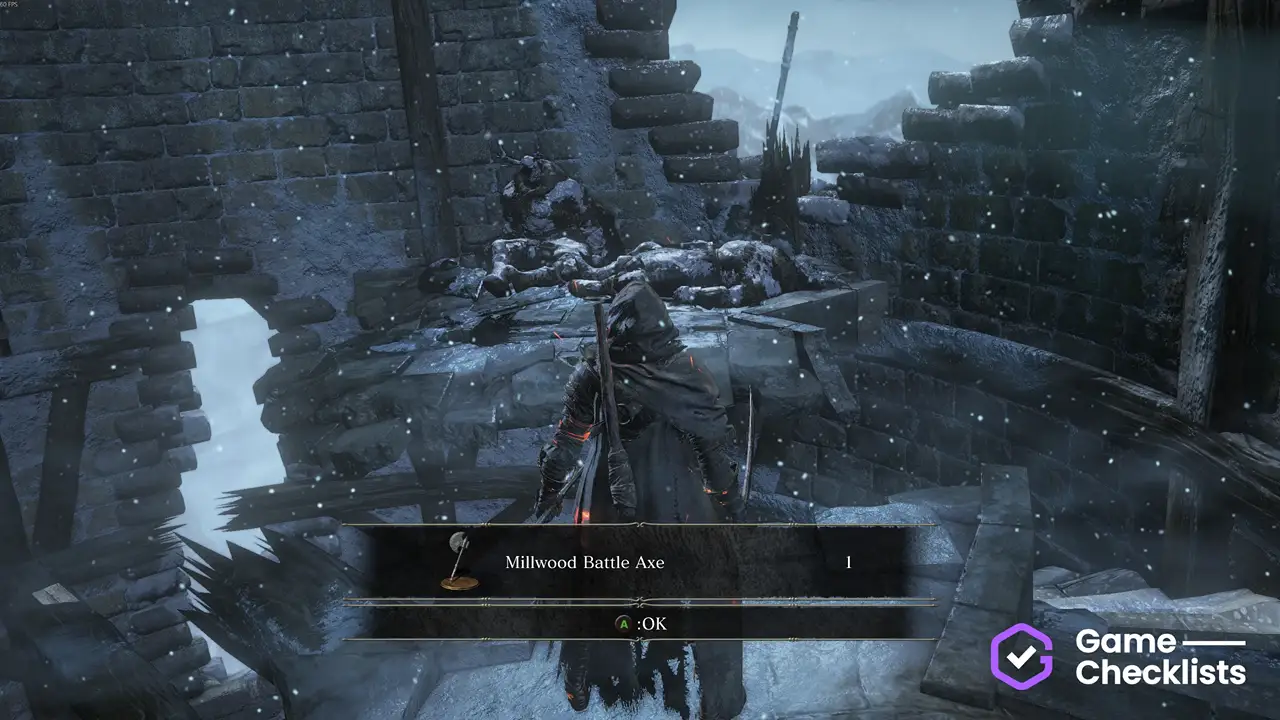 |
||
 |
Climb the balcony ladder from the top floor of the Location of Captain's Ashes: 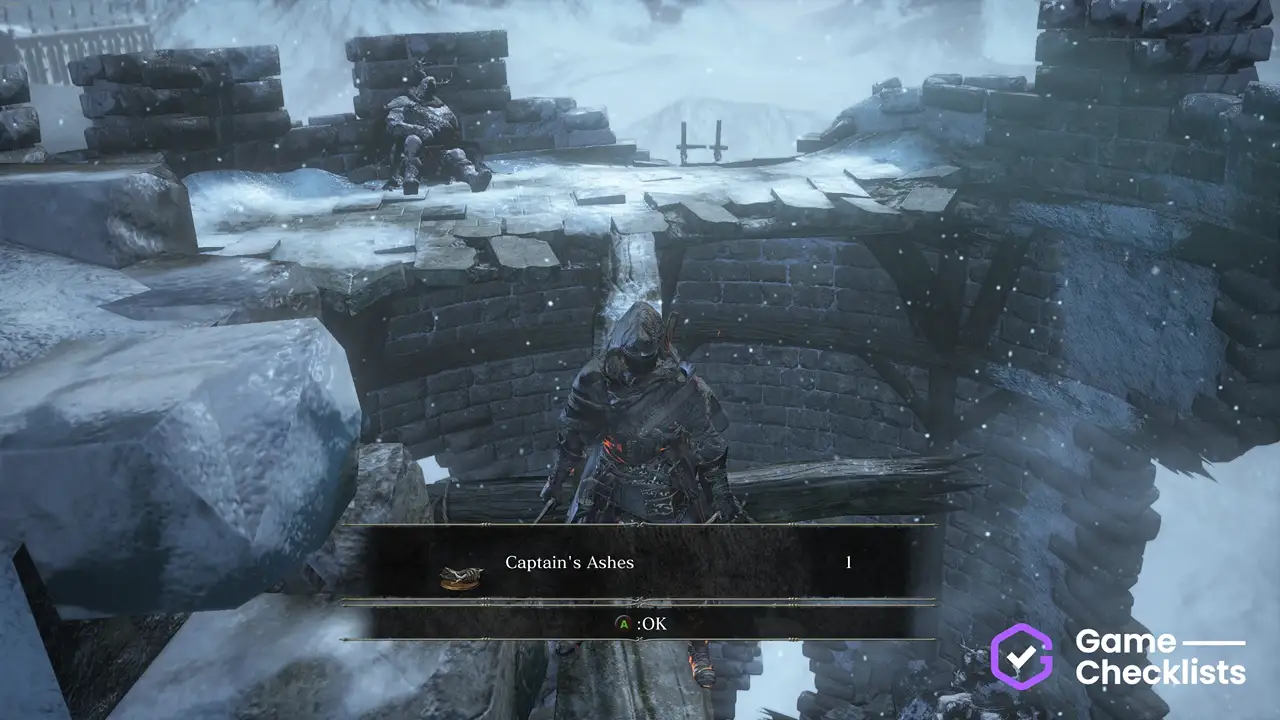 |
||
 |
Position yourself so the tower entrance is behind your back. You can spot an uphill area in front of you, a bit to the right. Go there, past a few cursed trees. Follow the left cliff and you'll arrive at the bow, guarded by wolves and two knights. Location of Millwood Greatbow: 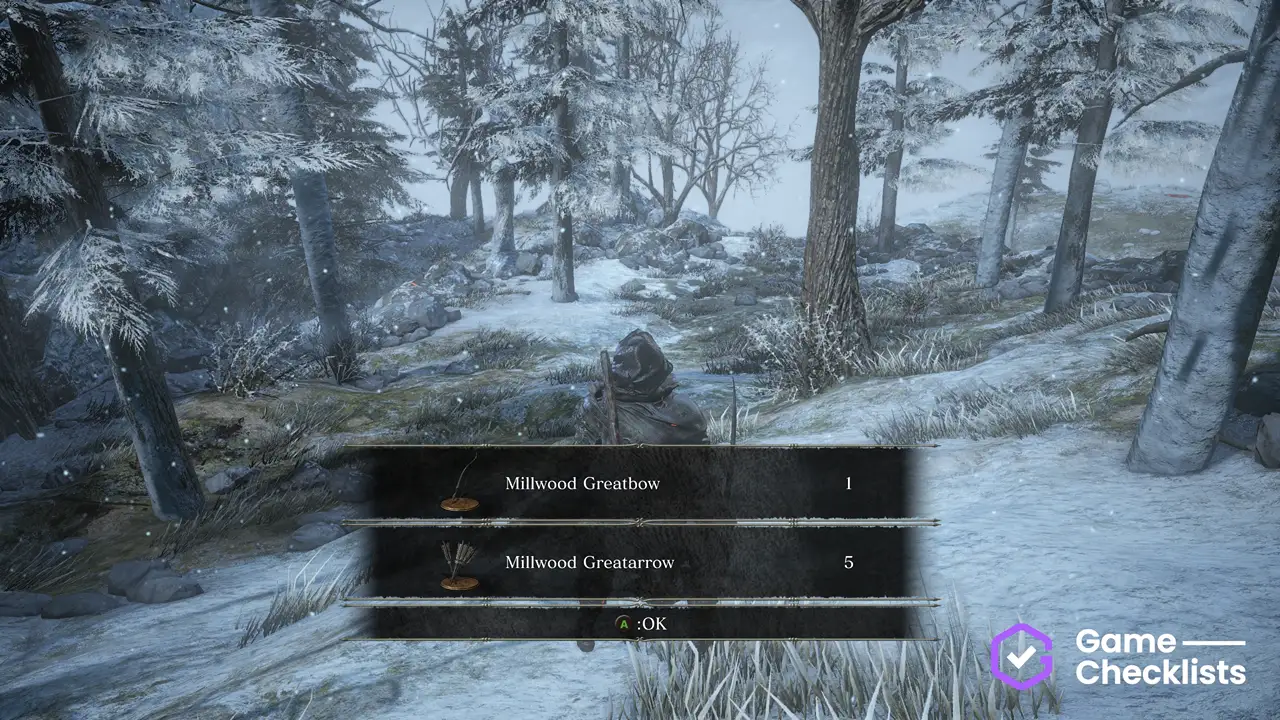 |
||
 |
Take the main path, past the first breaking snow. In the wolf area, head left and uphill. After the hill reaches its apex, there will be a red area with the sorcery and tree flies. This is the shortest route and bypasses the tower altogether. Location of Frozen Weapon: 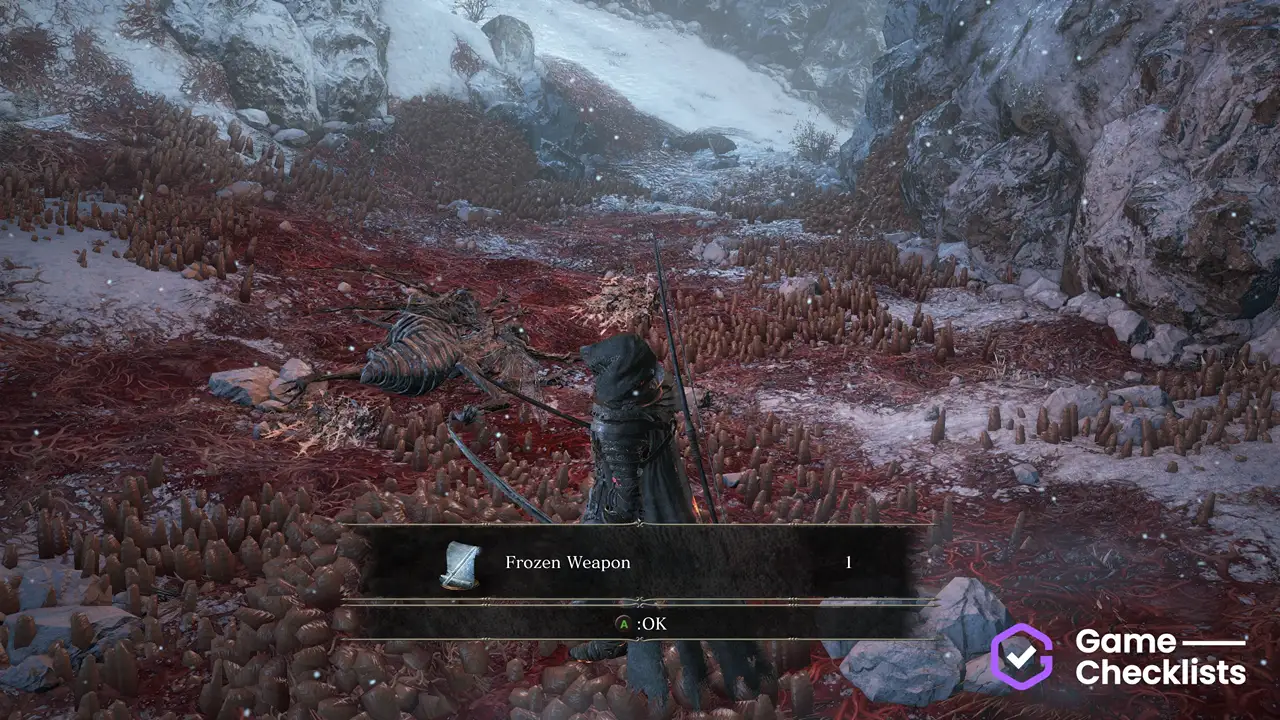 |
Rope Bridge & Ariandel Chapel
The central DLC section that splits off to multiple directions - rope bridge and Ariandel Chapel.
These items are best reached from the Rope Bridge Cave bonfire.
There are 4 items in this group.
| ✓ | Item | Description | |
|---|---|---|---|
|
In the cave on your right just before the rope bridge. Location of Rope Bridge Cave: 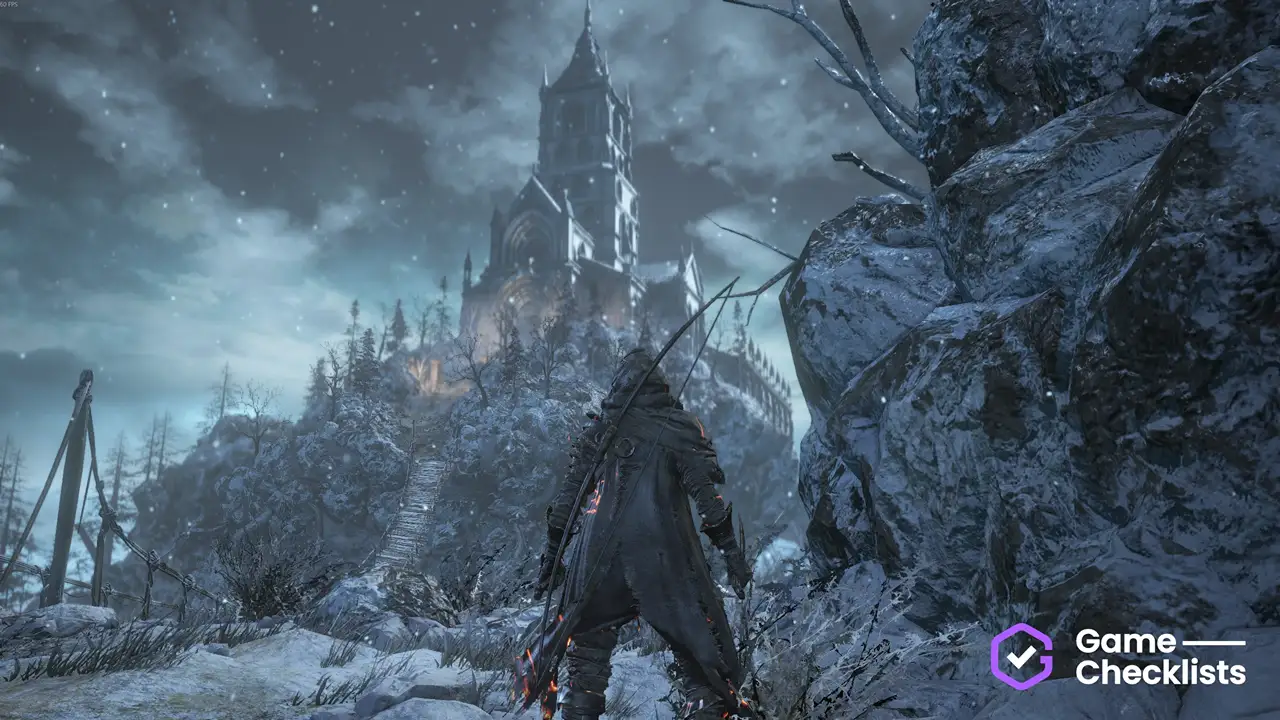 |
||
|
From the bonfire, take the left ladder down. Drops a Large Titanite Shard. Location of Crystal Lizard:  |
||
|
Cross the rope bridge to reach the chapel. Location of Ariandel Chapel: 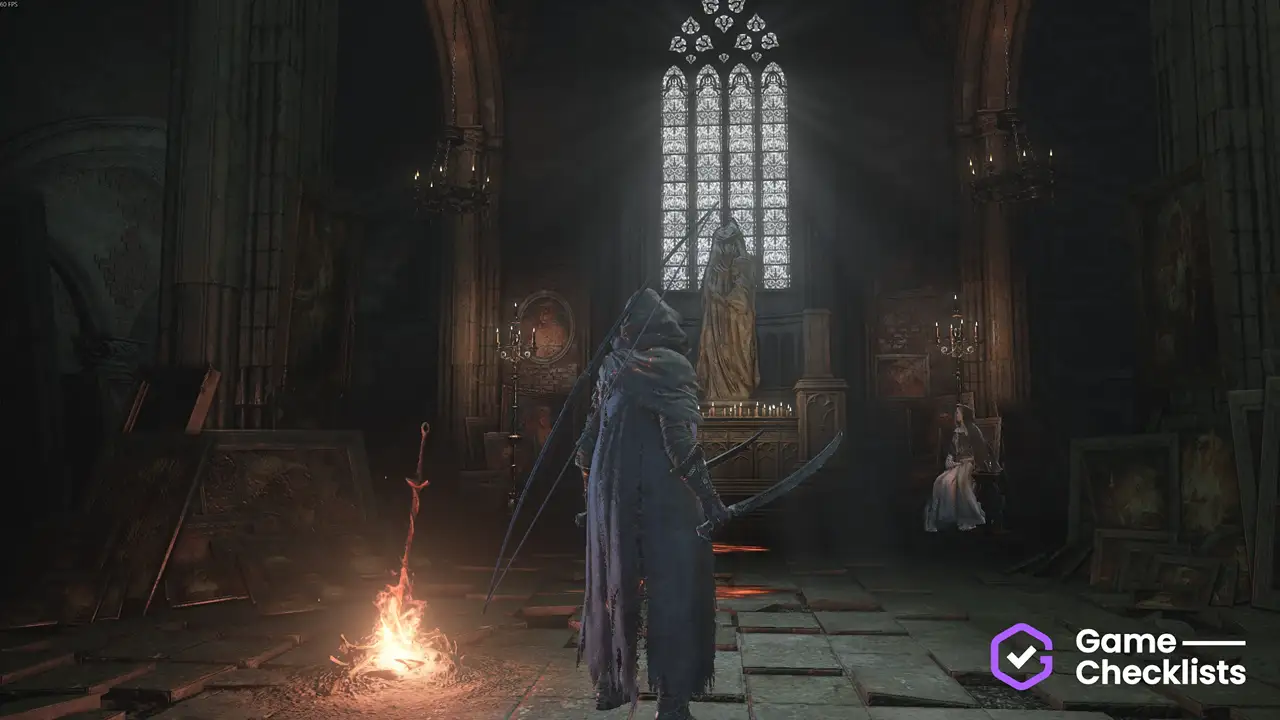 |
||
 |
Exhaust Friede's dialogue to obtain. Location of Chillbite Ring: 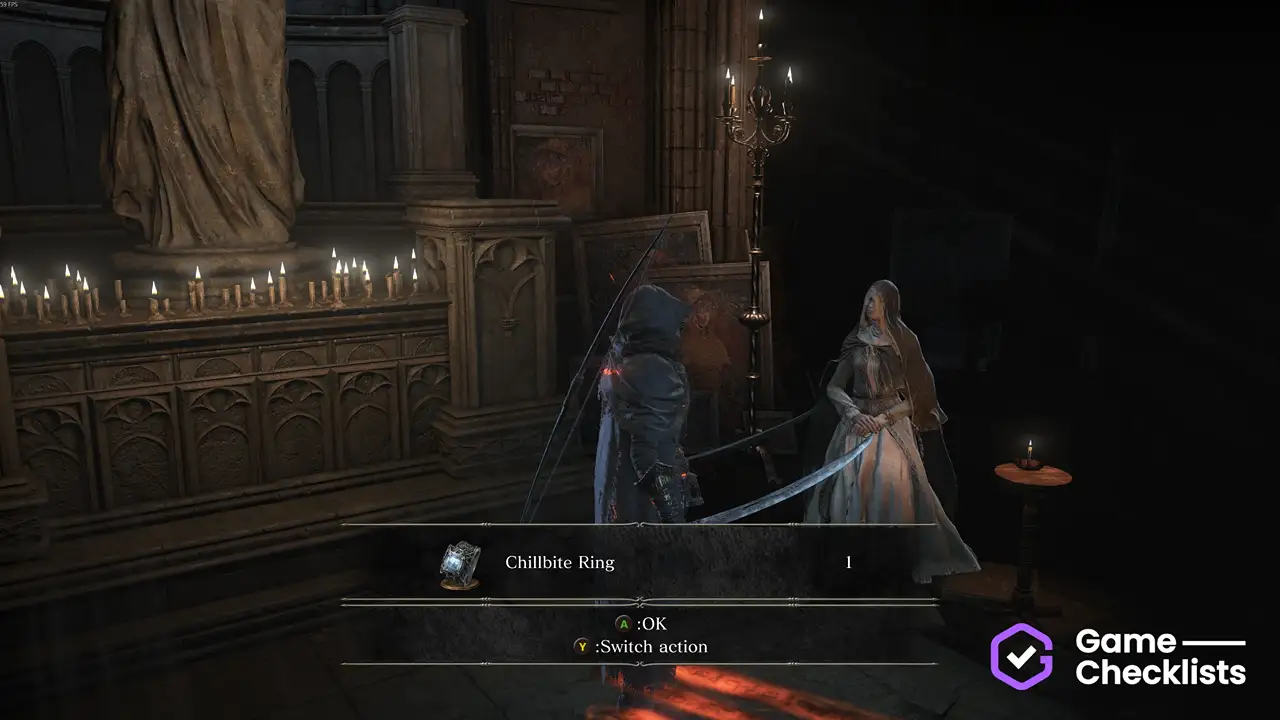 |
Corvian Settlement section
The Corvian Settlement area, starting from a ladder left of the rope bridge bonfire and ending at the mountain pass.
These items are best reached from the Corvian Settlement bonfire.
There are 12 items in this group.
| ✓ | Item | Description | |
|---|---|---|---|
|
Take the left ladder from the bonfire. Follow the path down and into the swamp, enter and go right, take the ladder up. Cross the house and outside go into the left door to find the bonfire. Location of Corvian Settlement:  |
||
|
Cross the bridge, go around the left building, cross another bridge. Follow the cliff path and soon jump over the gap to the left. Enter the wooden building on the cliff and spot a narrow wooden walkway on the left. Around the corner is the lizard. Drops two Large Titanite Shards. Location of Crystal Lizard: 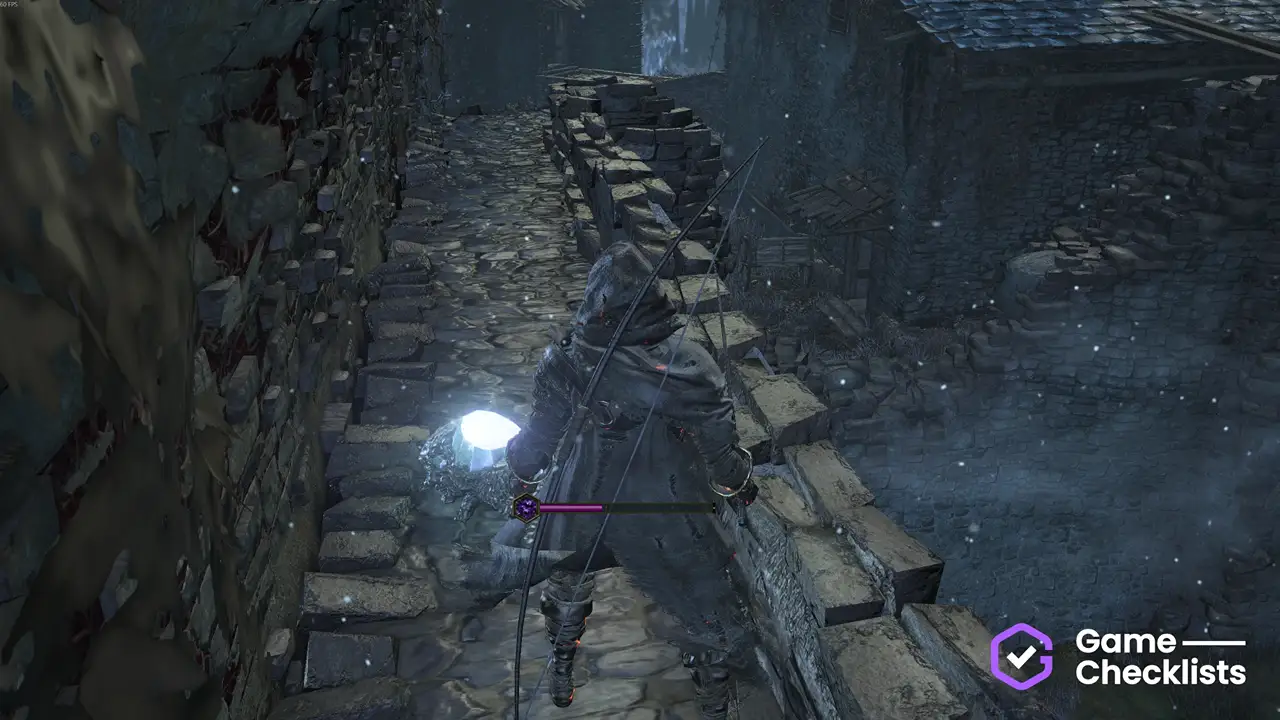 |
||
 |
Cross the bridge, go around the left building, cross another bridge. Follow the cliff path and soon jump over the gap to the left. Enter the wooden building on the cliff and spot a large rock with an item below you. Perform a long running jump to get to the item, which is the Crow Quills. Location of Crow Quills: 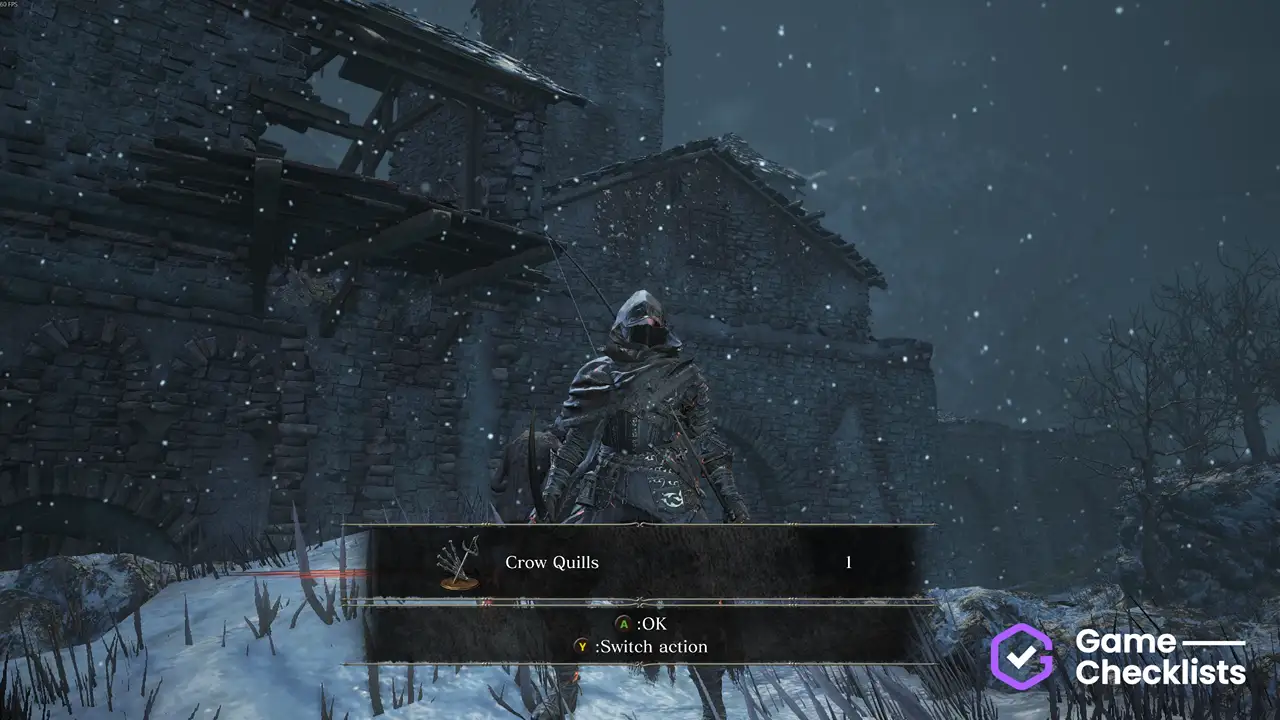 |
||
 |
Cross the bridge, and head straight to the cemetery gate. Drop down on your right. Follow the path back until you reach a ladder. From the rooftop, drop down onto the bridge and cross it. Inside, don't drop down but head left and follow the path all the way to the rooftop with this item. Location of Crow Talons: 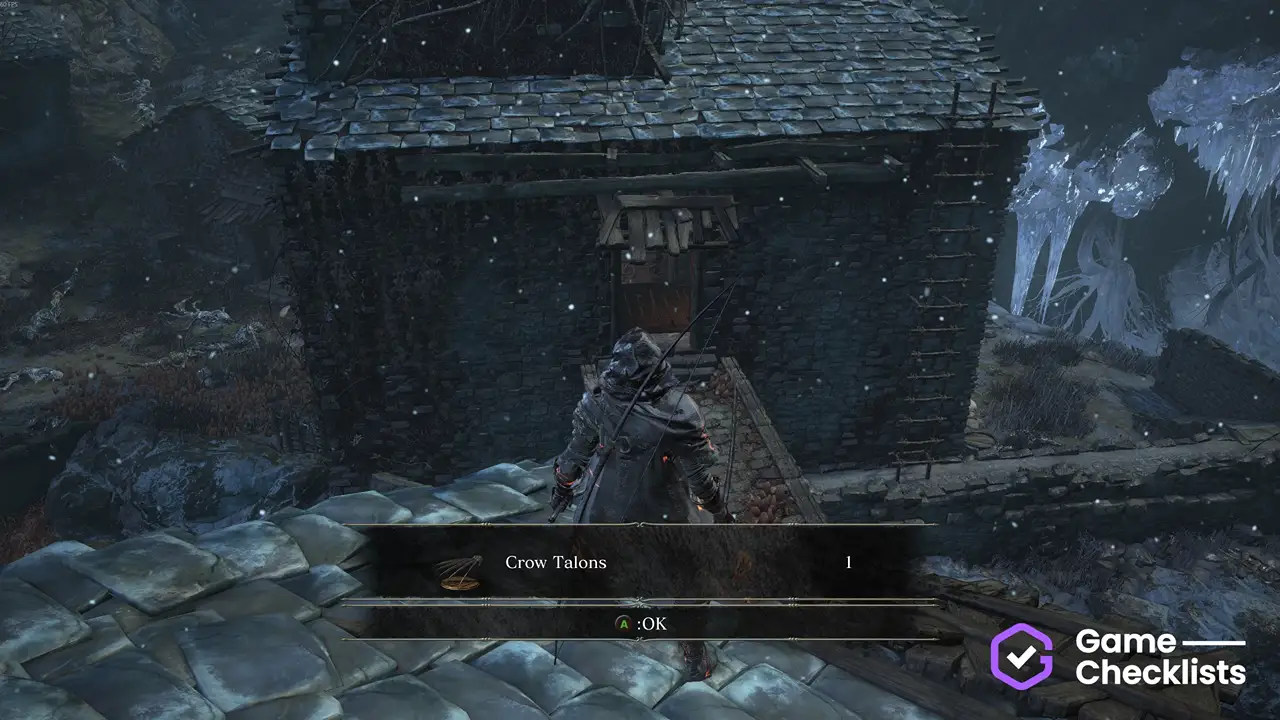 |
||
 |
Cross the bridge, and head straight to the cemetery gate. Drop down on your right. Follow the path back until you reach a ladder. Cross the rooftops to the tower, there drop down through the gap in the floor to pick the Slave Knight Set. Location of Slave Knight Hood: 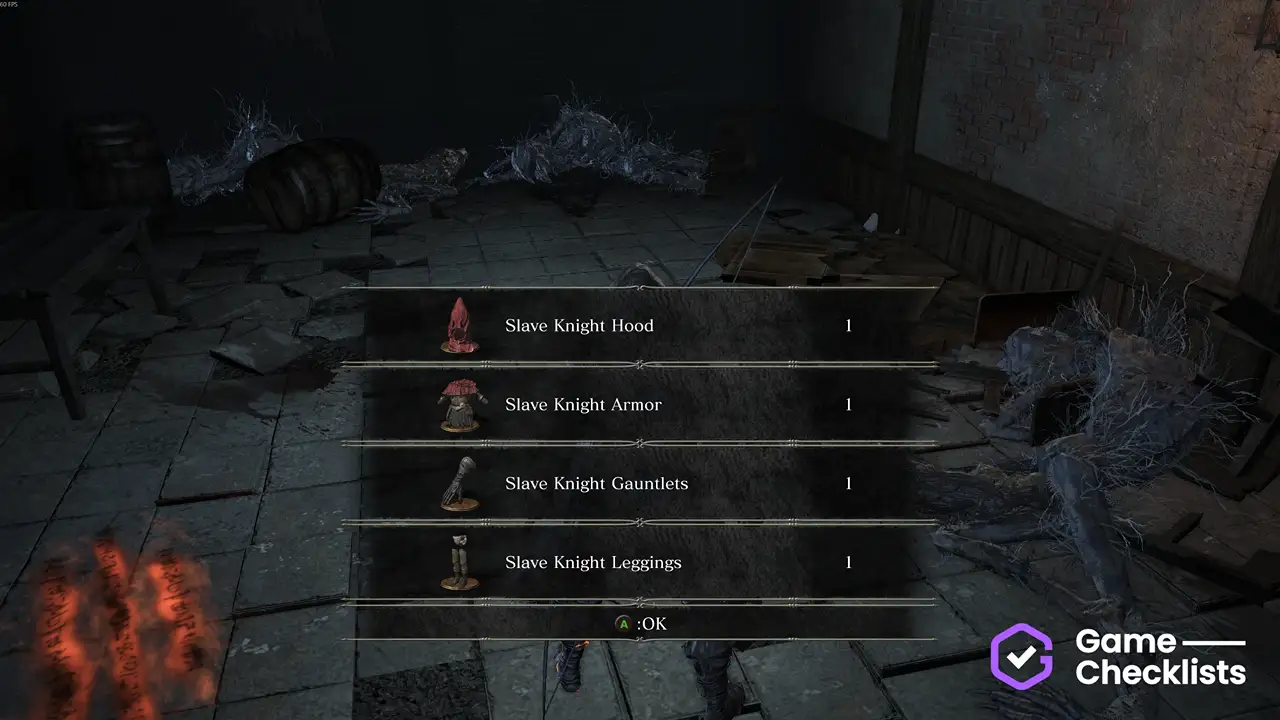 |
||
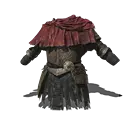 |
Cross the bridge, and head straight to the cemetery gate. Drop down on your right. Follow the path back until you reach a ladder. Cross the rooftops to the tower, there drop down through the gap in the floor to pick the Slave Knight Set. Location of Slave Knight Armor: |
||
 |
Cross the bridge, and head straight to the cemetery gate. Drop down on your right. Follow the path back until you reach a ladder. Cross the rooftops to the tower, there drop down through the gap in the floor to pick the Slave Knight Set. Location of Slave Knight Gauntlets: |
||
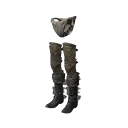 |
Cross the bridge, and head straight to the cemetery gate. Drop down on your right. Follow the path back until you reach a ladder. Cross the rooftops to the tower, there drop down through the gap in the floor to pick the Slave Knight Set. Location of Slave Knight Leggings: |
||
|
Cross the bridge, and head straight to the cemetery gate. Drop down on your right. Follow the path back until you reach a ladder. Cross the rooftops to the tower. Climb the ladder and walk to the second bridge to kill the lizard. Drops a Twinkling Titanite. Location of Crystal Lizard: 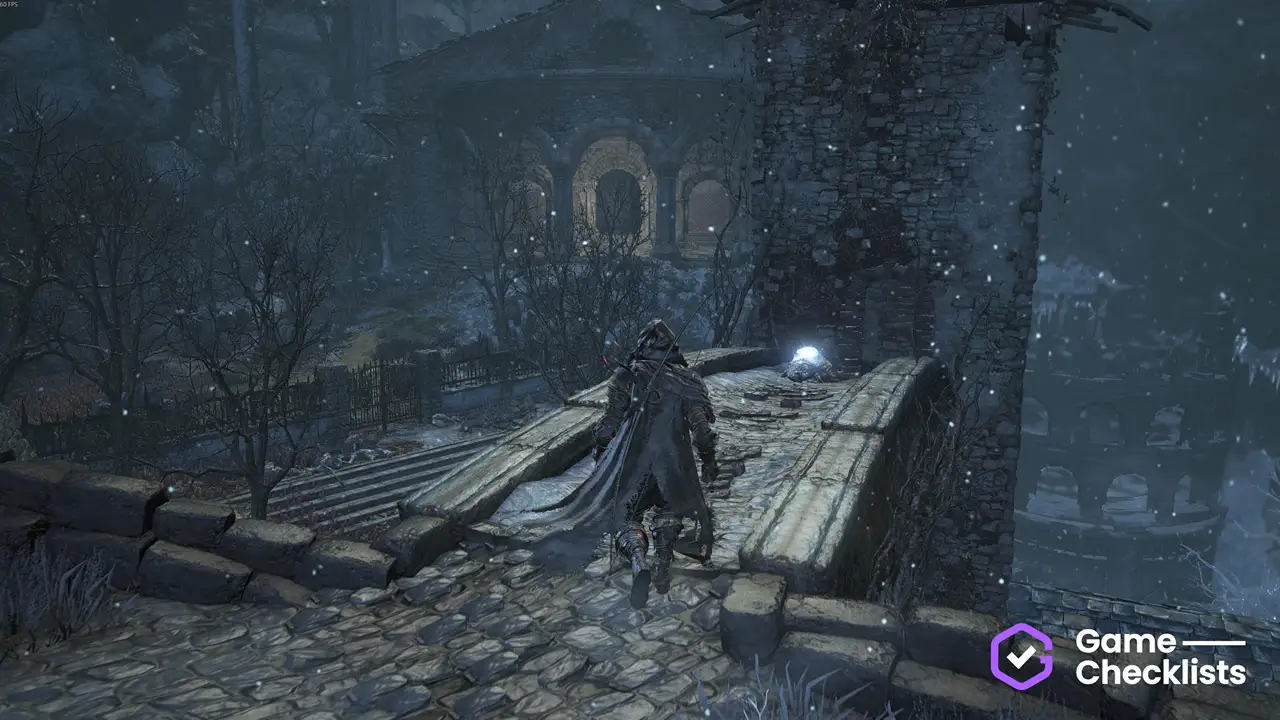 |
||
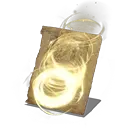 |
Cross the bridge, and head straight to the cemetery gate. Drop down on your right. Follow the path back until you reach a ladder. Cross the rooftops to the tower. Climb the ladder and follow the path until you reach a church roof. Go inside through the roof windows and pick up the MIiracle near the altar. Location of Way of White Corona: 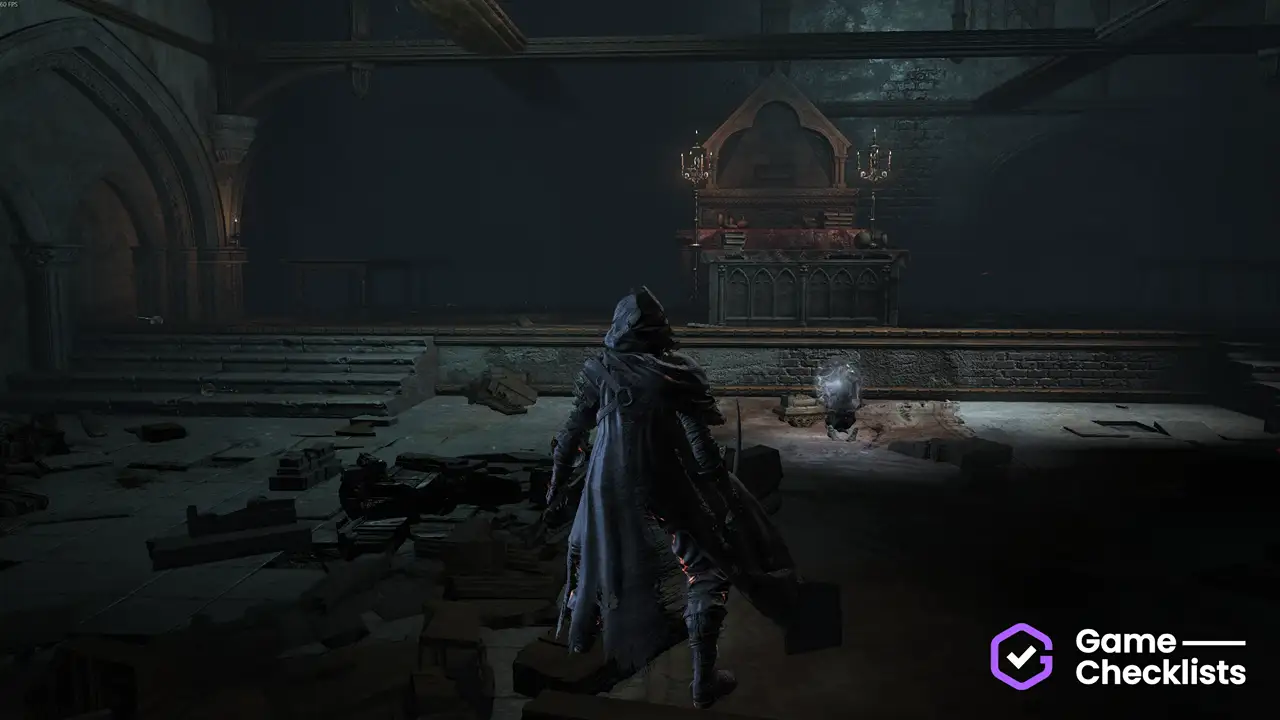 |
||
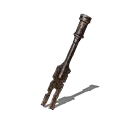 |
Defeat Sir Vilhelm NPC inside the library. Used to open the access to a second floor of the library. Location of Contraption Key: 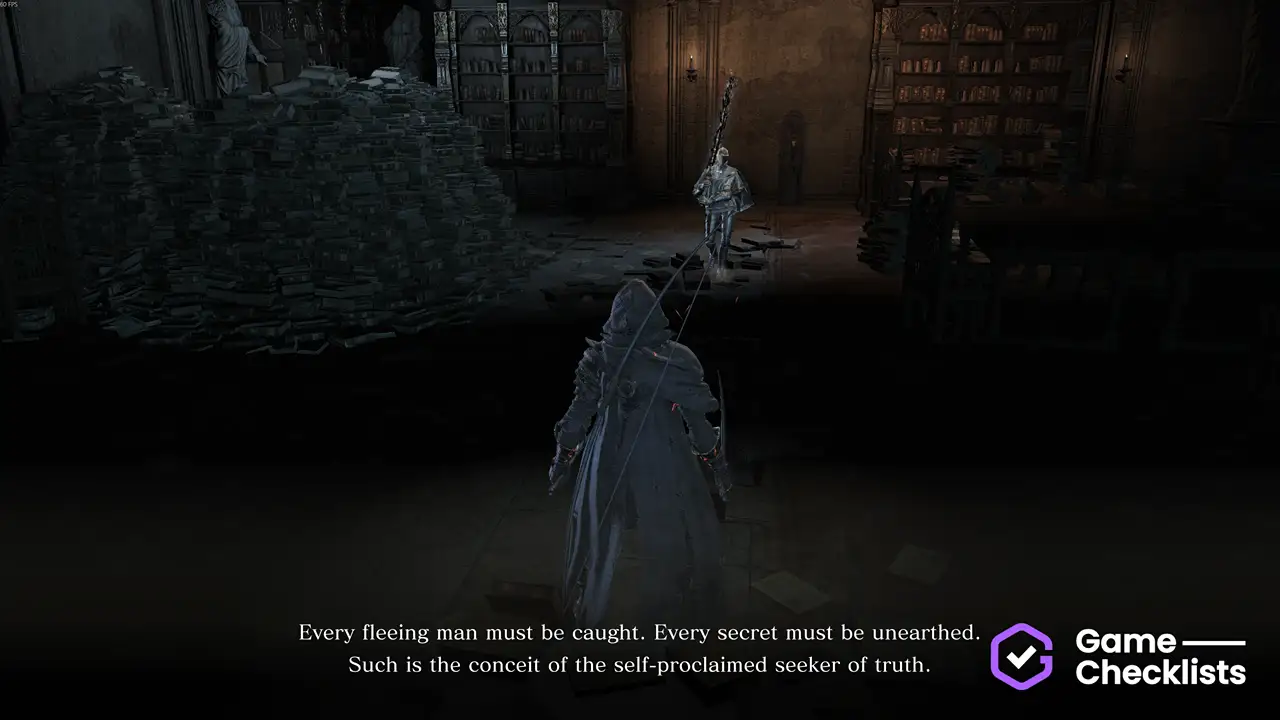  |
||
 |
Defeat Sir Vilhelm NPC inside the library. Location of Onyx Blade: |
Mountain Pass section
The Mountain Pass woods section, between Corvian Settlement and the back entrance to Ariandel Chapel.
These items are best reached from the Snowy Mountain Pass bonfire.
There are 5 items in this group.
| ✓ | Item | Description | |
|---|---|---|---|
|
Defeat Sir Vilhelm NPC, activate the contraption, go to the second floor and outside, follow the path to reach. Location of Snowy Mountain Pass: 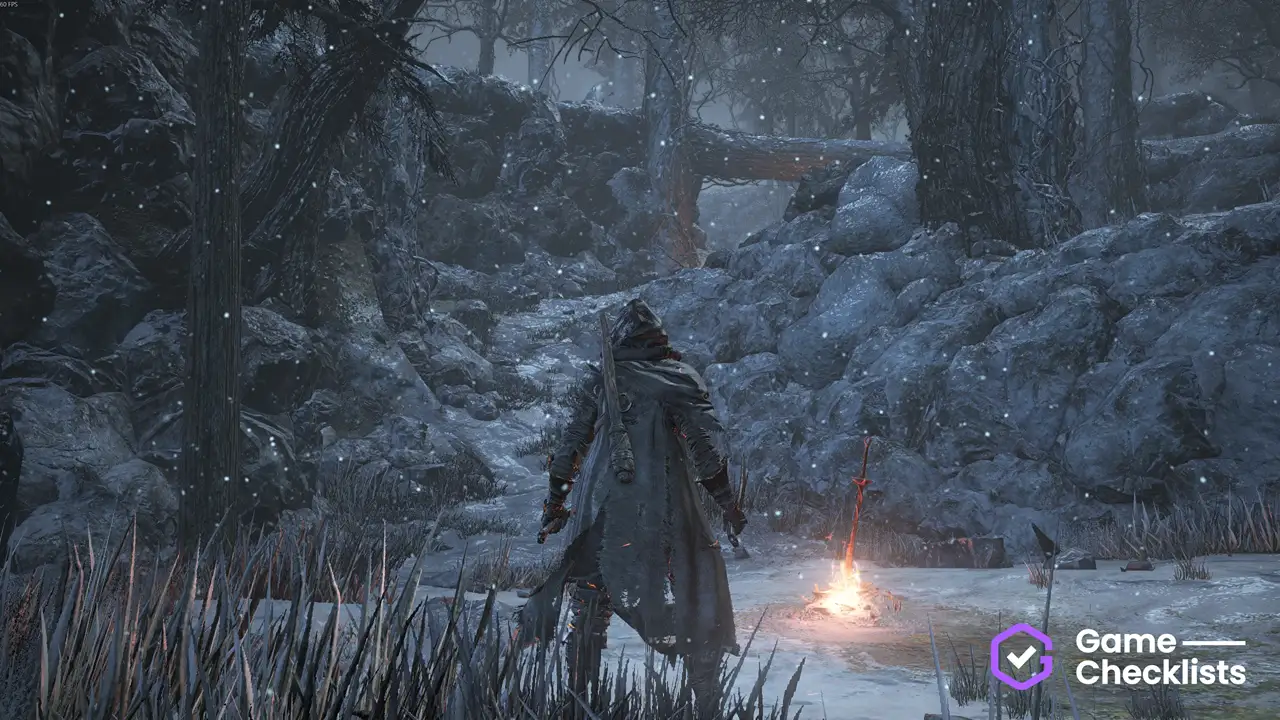 |
||
 |
Head straight. At the cliff, turn right and at the big rock, drop down to the left and pick up the shield. Location of Follower Shield: 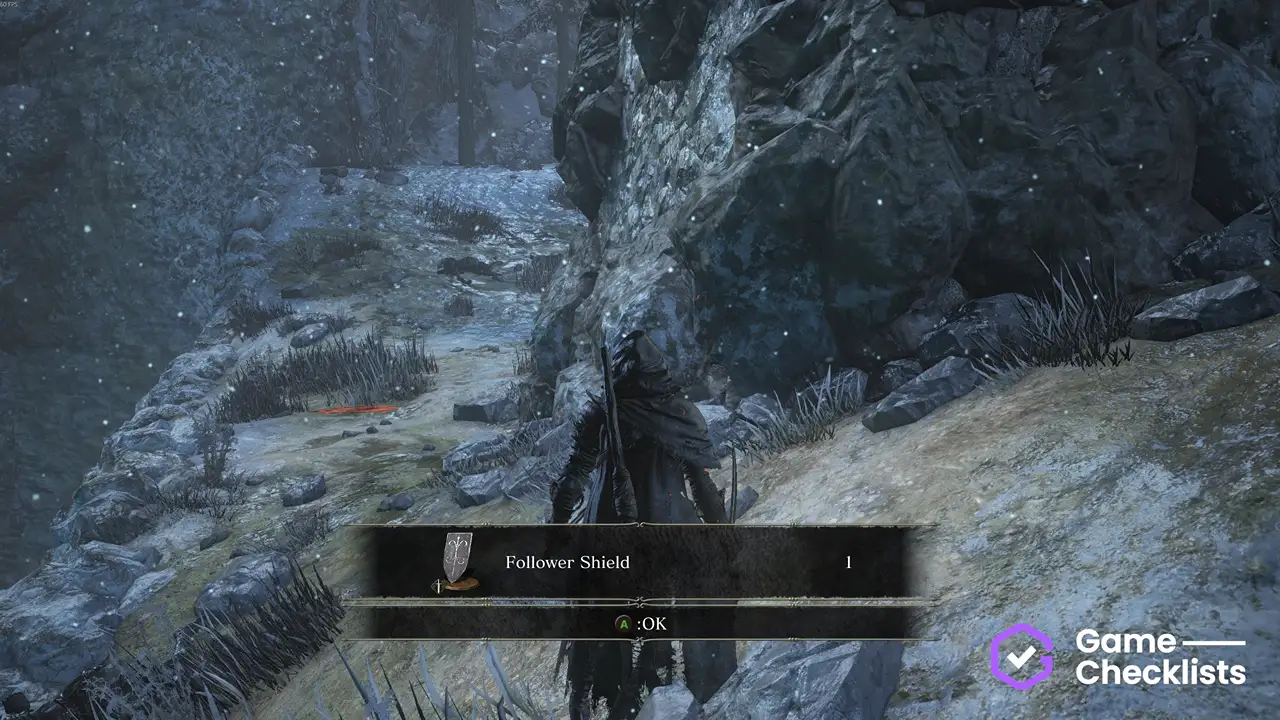 |
||
 |
Navigate to a tree with red ground that can be used to create a shorctut. Don't take it however - take the slope on the opposite side and then drop into a frozen lake on your left. There is a cave nearby with this weapon. Location of Earth Seeker: 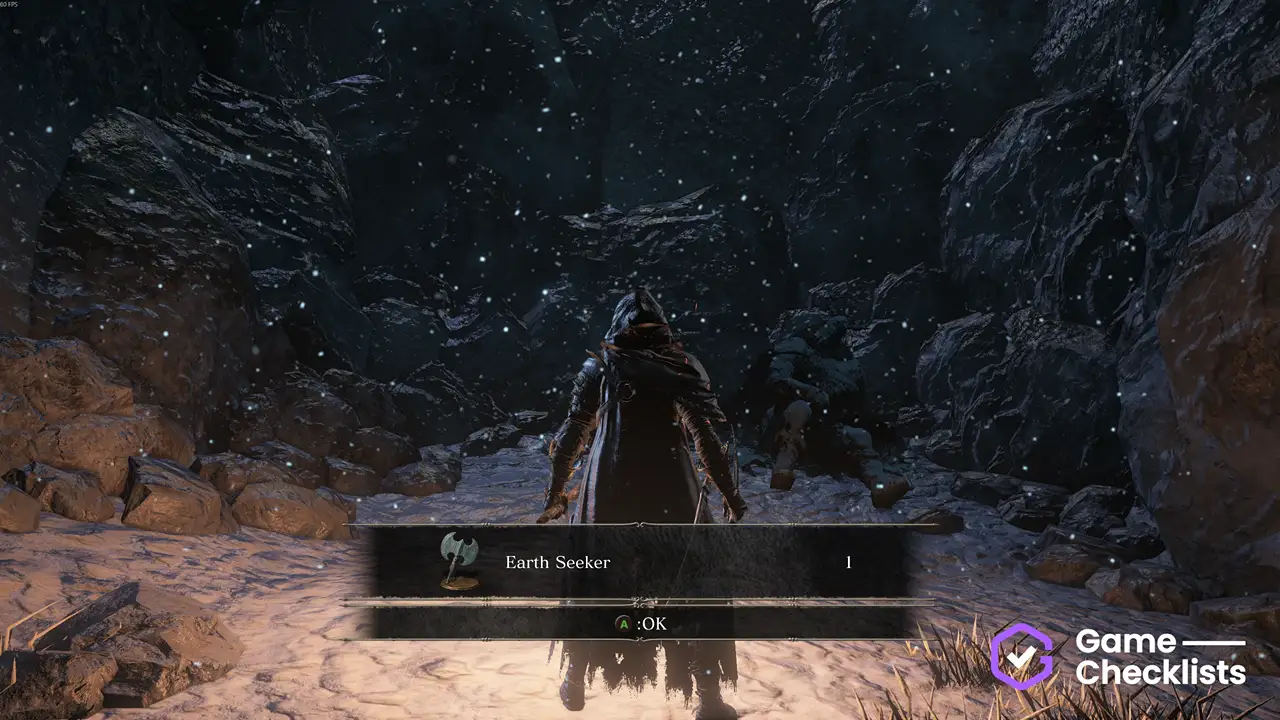 |
||
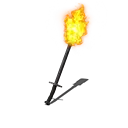 |
Progress through the woods until you reach a large bell. There, head uphill and then left onto a narrow path with two wolves at its end. There, take the winding path left and follow it until you can grab the item. Location of Follower Torch:  |
||
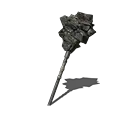 |
Progress through the woods until you reach a large bell. There, head uphill and then left onto a narrow path with two wolves at its end. Follow the narrow icy path leading up and go left at the fork, defeat the large knight and pick up the weapon. Location of Quakestone Hammer: 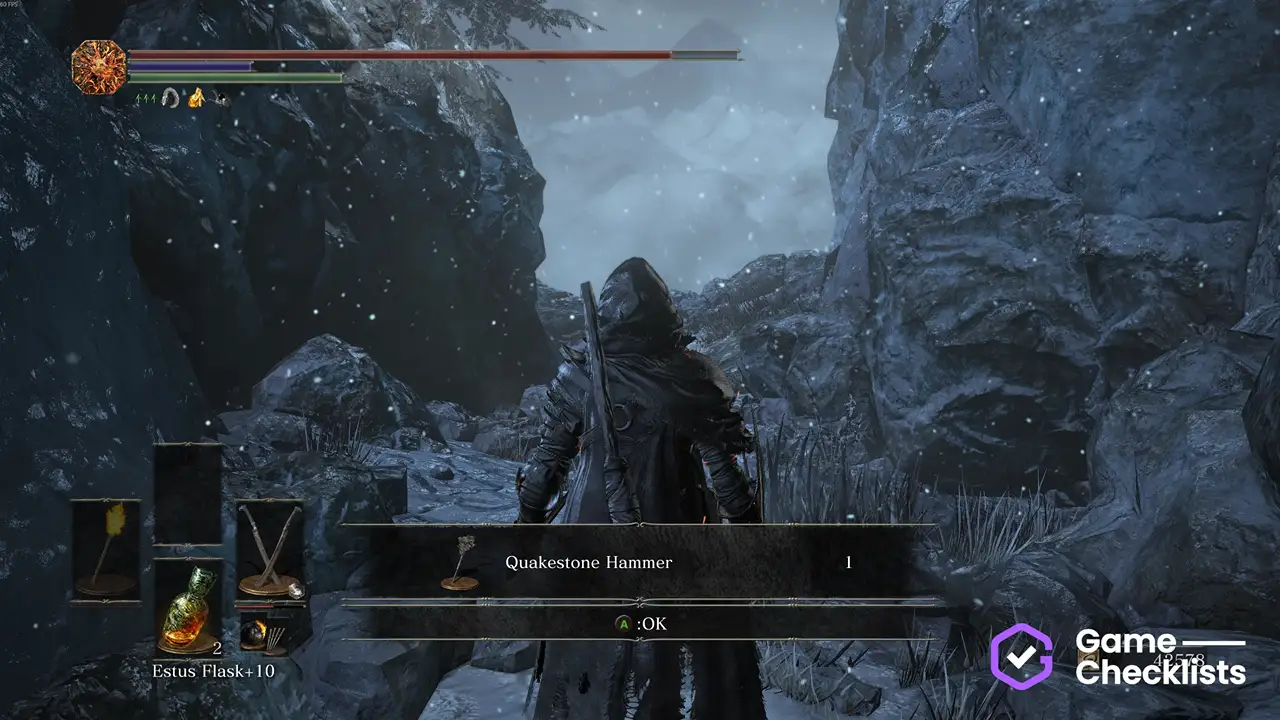 |
Ariandel Chapel: Flies
Below Ariandel Chapel. You need to open the shortcut door to open from the fly room reached via the Mountain Pass section.
These items are best reached from the Ariandel Chapel bonfire.
There are 8 items in this group.
| ✓ | Item | Description | |
|---|---|---|---|
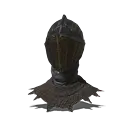 |
Go into the fly room and search the very bottom floor. Location of Vilhelm's Helm:  |
||
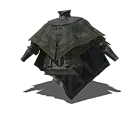 |
Go into the fly room and search the very bottom floor. Location of Vilhelm's Armor: |
||
 |
Go into the fly room and search the very bottom floor. Location of Vilhelm's Gauntlets: |
||
 |
Go into the fly room and search the very bottom floor. Location of Vilhelm's Leggings: |
||
|
Go into the fly room. To the left of the lever is an illusory brick wall. Reveal it to enter a room with two Crystal Lizards, both drop a Twinkling Titanite. Location of Crystal Lizard: 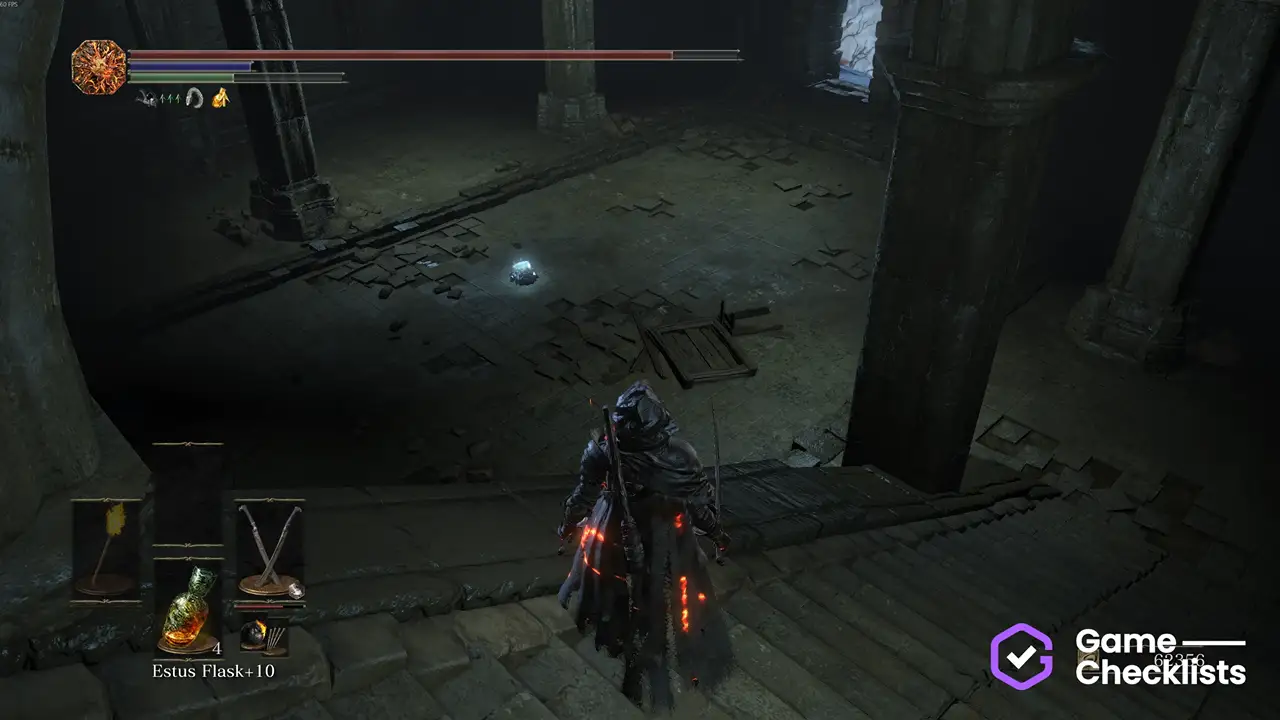 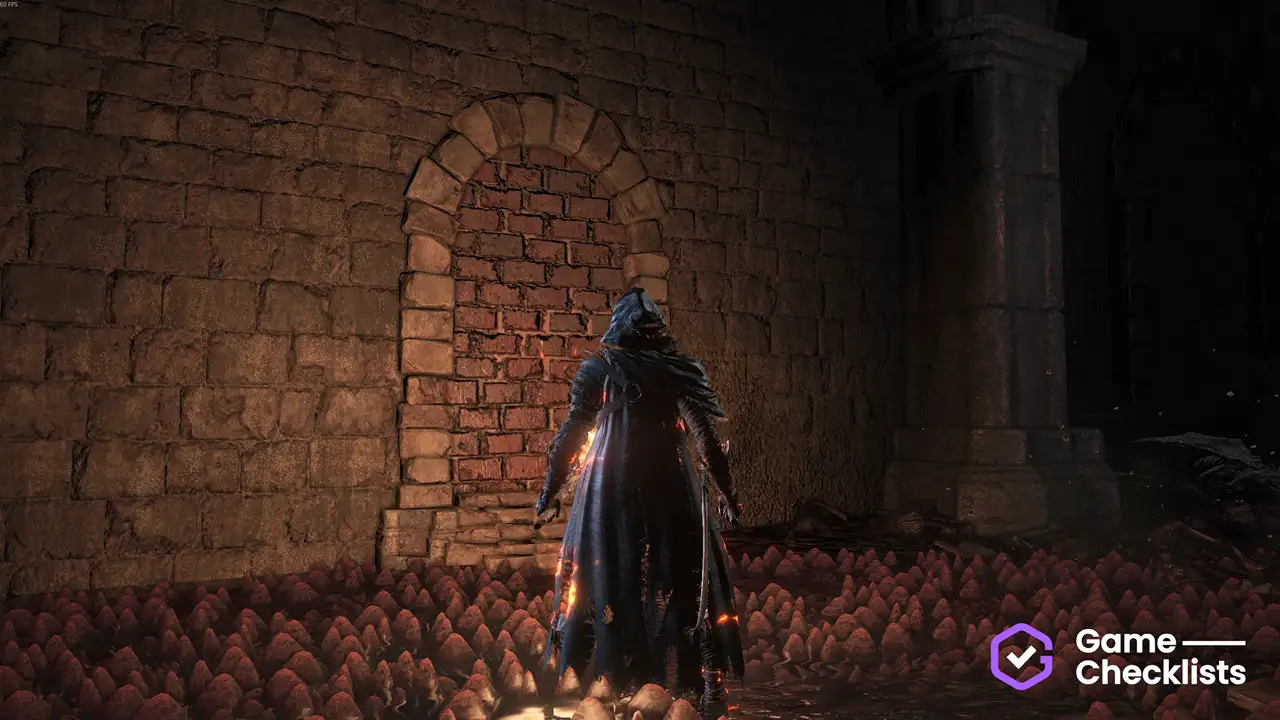 |
||
|
Go into the fly room. To the left of the lever is an illusory brick wall. Reveal it to enter a room with two Crystal Lizards, both drop a Twinkling Titanite. Location of Crystal Lizard: |
||
 |
Tip: There is NPC invasion at this item, so bring an Ember if you're interested -- ňGo into the fly room. To the left of the lever is an illusory brick wall. Reveal it to enter a room with two Crystal Lizards, cross it outside. Drop down using all of the roots (use Location of Pyromancer's Parting Flame: 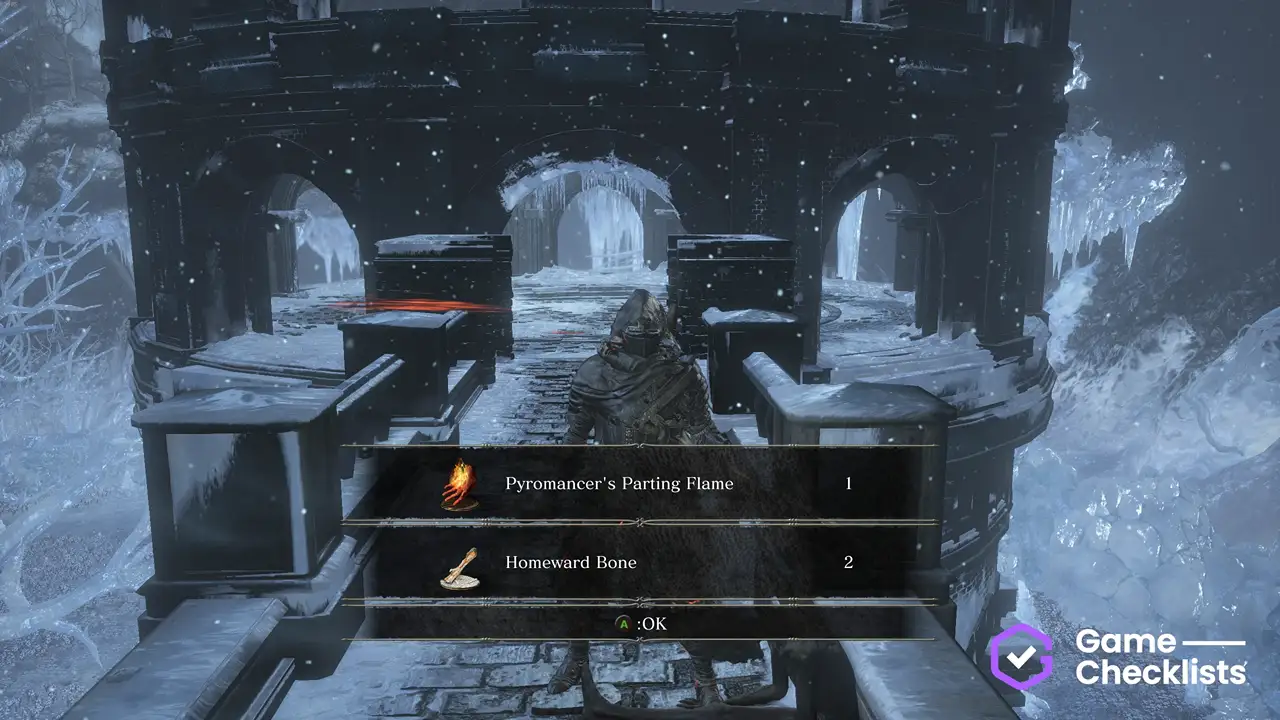 |
||
 |
You need to be embered for this. Go into the fly room. To the left of the lever is an illusory brick wall. Reveal it to enter a room with two Crystal Lizards, cross it outside. Drop down using all of the roots (use Go to its center and the Livid Pyromancer Dunnel will invade you. Kill him for this pyromancy. Location of Floating Chaos:  |
 Silvercat Ring
Ariandel Chapel: The Roots
Short roots section near Ariandel Chapel, accessible by destroying the rope bridge.
These items are best reached from the Ariandel Chapel bonfire.
There are 2 items in this group.
| ✓ | Item | Description | |
|---|---|---|---|
|
Break the bridge and cross the ladder. Jump across the first gap, then drop down onto a platform on the left to get this lizard. Drops a Twinkling Titanite. Location of Crystal Lizard: 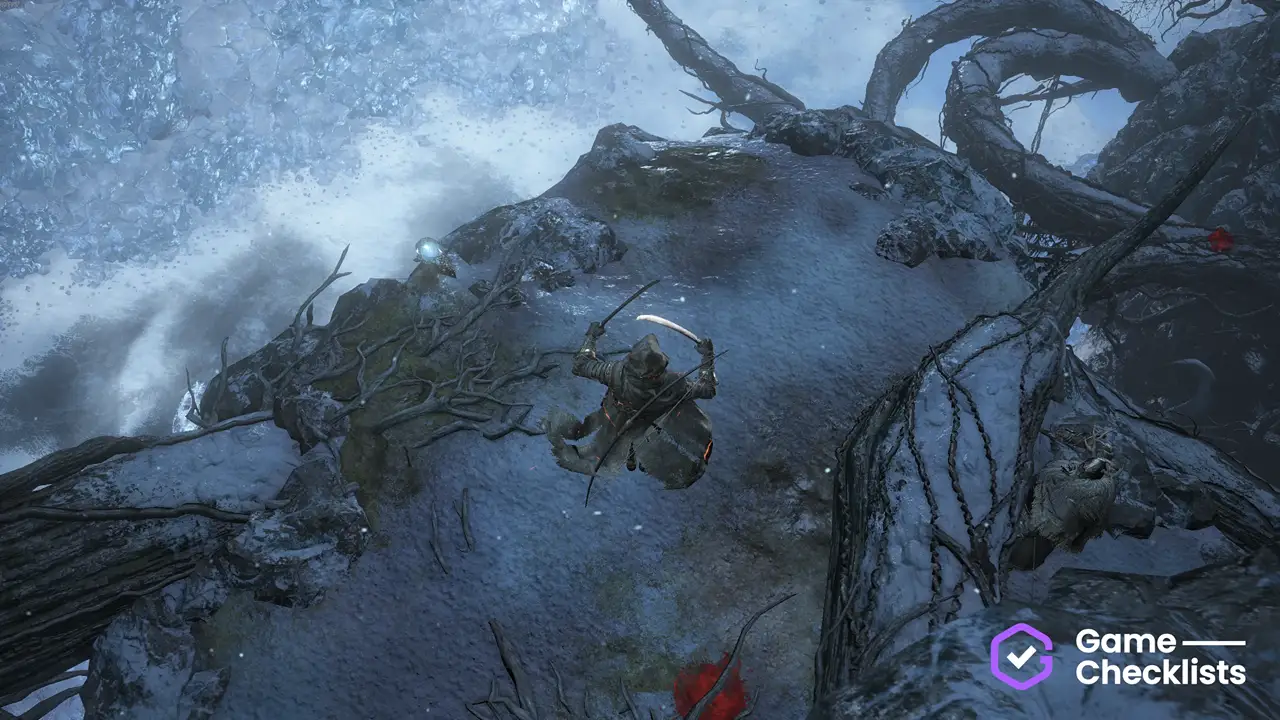 |
||
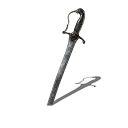 |
Break the bridge and cross the ladder. Jump across the first gap, then follow the roots into the small alcove with two lesser enemies and an Ember. From there, take the root to a nearby platform and look left, you'll spot the item. Cross the roots and carefully drop down to pick it up. Location of Follower Sabre: 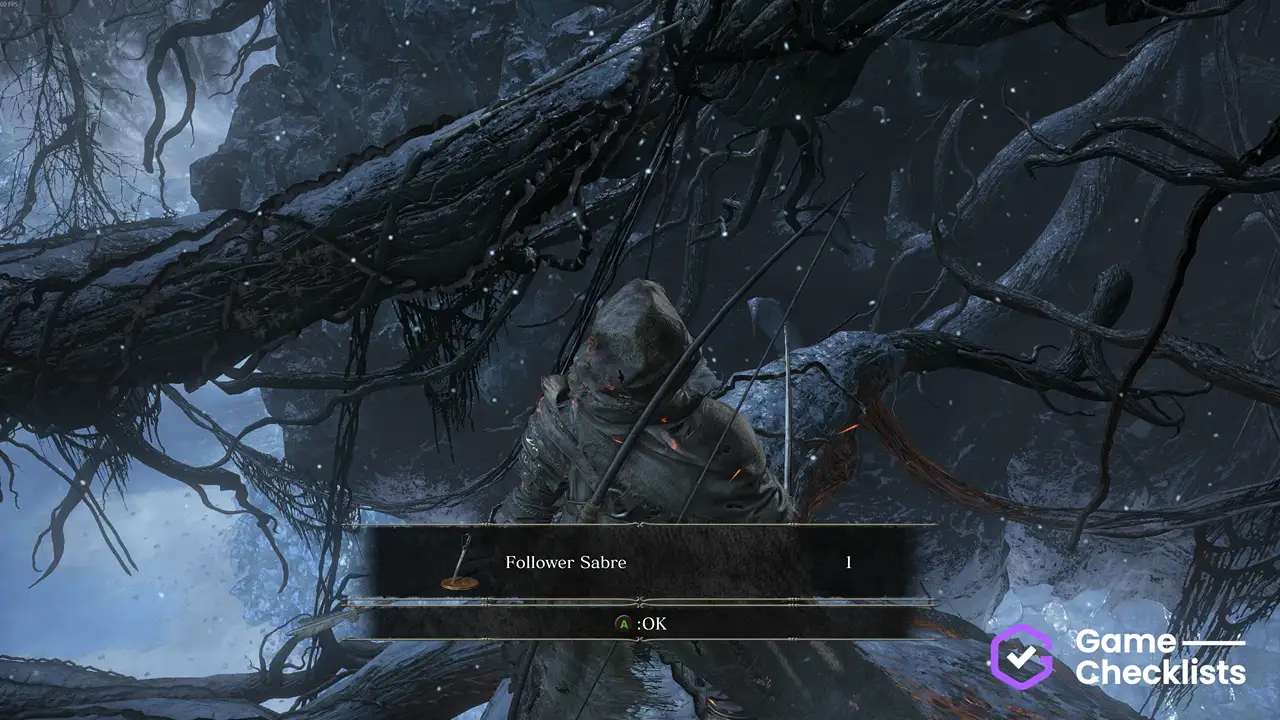 |
Frozen lake
The frozen lake far below Ariandel Chapel, accessible by descending the roots section from Ariandel Chapel.
These items are best reached from the Depths of the Painting bonfire.
There are 7 items in this group.
| ✓ | Item | Description | |
|---|---|---|---|
|
Break the bridge and cross the ladder. Use the roots to descend to the frozen lake. Near the large Crab is an alcove with this bonfire. Location of Depths of the Painting: 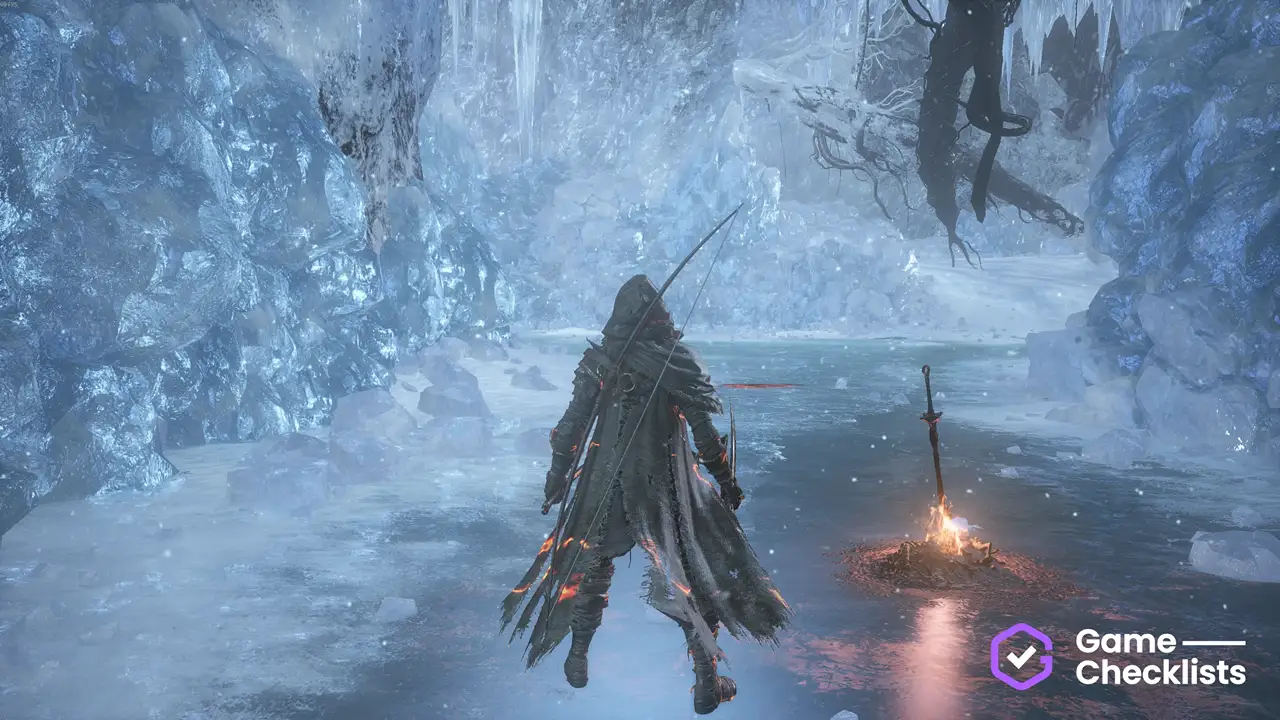 |
||
 |
Take the path near the two crabs. Cross the icy ravine and kill the last cursed tree to pick this spell up. Location of Snap Freeze:  |
||
 |
Take the path near the two crabs. Cross the icy ravine and kill the last cursed tree to dispel an illusiion. Go back to the last fork and spot a tall ladder on your left. Climb the two ladders to reach this Location of Titanite Slab - Ladders: 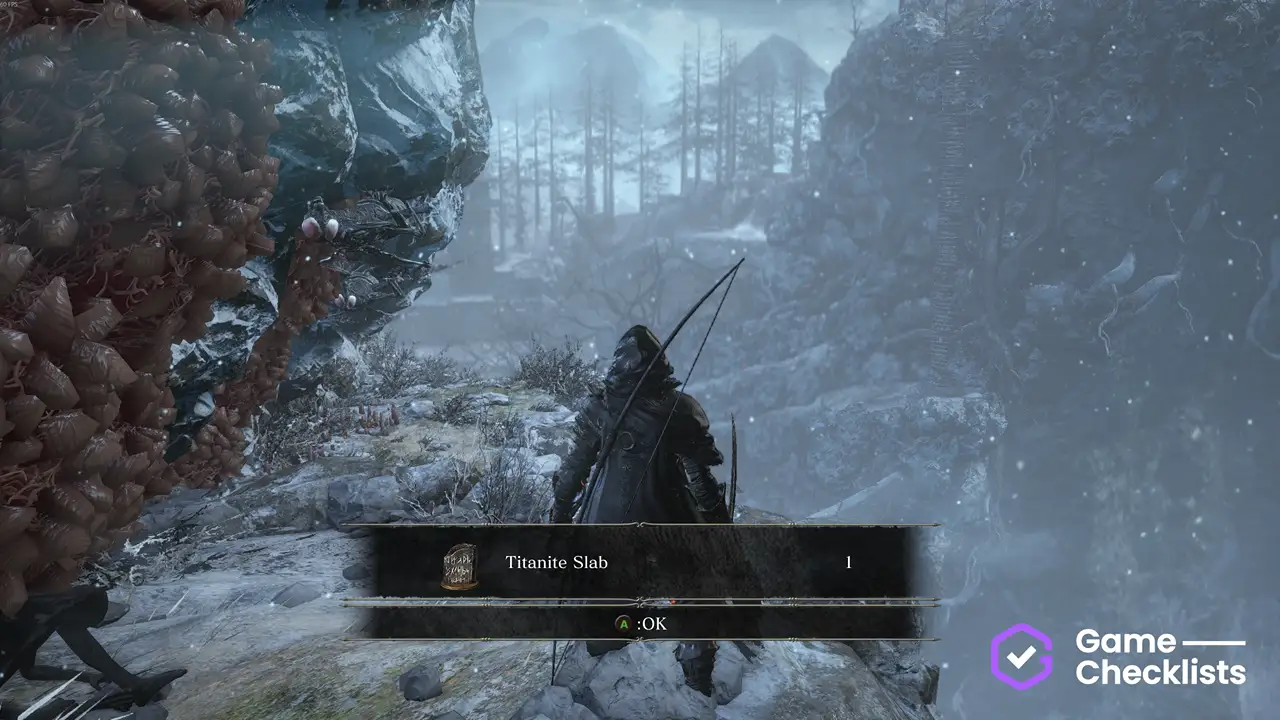 |
||
 |
From the bonfire, go right and into the ruin. This duo boss drops Boss fight:  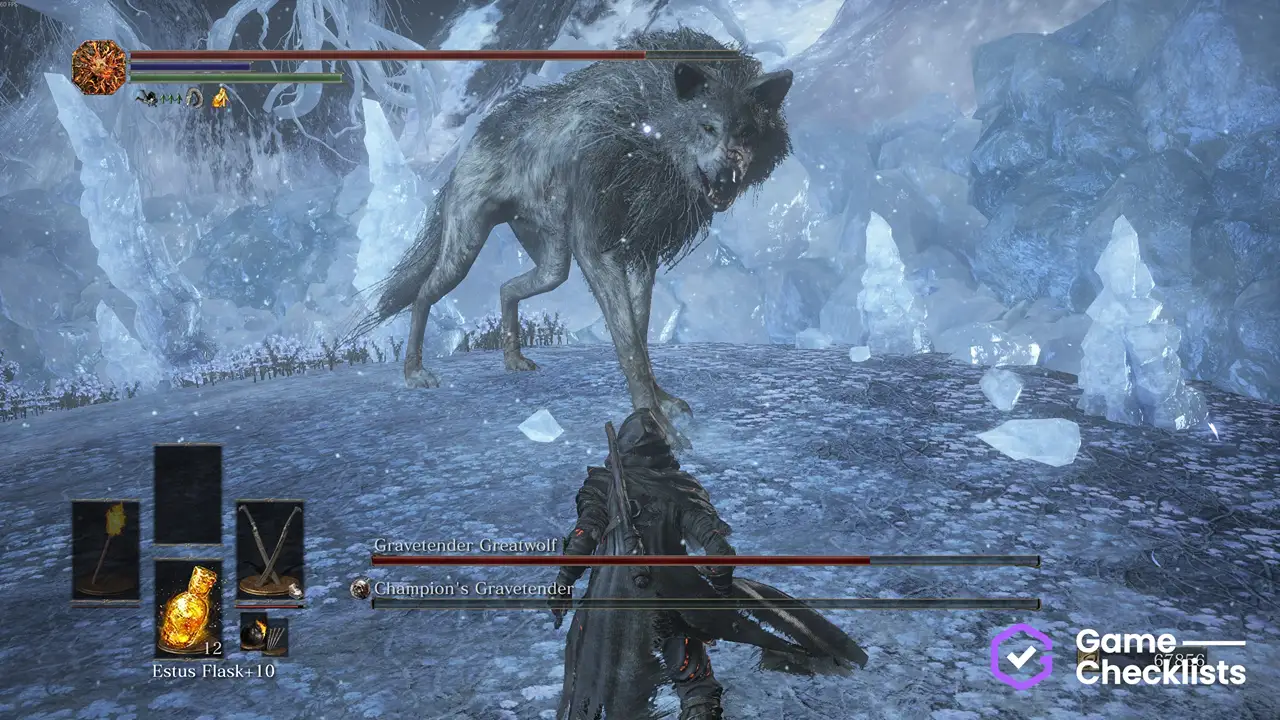 |
||
 |
Drops from the Location of Champion's Bones:  |
||
 |
Drops from the Location of Valorheart: |
||
|
Unlocks after defeating the Location of Champion's Gravetender: 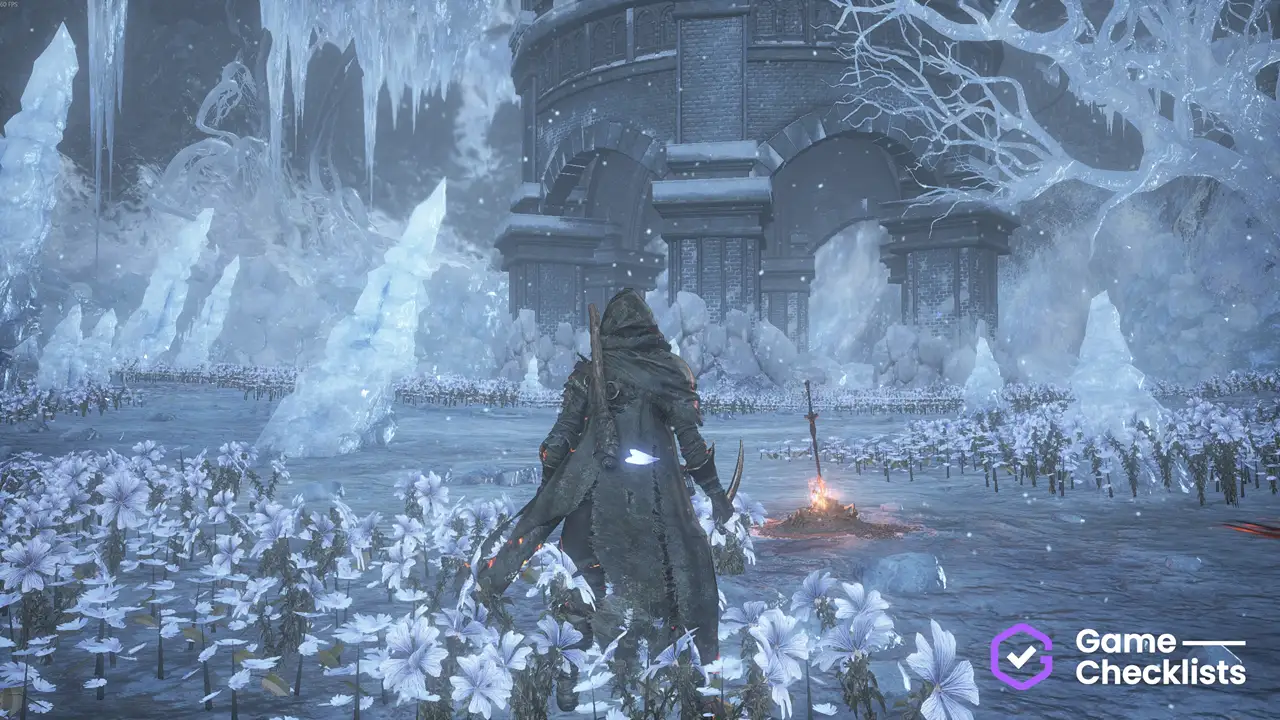 |
Ariandel Chapel: Ending
The ending sequence, accessible from Ariandel Chapel.
These items are best reached from the Ariandel Chapel bonfire.
There are 4 items in this group.
| ✓ | Item | Description | |
|---|---|---|---|
|
Boss at the end of Ashes of Ariandel DLC. Drops the Soul of Sister Friede. Boss fight: 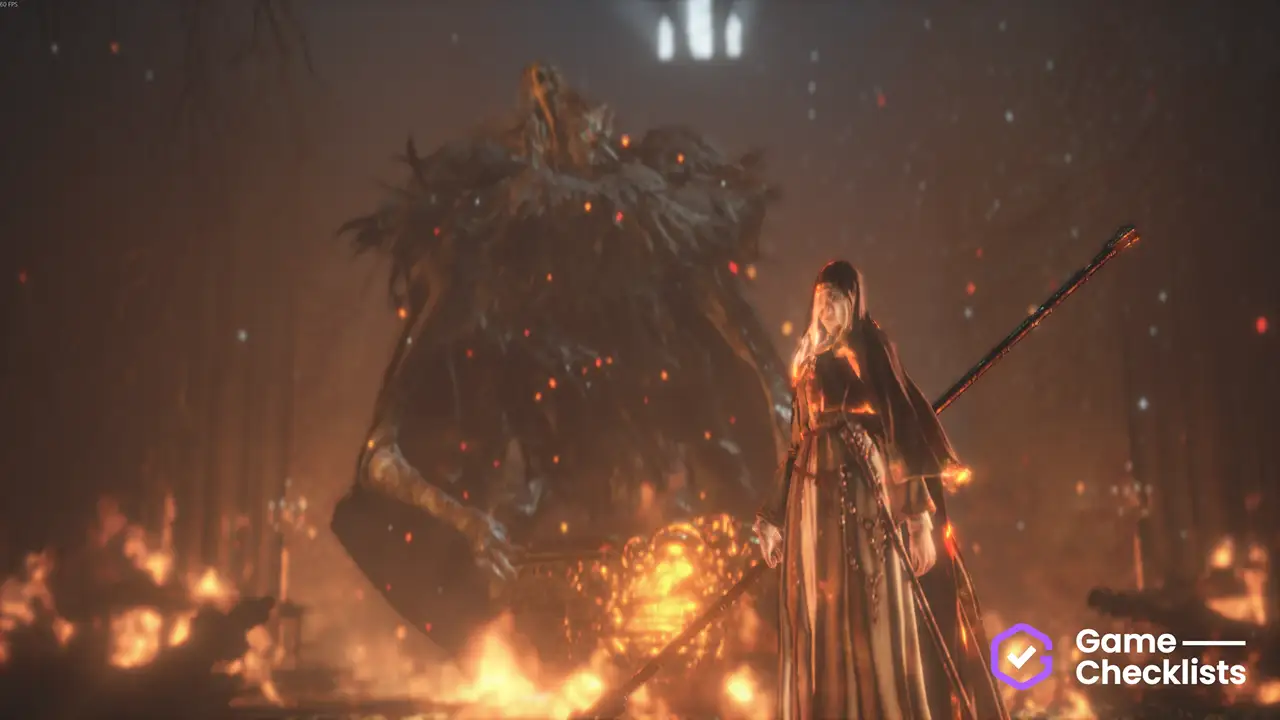 |
||
|
Obtained between phases 2 and 3 of the Location of Titanite Slab - Friede: |
||
|
Unlocks after defeating the Location of Sister Friede (Bonfire):  |
||
|
After defeating the Location of Titanite Slab - Friede Defeated:  |
FAQ
How many items are in Painted World of Ariandel?
There are 50 items in Painted World of Ariandel. This checklist tracks them all, with the closest bonfire and a description and screenshot of its location.
Do I need an account to save progress?
No. Progress auto-saves in your browser by default. However we strongly recommend creating a free account, so you can save your progress more reliably in the cloud with us. An account is also recommended so the Dark Souls 3 Progress Tracker can work properly.
Do you track all items?
Yes, all worthy items. We only don't track Soul items (used as money), multiplayer items or upgrade materials. Visit the Dark Souls 3 100% Completion Hub to see all checklists.
Who built this?
Team of completionists and achievement hunters over 4 weeks of work.
What missable items are there?
Missable or exclusive items are marked as such. We recommend reading through our Missables & Run Strategy guide to prepare in advance.